5 Things to Know Before Hiking Cathedral Rock
Cates Compass contains affiliate links and is a member of the Amazon Services LLC Associates Program. If you make a purchase using one of these Amazon links, I may receive compensation at no extra cost to you. Read my disclaimer for more information.
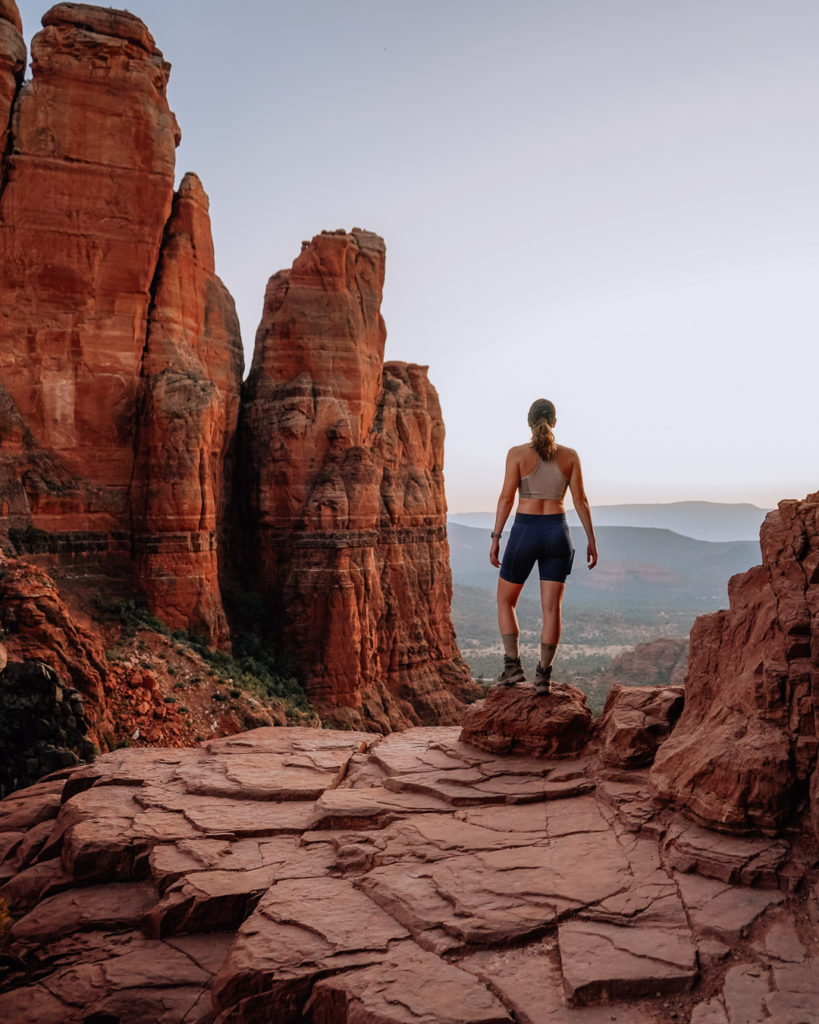
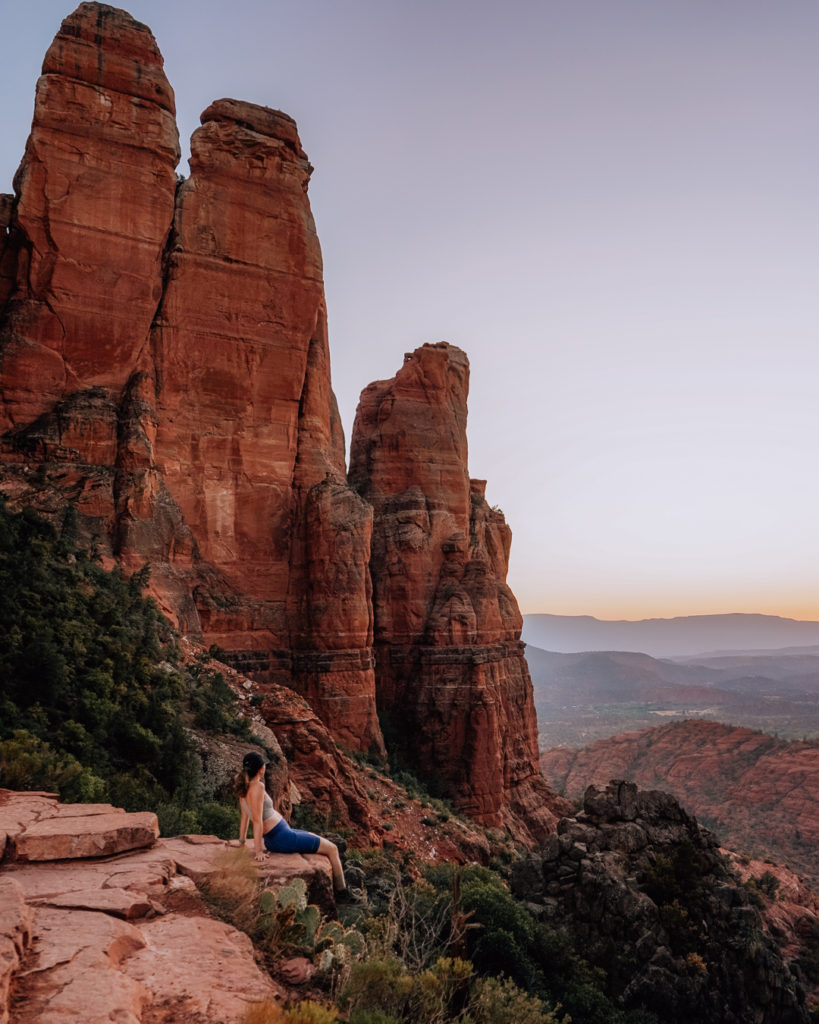
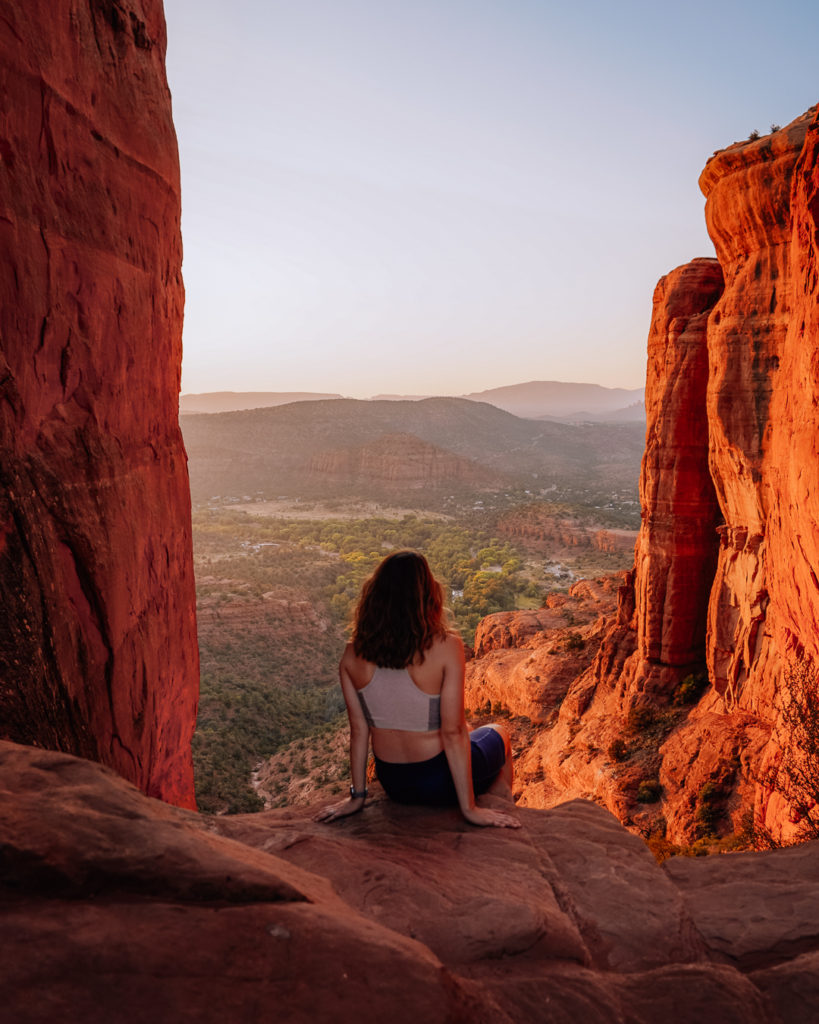
Cathedral Rock is hands down one of the best hikes in Sedona, Arizona. The views are spectacular at sunset and the hike itself is relatively short. The trail is pretty easy to access from downtown Sedona. Despite seeing tons of pictures online of this iconic place, it turned out to be more beautiful in person.
Beauty aside, there were a few things that I didn’t quite understand until I got there. I learned them the hard way but hopefully you don’t have to.

1. Expect Crowds
I visited in early October and we did the hike at sunset. The parking lots were full when we got to the trailhead and we had to park on the side of the road. Depending on the time of day, you may have to park further away or take a trail that connects to Cathedral Rock.
On the way up the trail, we saw many people going both directions. Since the trail is relatively short, it’s extremely popular. At the top, there were at least 100 people cycling in and out of the area. I anticipate that this is the trend year-round due to Cathedral Rock’s popularity.
Even as it reached sunset, there were still quite a few people in the vicinity. Many photographers visit this location since it is a great place to capture the sunset.
Additionally, there were multiple engagement sessions taking place and people waiting in line for the classic picture. The crowds didn’t necessarily detract from the experience, but if you are looking for a peaceful hike I would look elsewhere.
2. Prepare for a Hike

Yes, I totally recognize the irony of this statement. You’re most likely going on a hike if you’re reading this post.
First, let’s take a look at the stats:
- Length – 1.3 miles
- Elevation – 774 ft.
- Type: Out & Back
When reviewing this trail on AllTrails I didn’t think much of it. A little over a mile seemed like nothing to me.
What I didn’t know is that scrambling is an absolute must. At certain points in the trail, the rock becomes rather steep and you need both hands to properly stabilize.
Since you are hiking on rock, the trail is marked by paint and rock piles that are manmade (you won’t have a hard time distinguishing them). Despite this, at certain points, you may question whether you are going the right way, so it’s best to take it slow and locate the markers before pushing on ahead.
Additionally, the elevation gain is no joke. As I mentioned, scrambling is involve,d which means a steeper climb.
My brother did this hike with me, and to be honest, he struggled. If you are planning on doing this hike and are not necessarily a “hiker”, give yourself multiple breaks and time to acclimate as you make your way up.
3. Wear Proper Shoes
Scrambling on rock requires a good grip, so make sure you are hiking with the right type of shoe. A quality gym shoe may suffice, but I would recommend throwing on some hiking boots for this baby.
These are the boots I wear, and I couldn’t recommend them more. On the trail, we encountered many individuals who were not having the best time because their shoes were no match for the smooth rock.
One kid was wearing Converse. I repeat, wear PROPER shoes. Converse will not cut it.
As his friends were laughing at him, I was holding my breath, hoping that he wasn’t going to take a bad spill. This hike is pretty, but not worth an injury. Bare minimum, throw on those running shoes so you can scramble with peace of mind.
4. Bring Extra Water
Due to the elevation gain coupled with the dry Arizona weather, you will get thirsty quickly. We packed in with a water bladder and 2 full hydro flasks, and I am so glad that we did.
My Hydro Flask holds 32 oz, and it was empty by the time we reached the top. I get a cotton mouth like nobody’s business, and all the huffing and puffing had me consistently grabbing for the bottle.
Cathedral Rock is also one of those hikes where you want to sit and enjoy the view. The right supply of water allows you to take in the views without getting dehydrated.
Dehydration is not fun (I know, new information). Too much water is better than not enough water.
5. Explore the Area
At the top of Cathedral Rock is a stunning sunset view. It’s not hard to stop, plop down, and spend the rest of your time taking it in.
As tempting as this is, don’t do it! At least don’t do it for the entire time. If you head to the left at the top, there is some extra trail to explore.
If you hike all the way up there, you might as well get the most out of it and see everything the trail has to offer.

The extra trail is actually one of the more famous photo spots from the hike so if you are confused when you get up there, fear not. A little jaunt up a tiny rock face and you will see what I’ve deemed the frisky rock. Trust me, once you see it you can’t unsee it.
Where to Stay in Sedona
Sedona, Arizona, is such a beautiful town and is worth at least an overnight stay to explore before or after your hike. There are also so many amazing hikes in this area you won’t want to miss, so planning multiple days here is a must!
Prices for where to stay will fluctuate a lot depending on the time of year. I recommend going in the winter because it’s incredibly beautiful when it snows here, and the prices are much more palatable!
- Best Affordable: Bell Rock Inn, Hilton Vacation Club Ridge on Sedona
- Best Mid-Range: Arabella Hotel Sedona, Sky Ranch Lodge
- Best Luxury: Amara Resort & Spa, Inn Above Oak Creek Sedona, Sedona Cathedral Hideaway B&B & Spa
FAQs: Cathedral Rock
How long is the hike to Cathedral Rock?
The hike to Cathedral Rock is 0.6 miles and 1.2 miles round-trip. Don’t let the length fool you because it’s not an easy hike!
Is Cathedral Rock a difficult hike?
I would consider this hike difficult for the average person. There’s beginner scrambling involved, and good footing is a must!
What is special about Cathedral Rock?
Cathedral Rock is considered one of the many vortexes in Sedona. Due to the energy said to be at the top of the rock, this spot is particularly popular for yoga, meditation, and spiritual practices.
Wrap Up – Cathedral Rock
- Due to the popularity of social media, you can expect to encounter many people during your hike
- Know what you are getting into – the hike is short but involves quick elevation gain and a lot of scrambling
- Wear the appropriate attire (i.e. grippy shoes)
- Pack in a lot of water (also….pack out your trash!!)
- Check out all that the area has to offer, with several different views
Read More:
How to Plan a Trip to Zion National Park
