25 Tips Women Backpacking Must Know!
Cates Compass contains affiliate links and is a member of the Amazon Services LLC Associates Program. If you make a purchase using one of these Amazon links, I may receive compensation at no extra cost to you. Read my disclaimer for more information.
Being new to backpacking as a woman can be super nerve-racking! Trust me I know.
When I first got into backpacking, I wondered ‘what woman would be crazy enough to carry all their stuff into the middle of nowhere to sleep?’ Well, I am now that person. And I’m here to tell you that it’s not as scary as it seems.
Backpacking can be incredibly fun and empowering. Not only can you experience a plethora of new destinations, but the thrill of completing a backpacking trip can be so rewarding. Every time I complete a challenging backpacking trip I’m reminded that I am strong and capable.
As women, we’re often told we can’t do hard things. I, for one, know that’s not true. I have so many female friends who absolutely crush backpacking trips. That’s why I’m confident you can too!
In this post, I’ll outline everything I know about backpacking as a woman. My goal is to arm you with the knowledge to get outside and tackle some epic backpacking trips!
Beginner Backpacking Tips For Women
Knowing exactly where to start can be super frustrating. Backpacking isn’t something you simply just “pick up.” There are a lot of factors that go into having a successful backpacking adventure
It can be even more complicated as a woman backpacking to make sure you have all your bases covered. Luckily, I’ve created a comprehensive list of all the general things you should know before you dive into the nitty gritty.
1. Get The Right Gear
Before you can even start planning a backpacking trip, make sure you have the right gear. I recommend writing out a checklist and ensuring you have all the basic items to take on the endeavor.
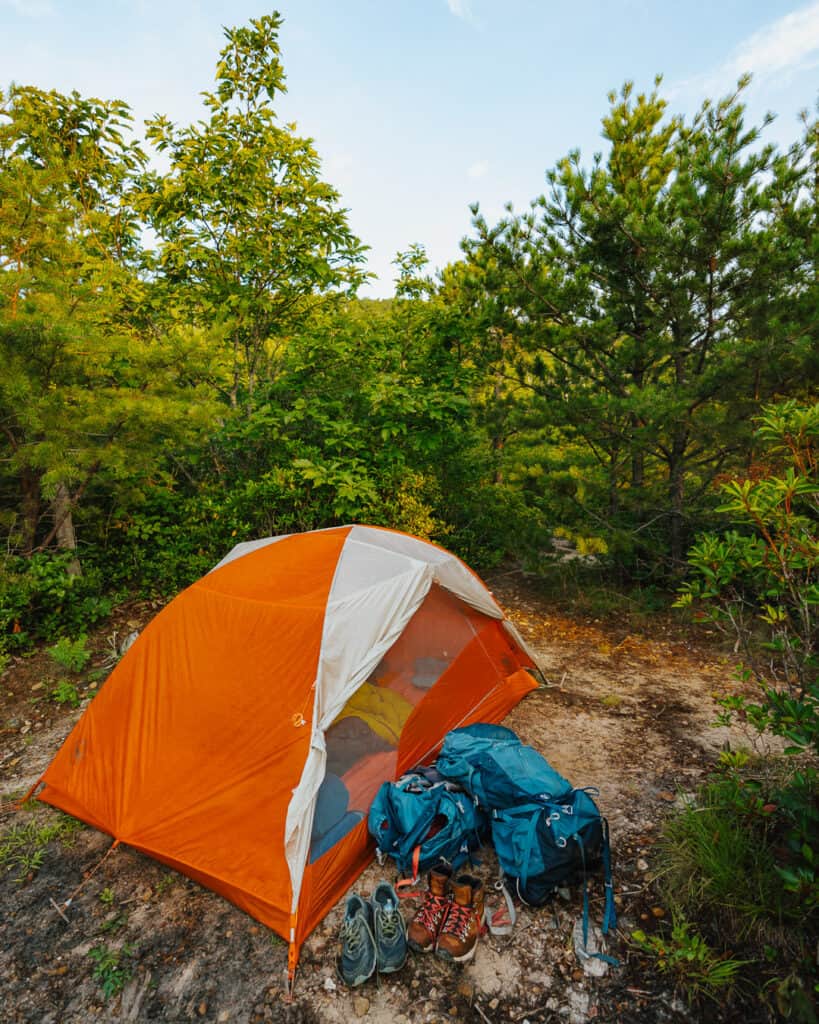
Some items are more important than others, but I’ve created an exhaustive list for you so you don’t forget anything. Check out the bottom of this post to get access to it!
The most essential items to have to ensure you have a safe and fun trip are as follows:
Obviously, this doesn’t scratch the surface, but it’s a great place to start to get your ducks in a row. Some of these big-ticket items can be expensive, but luckily there are some great ways to cut the cost.
If you’re new to backpacking and you don’t want to invest until you know you love it, there are many great options to save money.
- Borrow items from friends and family
- Find gear rentals near you by simply searching ‘backpacking gear rentals’
- Check out used gear sites like GearTrade and REI Used Gear
- Check your area for used gear sales like the REI Garage Sale
- Shop cheap gear sites like Steep and Cheap or look for big sales at places like Backcountry
- Look for items on Facebook Marketplace or Poshmark
There are a ton of creative ways to get gear that doesn’t have to break the bank. I’ve done my fair share of borrowing and renting before I purchased high-quality items.
2. Always Have a Physical and/or Downloaded Map
Having access to a map is essential for any type of backpacking or hiking. Before you start planning a trip, make sure you have obtained a map of the area you are planning on going to.
For most of my downloaded maps, I use Alltrails Pro. Alltrails is a great app to find different hiking trails. You need the pro version to download a map offline. I have been using it since 2021 and in my experience, if you hike a decent amount, this feature is well worth the $29 USD.
Other great apps that allow for downloaded offline maps include Gaia GPS, FarOut, and PeakVisor. I’ve also used Avenza which provides more detailed maps of specific areas, but some of these require purchase. I used it for a Linville Gorge Wilderness backpack in North Carolina and it was a godsend.
If you’re going to an area you’re not familiar with, I highly recommend also having a physical map with you. Not only does this provide topographical information, but it also serves as a backup in case something happens to your downloaded map.
You can get a lot of free maps like this at the closest visitor center depending on where you’re at. Otherwise, see if there’s a quality map online that you can print.
3. Know Your Water Sources
One of the absolute most important things to know when heading out on a backpacking trip is where your water sources are. Depending on your location, the trail might have a ton of options or very few.
I like to review the map to see where I can feasibly collect water. It’s good to know in advance because you don’t want any surprises when it comes to staying hydrated. I typically log which miles I’m able to access water and what those sources are.
Some downloaded maps will specifically call out water sources to help you identify your options. If you’re hiking along a river for most of your time on the trail, you’re probably fine. If not, make sure to know how long you have between water sources so you don’t run out of water too soon.
4. Pack Light
If you don’t absolutely need it, don’t pack it. I’ve learned the hard way about overpacking. You will regret those extra pounds when you’re on mile 5 going uphill. Every pound matters when it’s straight up chilling on your back.
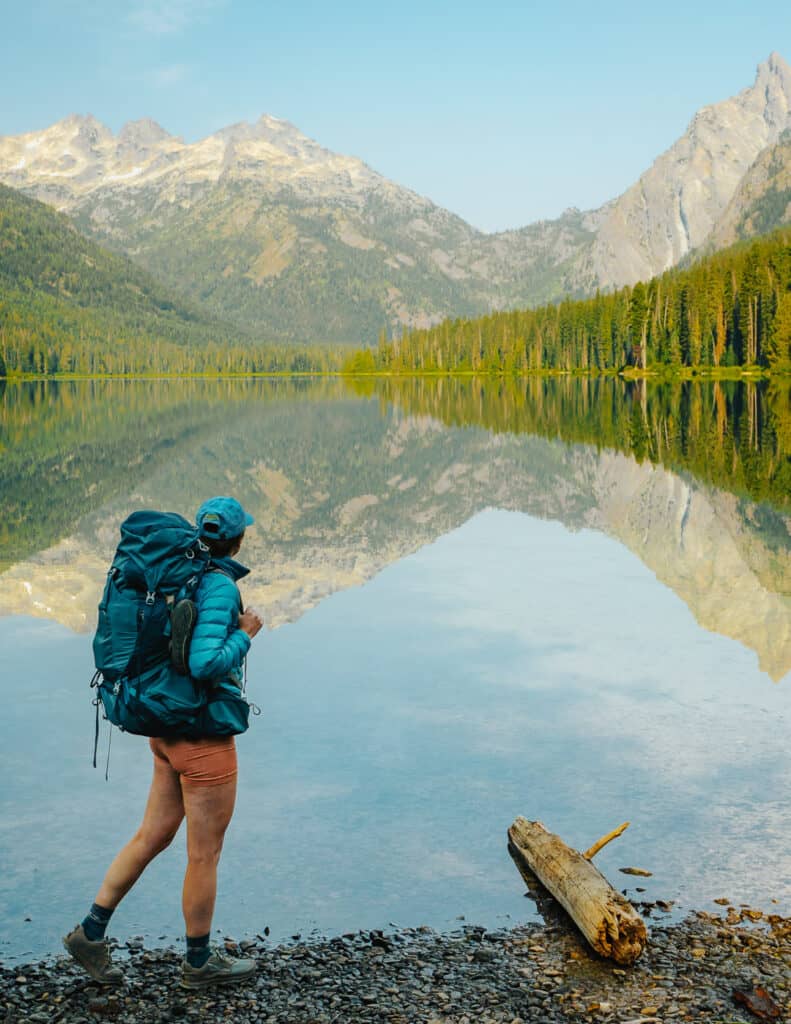
I typically lay out all the items that MUST come with, including food, and then I dive into nice-to-have or bonus items. If the route is shorter, I typically will allow my pack to be slightly heavier because I know I won’t be carrying it for quite as long.
When choosing your clothing for backpacking, look for items that are versatile and easy to pack down. I love puffers that can be packed into their pocket. I also choose wool because I can wear it multiple times without it becoming extra stinky.
5. Follow Leave No Trace
Leave no trace is something you should follow in all your outdoor adventures. It is a set of guidelines to help us recreate responsibly while enjoying nature. If you want a more in-depth review, see LNT.org for all the necessary information.
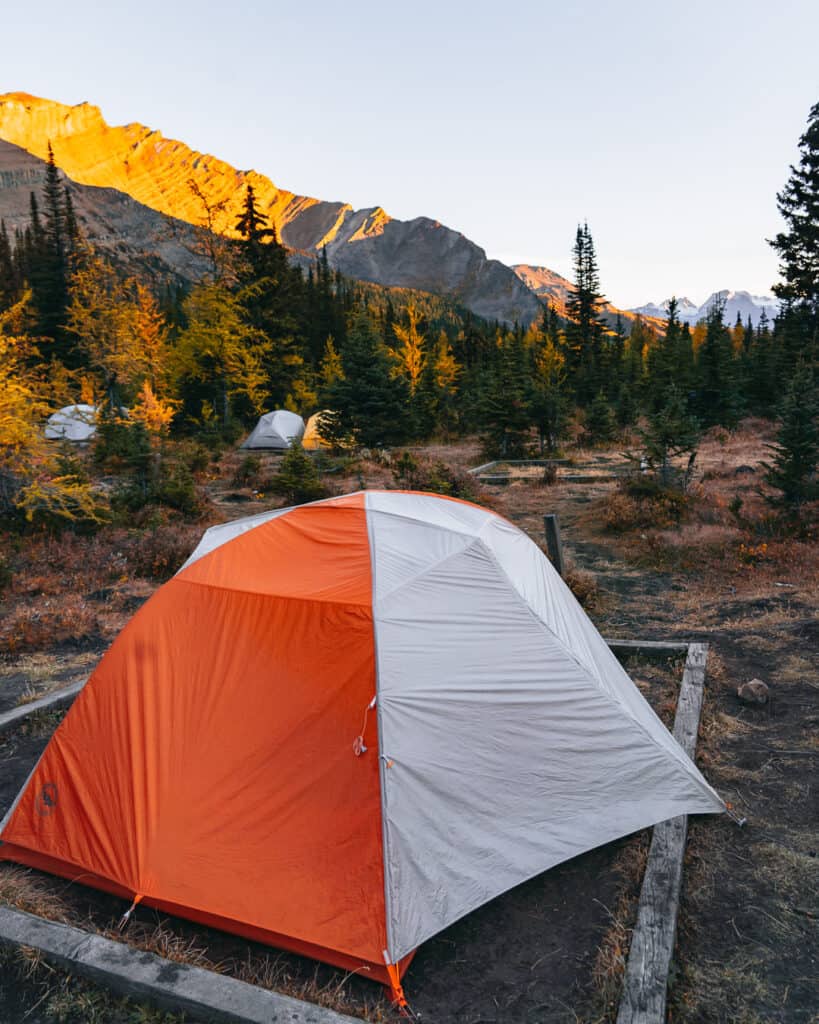
In short, Leave No Trace is comprised of the following principles:
Plan ahead and prepare
Planning ahead helps maximize safety and minimize resource damage
Travel and camp on durable surfaces
Remain on trail at all times unless absolutely necessary. If you chose to travel off-trail, consider the impact and the durability of the surface. Rock, sand, and gravel are more durable than vegetation. When camping, chose a spot that is clearly designated or has minimal to no vegetation.
Dispose of waste properly
Simply put, pack out what you pack in. All waste that is not human waste should be carried out. And yes, this includes orange peels and apple cores. Leaving these items to “decompose” can draw wildlife to that area and create unnecessary, sometimes dangerous, human-animal interaction.
Leave what you find
Leave vegetation the way you found it. Do not carve into trees or graffiti. Items such as leaves or flowers may be a food source for an animal or insect.
Minimize campfire impacts
Know the fire danger and restrictions in the area you are choosing to backpack. Don’t take wood off of live trees. Instead, use dead wood that burns easily. Keep your fire contained, preferably in a fire pit. Lastly, do not leave your fire unattended, and make sure your fire is completely extinguished when you are done.
Respect wildlife
Wildlife is just that, WILD. Although some animals are super cute, it is important to keep a healthy distance. Additionally, store food properly while backpacking, especially if you are in bear country. In the U.S., most areas with bears require the use of a bear canister. I use the BearVault. It’s easy to use and gives me peace of mind.
Be considerate of others
Generally, this means being aware of how your actions are impacting others. Don’t listen to loud music if there are a lot of people on the trail. Always, yield to hikers going uphill when you are passing. Take rest breaks to the side of the trail on a durable surface and don’t be rowdy at camp.
6. Hydrate and Fuel Properly
Since backpacking is a strenuous activity, it is critical to consume enough water and electrolytes throughout your trip. As a rule of thumb, you should be taking water in consistently so you don’t become super thirsty. I prefer to have a water bladder and a water bottle so that I can have both normal water and water with electrolytes readily available.
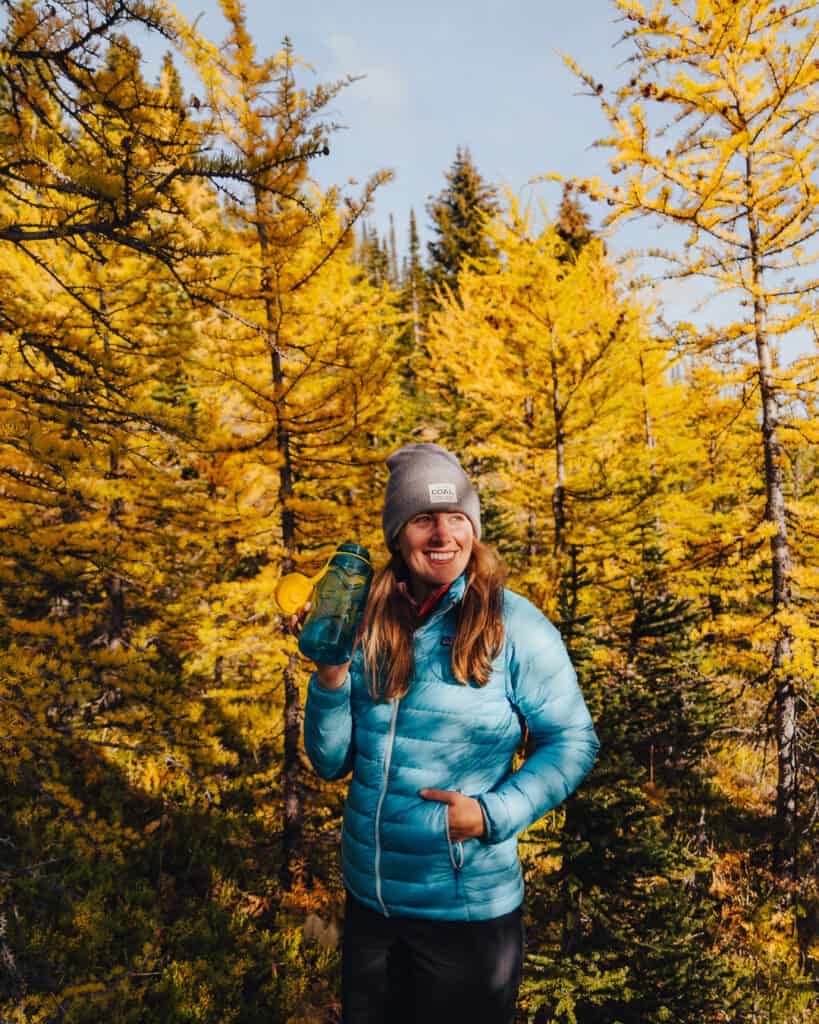
Water bladders are great because you can take water in without stopping and you can carry a lot of water at once. This is ideal if you are on a trail that does not have many water sources.
The water bladder I use is a cheap one from amazon. It has yet to fail me and I can also use it on long day hikes. Check it out here if you are in need of one for your trip!
In addition to water, fueling properly is vital since you are carrying a heavy pack for long distances. AKA you are burning a lot of calories. Make sure the food you are choosing is high in protein and calories.
I like to have snacks in the front pocket of my pack for easy access. These could include protein bars, beef/jerky sticks, nuts, fresh fruit like apples, etc.
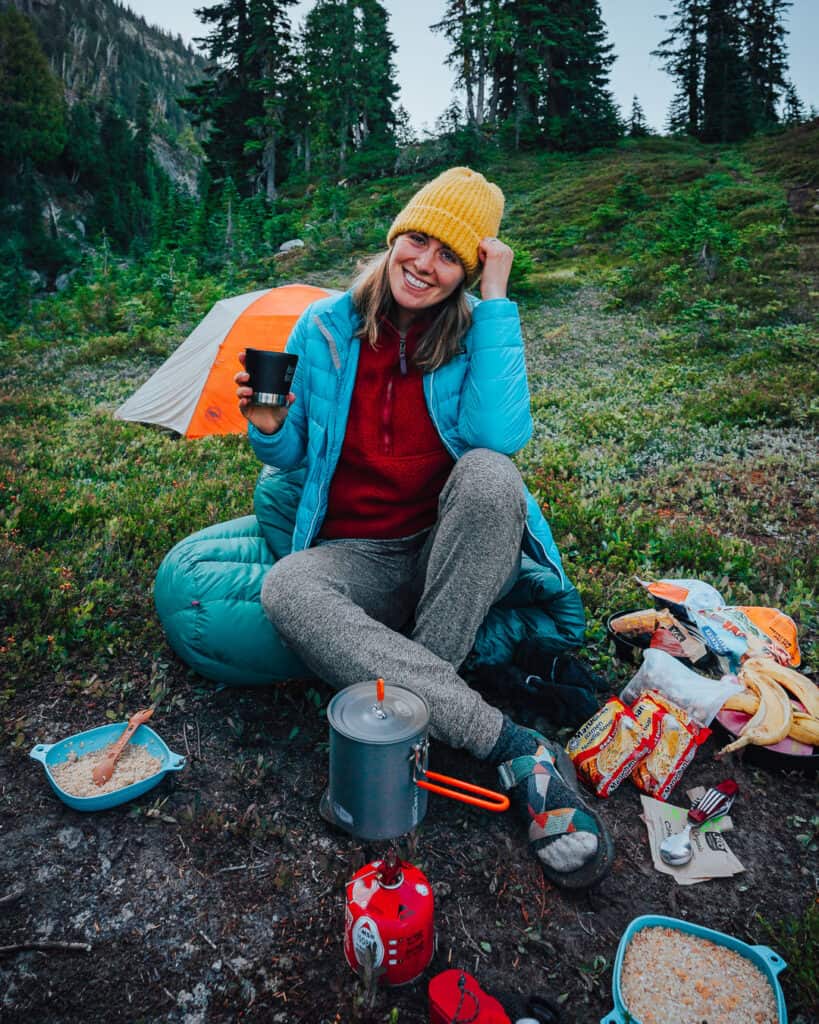
If you’re confused about what to eat while backpacking, REI has a great list of meal ideas and suggestions.
7. Know Your Limits
You know your body best. Do yourself a favor, and listen to it.
Does a solo adventure sound intimidate? Find friends to go with you! There are some great ways to connect you with other like-minded women.
Facebook Groups
Personally, my two favorite groups are Women Who Hike and Girls Who Hike to find women in my area who also love to do outdoorsy things! Girls Who Hike is state-specific so make sure to google the chapter that is in your state to get the right Facebook group! The other two Facebook groups I’m a part of are: Outdoorsy Gals and Girls Love Travel.
Apps
My favorite app to meet other adventure buddies is Bumble BFF. This app has introduced me to multiple good friends and it’s a great way to put yourself out there. Basically, you create a profile about what type of friendship you’re looking for and your hobbies.
Guided Trips
Another fabulous way to meet women who want to go backpacking is to sign up for a guided trip. A lot of outdoor female content creators host these through Trova Trip. It’s a great way to connect with other adventurous women.
Another part of knowing your limits is how far and fast to go. Pace yourself and choose a route that isn’t 40 miles round trip on your first attempt.
I am here to tell you that it is OKAY to adjust your plans and be flexible. If you’re more exhausted than you thought or in pain for any reason, you should adjust your plans. I’ve had to do this many times while backpacking and it was never a bad idea.
8. Physically and Mentally Prepare
Going into the backcountry can be a massive undertaking. As women backpackers, we are often fed the narrative that we shouldn’t do certain things without a man in tow. Backpacking is for everyone!
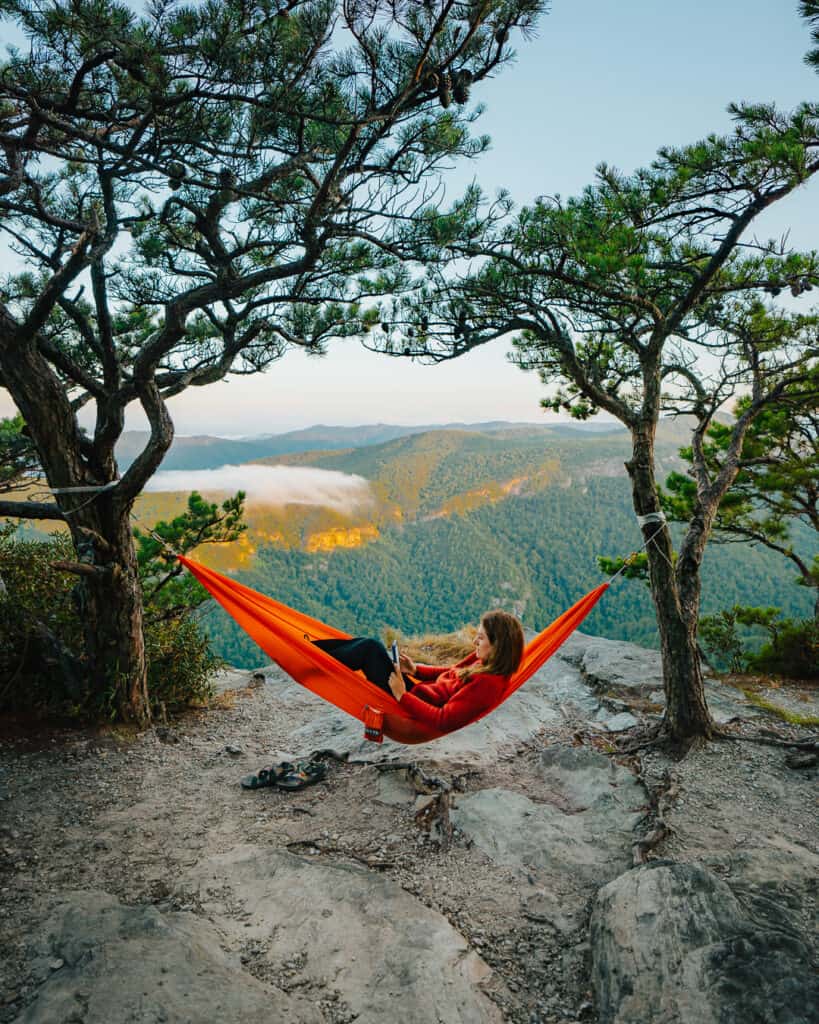
Mental Preparation
- Practice navigating in low-stakes situations. Use the form of navigation you will use for backpacking on a trail you are familiar with so you learn all the features and know exactly how it works.
- Learn basic survival skills such as how to build a fire and the proper way to treat water.
- Have the right mindset going into your backpack. You will encounter challenges and unforeseen obstacles, but that’s okay! Adaptability is one of the best skills to have in your toolbox as a backpacker.
Physical Preparation
- Build up to a backpacking trip. Don’t go from zero to backpacking. I recommend going on numerous day hikes and having an overall comfort with hiking.
- Weightlifting is your best friend. I try to lift a couple of times a week to keep my legs in shape for those hard points on the trail. If you can, I highly recommend wearing your pack and doing step-ups wherever is convenient (a park bench, stair climber, stairs). People will stare, but honestly better to be prepared!
- Work on your cardio game so you can crush those tough sections of the trail! My favorite is incline walking on the treadmill, but if you like running, add in some rolling hills.
Tips For Planning Your Backpacking Trip
As women backpacking, it is vital that we plan our backpacking trips in a way to maximize our safety. Even though it’s a lot safer in the woods than on a busy street, I understand the concern and want to give you the tools to feel as safe as possible. I’m all about optimizing for success!
9. Choose Your Destination
My number one piece of advice on choosing a destination is to start close to home. If you’re just starting to dip your toe into the world of backpacking, choosing a location that is far away or unfamiliar is not the right move.
Find an area within an hour or two of where you live that you are at least slightly familiar with. If you’ve been there for a day hike that’s even better. This will help you build confidence.
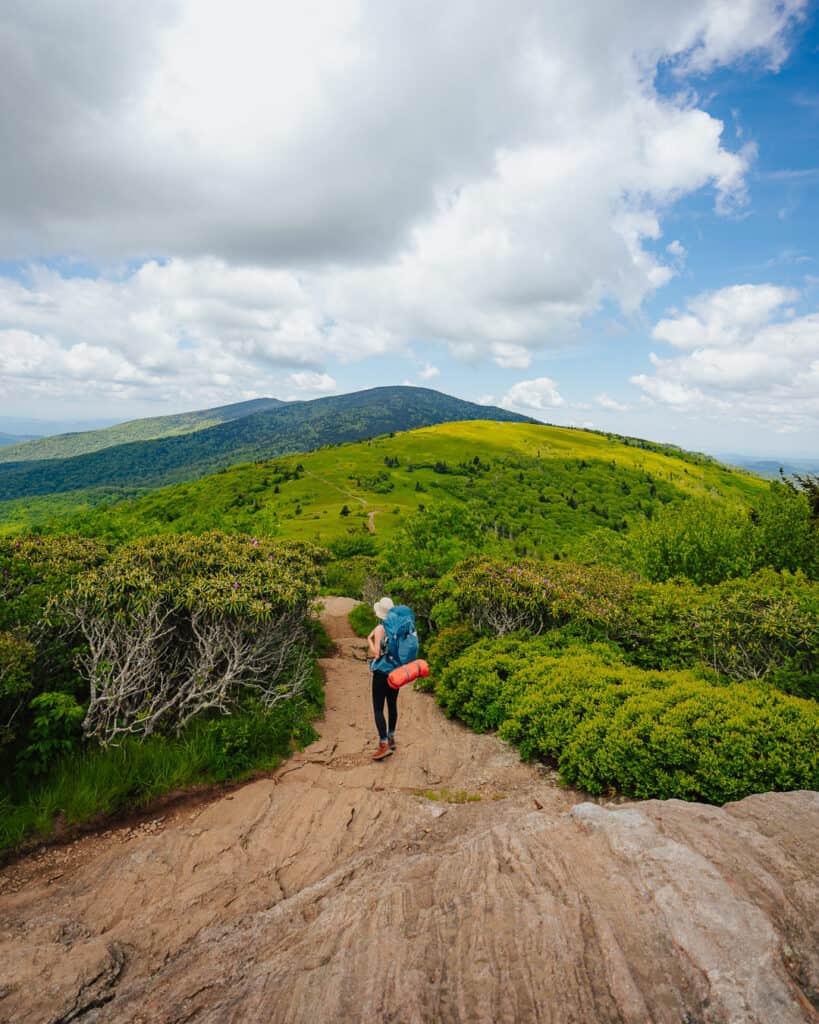
My only caveat to that is if you’re hiking with an experienced backpacker or you’re going on a guided backpacking trip. In these instances, there is more of a safety net. You should still arrive prepared for your trip, but picking a location you’re more familiar with is not as essential.
10. Pick a Popular Route
As a woman backpacking, I cannot stress the importance of this enough. There is nothing worse than being on a trail with one other single guy. Your thoughts start to run wild and we don’t want that when you’re already tackling a difficult endeavor.
For your first couple of backpacking trips, pick trails that are well-known and highly trafficked. This provides some assurance and doesn’t make you feel quite as ‘alone.’
Additionally, popular trails tend to be well-maintained and have clear signage. Both of these things help make your trip more enjoyable.
11. Keep Your Route Short
It can be tempting to want to tackle a super challenging trail on your first backpacking trip. I too love a good challenge. Just the sheer act of backpacking is difficult, so make sure you know what you can handle.
If you don’t hike often or you’re nervous about sleeping in the woods, keeping your route short is the way to go. Not only will you be able to easily bail if necessary, but you won’t be nearly as exhausted when you reach camp.
I’d recommend picking a trail that is a maximum of 5 miles each way or 10 miles total if it’s a loop.
12. Plan Your Itinerary
This goes hand in hand with having your route picked out, knowing your water sources, and having your map handy. Mark on your map where all the water sources are and where you can feasibly camp. I typically like to have a “backup” campsite that is closer than the one I’m shooting for if the trail allows for it.
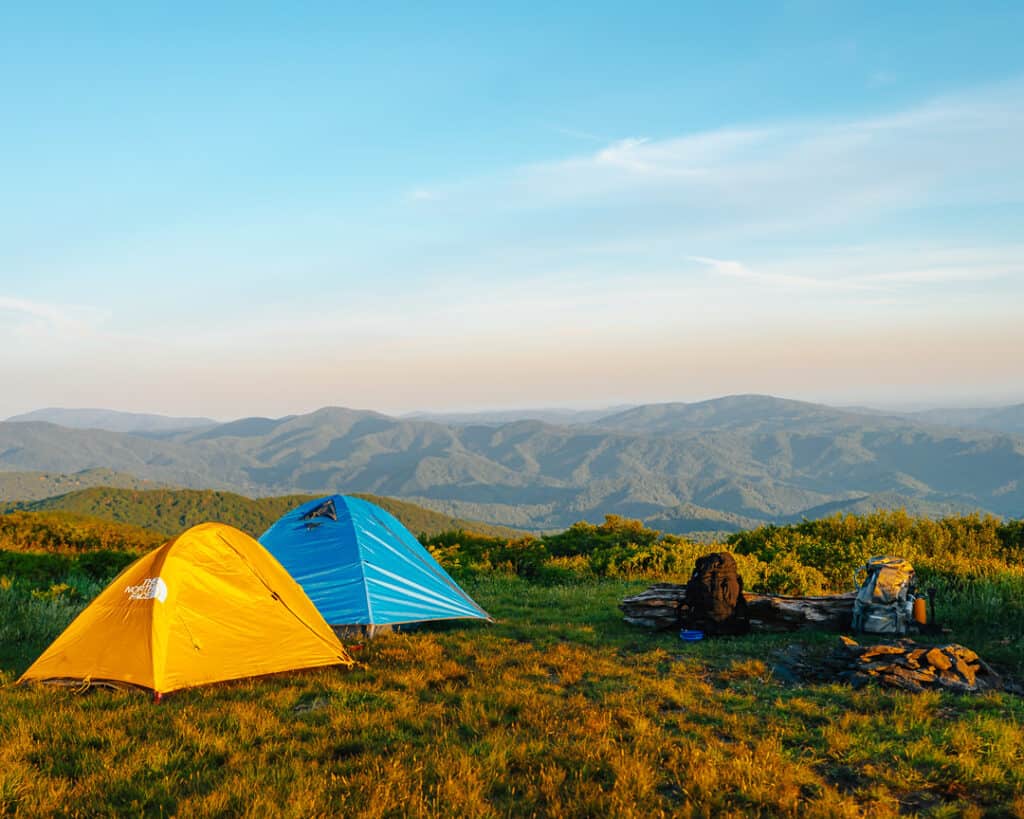
Additionally, I like to have a game plan for when I am planning on getting to the trailhead and what time I want to be out. From there, I can calculate how long it will take me to get to camp and how long it will take me to get back to my car. I like to have rough estimates so I can avoid hiking in the dark when possible.
Typically, it takes about 45-60 minutes to backpack a mile as a woman. This decreases with more time, endurance, and strength.
13. Obtain Necessary Permits
Depending on the location you chose, you might need to obtain a permit to sleep in the backcountry. The best way to check is to google the trail and “are permits required.” Some places will have you purchase them online while others will have you fill them out at the trailhead.
14. Know The Trail
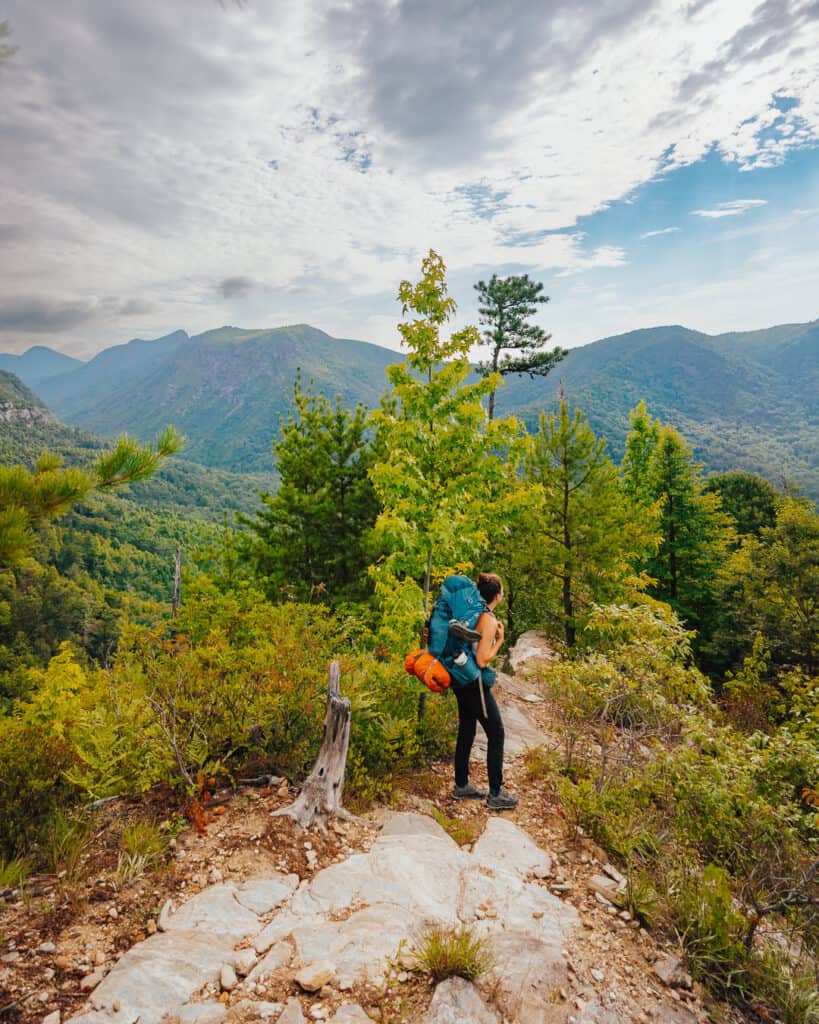
Being familiar with the trail goes beyond just knowing the route in which you’re going to take. Other information you should be aware of is trailhead accessibility, elevation changes, and possible exits.
Trailhead Accessibility
Trailheads come in all different shapes and sizes so it’s important to know what you are signing up for. I’ve been to some that are well-maintained and some that had a bazillion potholes.
If you chose a popular trail, chances are the trailhead will be easy to access and relatively flat. Just note that you may want to get there early so you have a spot.
If you chose a less popular trail, check the reviews on Alltrails and google the trailhead. Most of these types of trailheads do not have a ton of parking and you may have to navigate some rough roads to get to them.
I’ve personally had to navigate my fair share of bumpy roads. Most of them are manageable in a sedan but confirm if you need high clearance before you make the trip.
Elevation Changes
Elevation change can be a make or break for your backpacking experience. If you’re using an app like Alltrails, look at the elevation map and not just the overall elevation gain. Sometimes the elevation gain can be deceiving because the trail isn’t just straight up and then straight down.
Additionally, elevation gain can lead to elevation sickness if done too rapidly. In areas already well above sea level, be conscientious of how much elevation you’re gaining over a period of time. This is especially the case if you are not already acclimated to that baseline elevation.
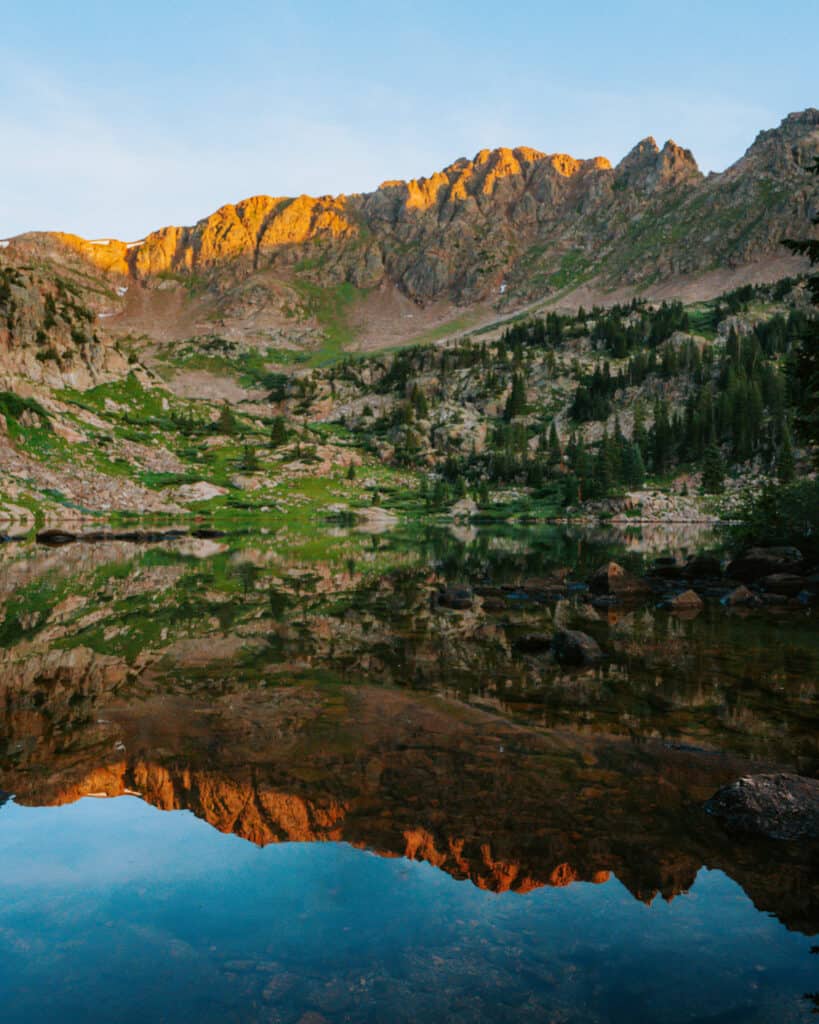
For example, I did a solo backpacking trip to Vail, CO in 2021 and it was such an incredible experience. I was not living in CO at the time and I was going all the way up to 12,000 ft. I took the trail slowly and gave my body time to adjust. In all honesty, I still did experience some symptoms of elevation sickness.
If you’re feeling ill and you have symptoms of elevation sickness (such as a headache, dizziness, nausea, etc.). The BEST course of action is to descend immediately. Elevation sickness is no joking matter, but it can be eliminated rather quickly by doing this one simple thing.
Possible Exits
As women, it is essential to know if there is a way to exit the trail. And, if an exit is not available, know the alternative routes that you can take.
That being said, there’s not always a good “exit.” Simply having this knowledge will allow you to prepare appropriately in case of an emergency. For myself, I ALWAYS carry a GPS phone on my backpacking trips. Even if there’s cell service, I want to have peace of mind that I can contact emergency services at any point on the trail.
The current GPS phone I use is SPOT. It’s a cheaper option than the super popular Garmin inReach and I find it works perfectly fine for my needs.
15. Research The Weather
Having a good pulse on the general weather forecast allows you to pack the appropriate clothing items and mentally prepare. I’ve done many backpacking trips where it’s rained and it was just part of the gig. I do not recommend heading out though if there is severe weather in the forecast.

Also, be aware of the potential impacts rain might have on your route. Will it become too dangerous to traverse? Will any rivers still be crossable?
Hygiene Tips For Backpacking Women
Backpacking for women involves a few extra hurdles when it comes to hygiene. Unfortunately, there’s no magic formula to make squatting in the woods better. On the other hand, there are products that exist now that make our lives slightly easier.
16. Pack the Necessary Bathroom Essentials
The two bathroom items that I never hit the trail without are a trowel and compostable toilet paper. A trowel is basically a little shovel that helps you dig a hole in the dirt. This hole is referred to as a ‘cat hole.’
To relieve yourself in the backcountry, find a spot away from your camp and at least 200 ft. away from a water source and dig a hole. Then, do your business. Once you’re done, cover it up completely.
Please note, you should be packing out your toilet paper. I typically bring a sealable bag that I can easily dispose of immediately after I’m done backpacking. Oh, and don’t forget the hand sanitizer!
17. Invest in a Re-Usable Period Product (And Know How to Use It)
Reusable products are always cool in my opinion. The less waste, the better for the environment.
I started using a menstrual cup 3 years ago and can’t imagine the hassle of having to backpack with tampons anymore. This incredible plastic cup gets inserted into your vagina to collect blood. If your period is normal, you can leave this in for up to 12 hours with no harm to you. Pssst and you can pee with it in!
When you empty it, you’ll want to quickly rinse it off with clean water and then reinsert it. I used to deal with a lot of UTIs and BV before I started using this and now I don’t anymore. Just make sure you practice using it prior to getting on the trail.
The best part is it makes going into the backcountry way more manageable. Less to carry with you and no bloody tampons to pack out.
Another option you could look into is period underwear. I can’t personally recommend it, but the popular brands used are Thinx and Knix.
18. Bring Wipes
For me, wipes are a must-have. I not only use these to freshen up downstairs, but I also love being able to use a wipe before bed to get off all the dust, dirt, sweat, and grime from the day’s adventure.
My current favorite wipes are combat wipes because they reseal super well, but honestly, any old wipe will do. Just make sure you add them to your food bag and store this away from your tent while you sleep.
Another great option is an antimicrobial cloth like the Kula cloth. I haven’t invested in one of these yet, but it’s on my list. These are more sustainable than wipes or toilet paper and you clip them on the back of your pack after use to dry out. I’ve heard great things from other female backpackers!
Lastly, if you’re worried about getting pee on yourself you could get a pee funnel. There are a ton of options on amazon to choose from. I’ve never used one because squatting has always worked for me, but my mom has one for hiking!
19. Have The Right First Aid Kit
A first aid kit is an essential item for any backpacking trip. Here are the things I like to include in mine:
- Ibuprofen or a similar pain reliever
- Moleskin for blisters
- Antiseptic wipes and various size band-aids for any scrapes
- Medical tape and gauze
- Allergy pills
- Scissors: these are on my multi-tool
- Safety pins
- Tweezers
- Nail clippers
Additionally, I always pack my prescription medication.
Gear Tips For Backpacking
Like I said at the beginning of this post, you need to have certain items in order to go on a backpacking trip. Sure, you could hike out into the middle of the woods with nothing but the clothes on your back, but I can’t say you’ll have a good time.
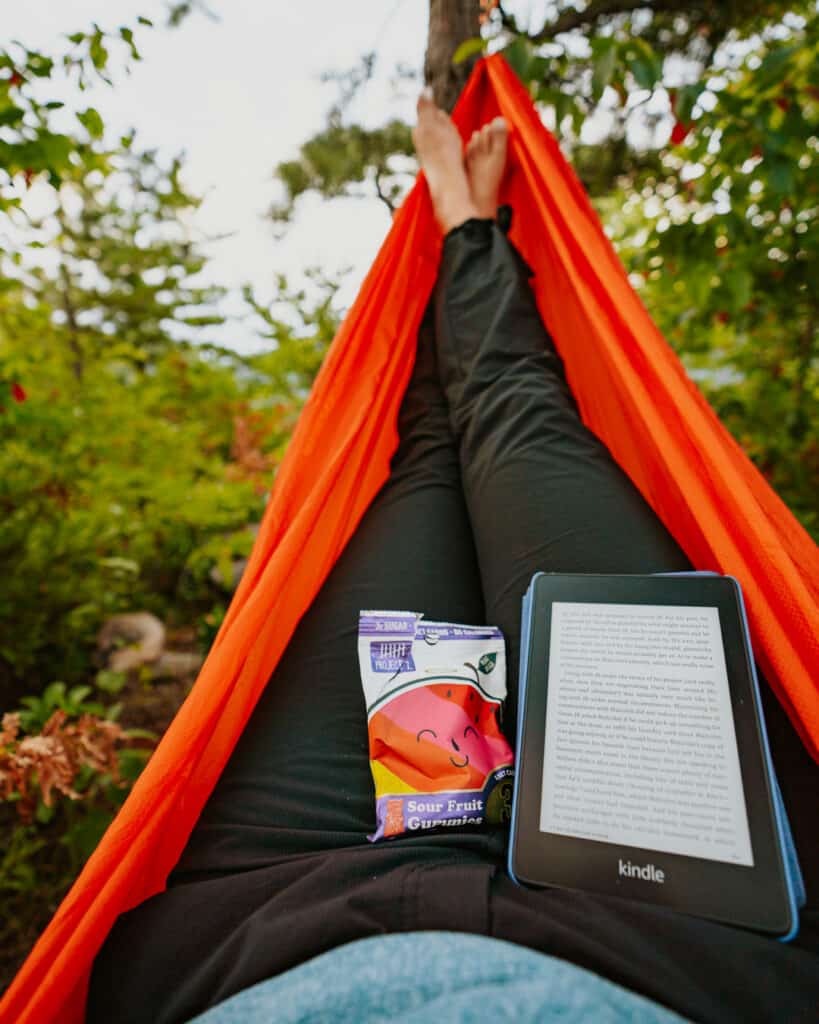
Here are my tips on making sure you have the right gear! Don’t forget, I have a free backpacking checklist that you can download at the bottom of this post as well!
20. Get Fitted for a Backpacking Pack
When it comes to a backpacking pack, it is especially important for women to get fitted. The sizing we’re all accustomed to (small, medium, large) doesn’t apply the same way here. You can’t depend on it because, in a lot of cases, it won’t be accurate.
Last year I went backpacking with my friend in the Roan Highlands of Tennessee. She wanted to purchase her own backpacking pack and sent me multiple links to get my recommendation. Instead of giving her my opinion, I took her to REI.
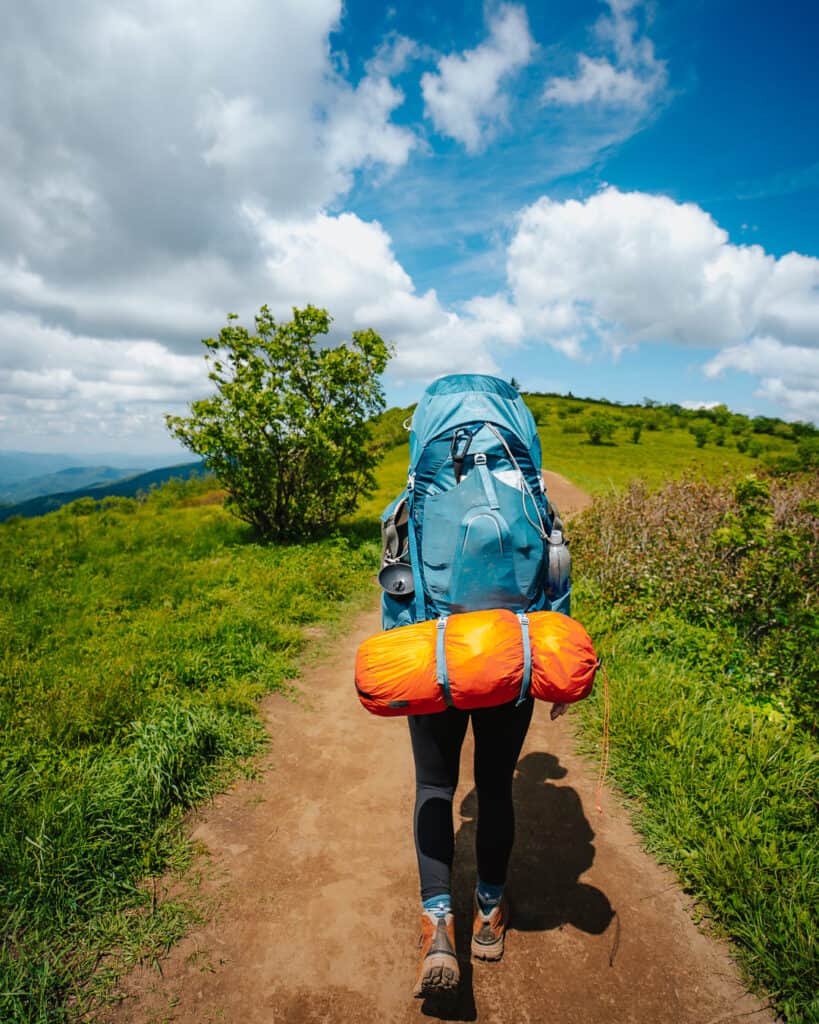
A backpacking pack is based on your waist and torso. If you don’t have someone properly fit you, it will not distribute the weight appropriately. This can cause unwanted pain in your shoulders and back.
Do yourself a favor and go in to be fitted. Most backpacking or outfitter stores have someone who is knowledgeable about fitting backpacks and can help you choose the right size.
Even if this means you don’t purchase the pack in-store and plan on looking for a used version you will still want to know your measurements. They can also show you how to properly adjust your backpacking straps for your specific pack.
21. Bring Layers
I cannot stress this enough. As women backpacking, our temperature fluctuates wildly throughout the day. Additionally, most places that involve backpacking include elevation gain. You will want different layers so that when the weather swings by 30-40 degrees you’re not freezing OR sweating your butt off.
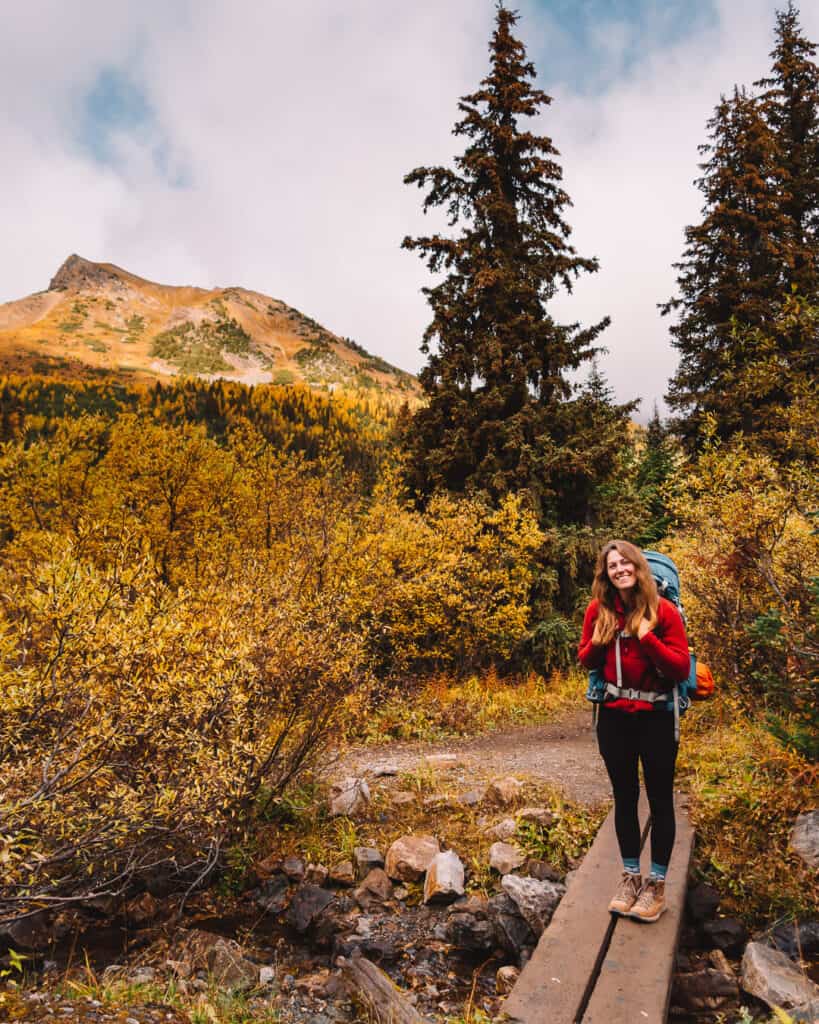
My backpacking checklist below includes ALL the items I would consider packing for a backpacking trip. The only caveat is that my packing list will look slightly different if I’m backpacking somewhere in super hot/humid places vs. places that are known to be cold.
If the place is extra humid I’d bring along lighter clothing that breathes super well. For colder temperatures, I’d make sure I had thermals for when the temperature drops at night.
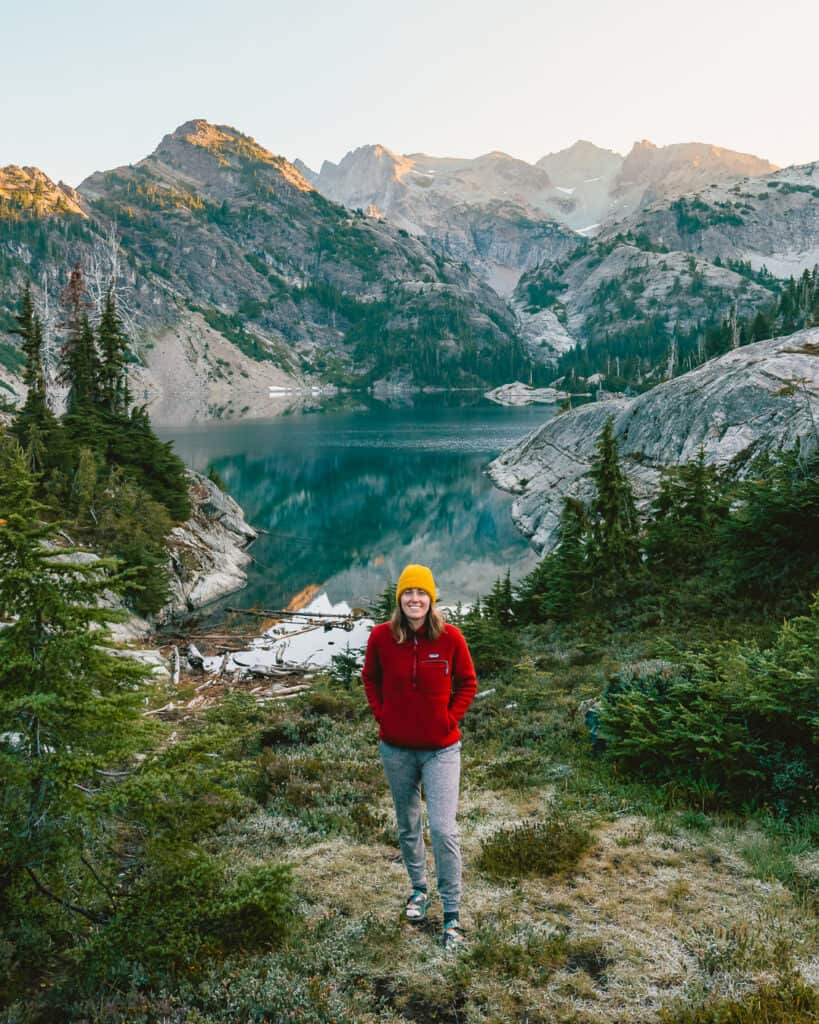
One of the BIGGEST mistakes I’ve seen backpackers make is not packing warm enough clothing in the summer. I vividly remember our backpacking trip to the Alpine Lakes Wilderness in Washington a few years ago.
I told my husband and his friend to pack a down jacket for the night. Of course, I packed my husband’s for him, but his friend did not pack one. It was mid-30 degrees Fahrenheit in the morning. Let’s just say he’ll always heed my advice moving forward.
22. Always Pack the 10 Essentials
The ten essentials are what you need for ANY backpacking trip.
Insulation
Layers are important. We’ve covered this. Depending on where you’re headed, make sure to always have a down jacket and/or a rain jacket.
Sun Protection
Bring along sunglasses, lots of extra sunscreen, a baseball or bucket hat, and my personal favorite, chapstick with SPF.
Light Source
A headlamp is one of my most used items for backpacking and general day hikes. Always make sure it’s charged before you head out. Get my exact headlamp HERE.
Fire
Always have matches, a lighter, or a firestarter to light your cooking stove (or make a fire in an emergency). I’m terrible at using lighters so I always buy these.
First Aid Supplies
I covered this information in the section on hygiene. Always include any medications specific to you like birth control or anti-depressants.
Hydration
A lightweight water bottle and/or bladder. Additionally, you will need a filter and/or water purification tablets. I LOVE my Katadyn because I can fill up multiple water bottles with it and then drink straight from it as an additional bottle. Keep in mind it’s not easy to fill up a bladder with this, but I typically don’t bring both.
Nutrition
Packing enough food is important. I typically put in extras of a main meal, protein bars, and a few additional snacks in case something comes up. The last thing you want is to run out of food if you’re on the trail longer than anticipated.
Repair Kit
My go-tos are duct tape and a multi-tool. You can buy a ready-made repair kit but I find these two items can get most things done for me in a pinch.
Navigation
If you’ve made it this far, you understand how truly essential this is. Have a downloaded and physical map available.
Emergency Shelter
When you’re backpacking, this is typically your tent and sleeping bag. You could always pack an emergency blanket if you’re going somewhere super cold or it gives you more peace of mind.
23. Test Your Gear Before Packing It
One of the things that a lot of people forget is to test their gear before getting to the trail. Gear mishaps happen more than you think, but most of them can be easily caught ahead of time.
I learned this lesson the hard way. I brought a UV water treatment but did not check to see that it was properly working. Luckily I was not alone and my hiking partner could cover me. I will not make that mistake again.
24. Pack Your Gear Correctly
Putting your gear into your pack helps distribute the weight correctly and ensures you don’t get major back pain. The general rule of thumb is light heavy light with things that you’ll need readily available in outer pockets or on top.
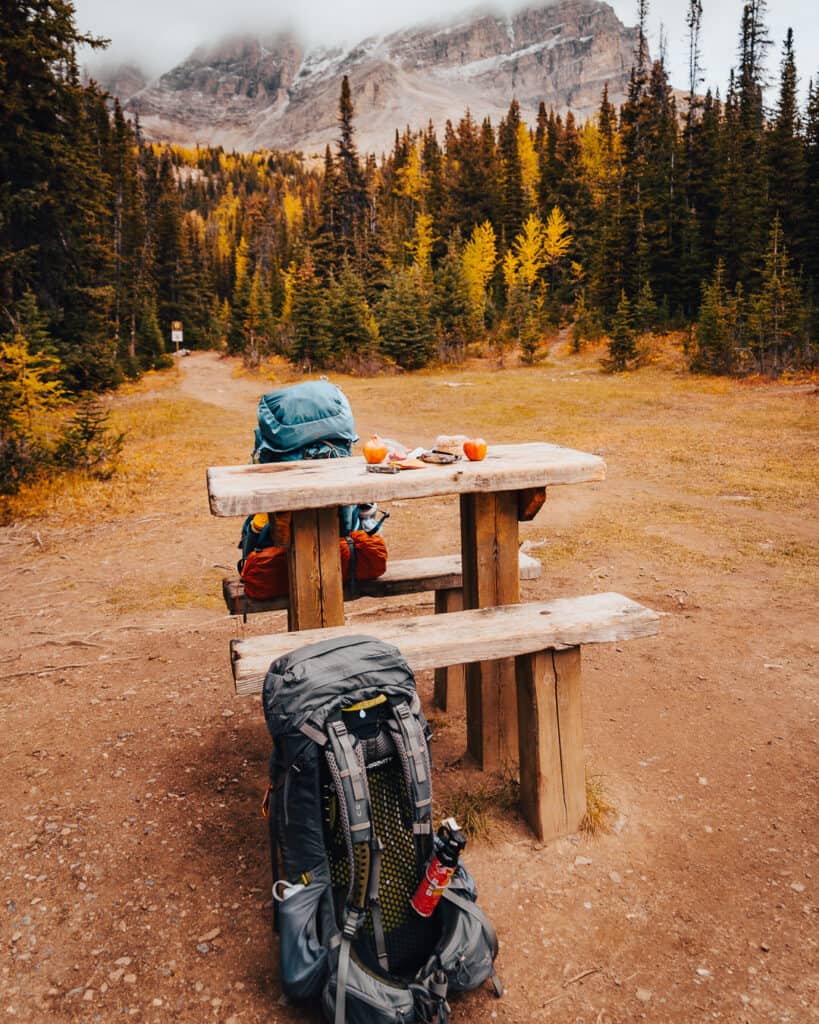
REI made a great video here that details the method. I highly recommend you watch it.
25. Choose Light Gear When Possible
The lighter the gear is, the lighter your pack will be. The items that will add the most weight are your tent, sleeping bag, and sleeping pad. Additionally, water and food add a lot of weight, but luckily you’ll plow through the food which will lessen the load as you go.
Opt for the lightest tent you can feasibly find within your budget. A tent that weighs 2 pounds versus one that weighs 5 pounds will be very noticeable.
Always use a sleeping bag and sleeping pad designed for backpacking. These will not only weigh less, but they will pack down much smaller.
Backpacking Tips For Women: FAQs
After all this, you may still have some burning questions. I’ve answered some of the more common ones below.
How much weight should women carry backpacking?
The general rule of thumb is to carry no more than one-third of your body weight. For example, if you weigh 130 lbs, you should try not to exceed 40 lbs.
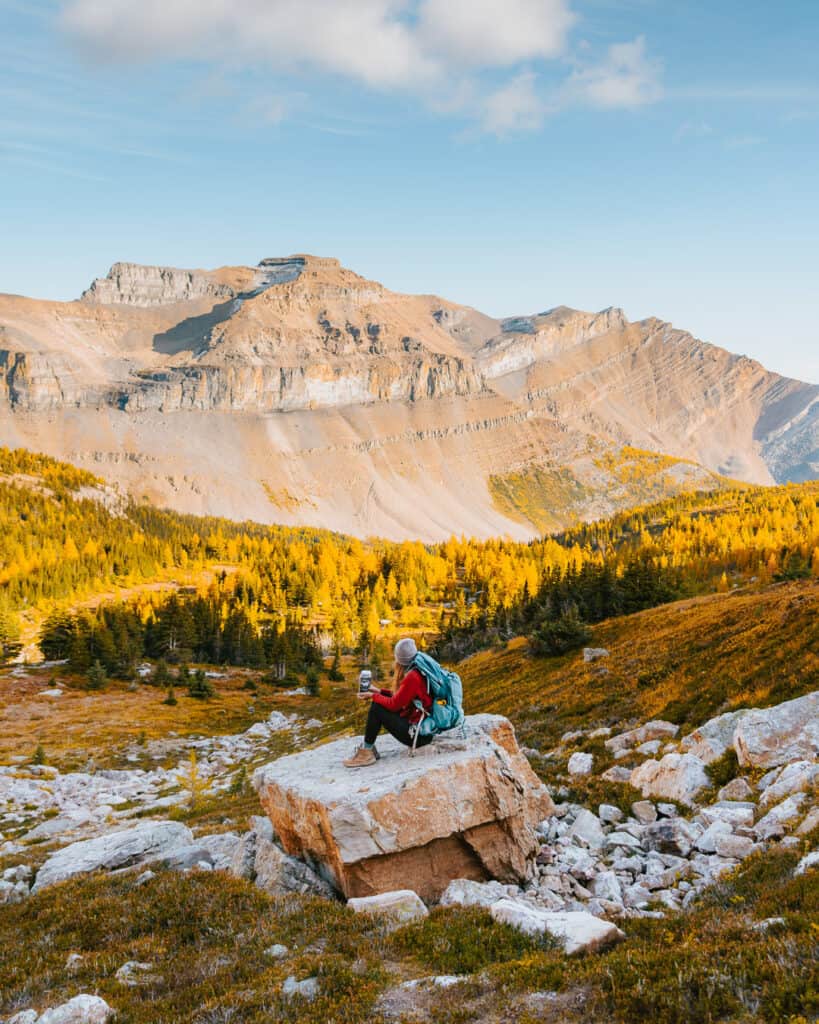
I typically shoot for a little under this because any extra weight can be taxing. If you’re hiking with someone it’s better to distribute the heavy items evenly so neither of you has an exceptionally heavy pack.
Is it safe to go backpacking alone as a woman?
It is 100% safe to go backpacking alone as a woman. I recommend you take certain safety precautions though to give yourself more peace of mind.
- Always tell multiple people you trust where you’re going, your route, and when you plan to be out. I typically tell my mom and my husband my plans.
- Don’t share your plans with relative strangers on the trail.
- Trust your gut. If you feel unsafe, turn around or change your route.
- Pack something like pepper spray and have your multi-tool knife readily accessible
- Have an emergency GPS that allows you to contact help quickly.
- Don’t be afraid to use the safety whistle on your backpacking chest strap. Three long blows are the universal sign of distress.
All this being said, I have never truly felt unsafe while backpacking. There were times I was slightly more cautious and trusted my gut. However, I honestly feel way safer backpacking than being in the city.
How many miles can the average person backpacking go in a day?
On average, most people can backpack between roughly 8 to 15 miles in one day. Do I personally recommend you backpack 15 miles in one day? Not really. Have I done it? Absolutely and it was incredibly exhausting.
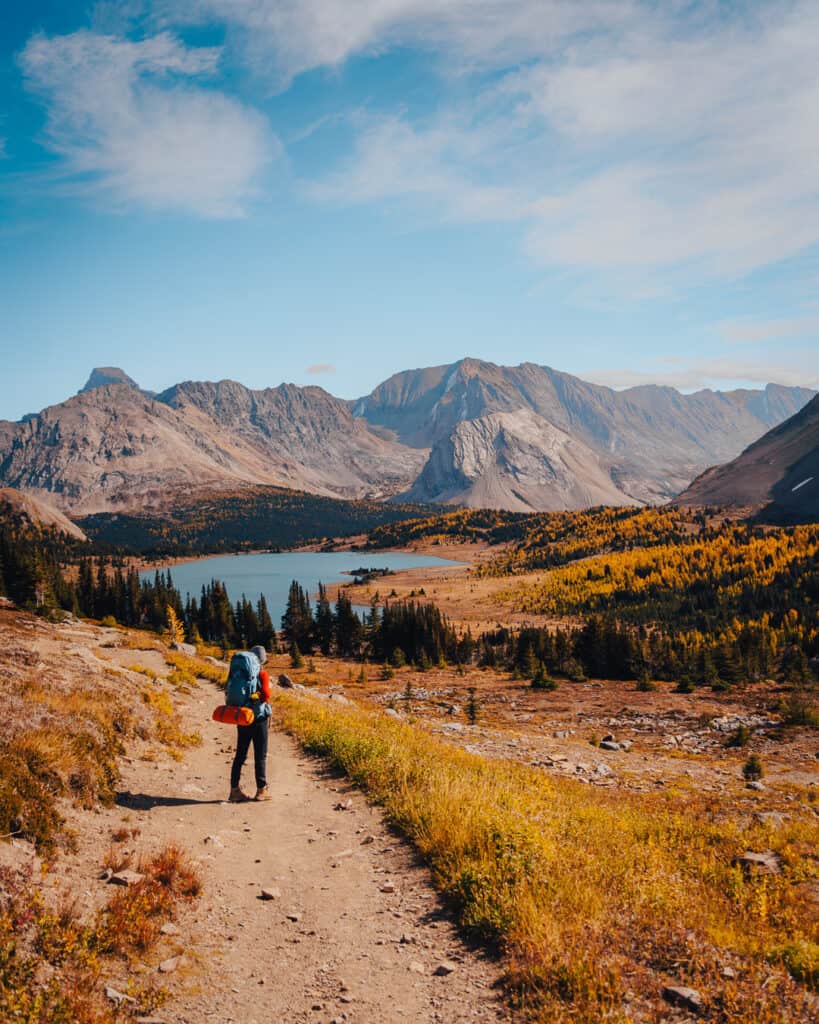
How far you can go also depends on a multitude of factors like how physically active and strong you are, how much weight you’re carrying, and how challenging the route is. This is why it’s so essential to follow the tips listed above!
How much money do you need to be a backpacker?
Backpacking doesn’t need to be extremely expensive, but you do need to have some money for recurring items. Once you’ve obtained gear using the tactics listed above, you’ll want to budget for the following:
- Food
- Permits/Fees
- Transportation
A rough estimate of how much a backpacking trip costs (minus gear) is approximately $50 to $150. This can easily add up if you’re flying to your destination and doing a more remote hike. If you’re keeping things close to home and can drive to your backpacking destination the cost will be significantly less.
Bonus Tips For Women Backpackers
Now that I’ve given you all the necessary details, here are some other quick tips I’ve learned from years of backpacking!
- Clip your toenails before a backpacking trip. This will help prevent your toes from hurting if you have a lot of downhill sections to tackle.
- Get yourself a long spoon for freeze-dried meals! This is one of my favorite trail hacks.
- Buy yourself an electric hand warmer. I invested in one of these in 2022 and I love having it to warm up my hands at night.
- Always have a pair of pants even if it’s summer because some trails have a lot of brush. My favorite lightweight and quick-drying pants are the Coalatree Trailhead Pants.
- Always have a dry cover or garbage bag, dry bag, and rainfly if there’s rain in the forecast. Nothing is worse than super wet gear. It’s faster for you to dry out than a down sleeping bag.
- Speaking of sleeping bags, stuff your sleeping bag into a trash bag at the bottom of your pack if there’s rain in the forecast. This will help ensure it doesn’t get wet even if some water slips through your rain cover.
- If you are hiking in bear country, DO NOT leave anything scented in your tent. Put everything that smells (including toothpaste, sunscreen, chapstick, etc.) in your bear canister at least 200 ft. away from the tent.
Conclusion: 25 Tips For Women Backpackers
Backpacking as a woman can be so rewarding and empowering! There’s nothing quite like getting outside and tackling a night in the backcountry.
Whether you chose a short or long route, go with a group of friends or solo, or simply just want to have a good time, I hope this post has provided you with the tools to be successful! Download my backpacking checklist below to make sure you don’t forget anything for your backpacking adventure!
