2 Week Norway Itinerary in Western Fjords (with Map!!!)
Cates Compass contains affiliate links and is a member of the Amazon Services LLC Associates Program. If you make a purchase using one of these Amazon links, I may receive compensation at no extra cost to you. Read my disclaimer for more information.
Want to explore Norway for a few weeks, but don’t know where to start? I’ve compiled a comprehensive itinerary to our campervan road trip through the Western Fjords.
Taking a road trip in Norway is one of the best bucket list experiences you can embark on as someone who loves the outdoors. Figuring out what your Norway Itinerary should be can be difficult because there’s so much to see and do that you really can’t go wrong.
I spent weeks researching and compiling information for our Norway road trip we took in July of 2024 and I’ve detailed out everything we did. This itinerary is a great starting point. You can do the exact thing or take it and adjust as you’d like for what your interests are!
Quick Guide
How To Get There: Unless you travel from elsewhere in Europe, you’ll need to fly to Bergen. We connected in Amsterdam which is pretty typical for this flight.
When To Visit: For a summer road trip, June, July, and August are the best options. We visited in early July and it was relatively good weather. This region is highly mountainous so there will always be some rainy/moody days. If you plan to do a winter road trip, December to February is the best time!!
Where to Stay: I highly recommend booking a campervan for your road trip, as this serves as both your transportation and accommodation! In Bergen, we stayed at Citybox Danmarksplass, and it was exactly what we needed for a one-night stay.
Top Hikes: Klovane, Urkeega, Molden, and Prest
Top Attractions: Fjærland Guiding & Sauna, Bøyabreen Glacier, and Lake Lovatnet
For a full list of places, access my Norway Campervan Trip Map!!
Overview + Map
A road trip in Norway is epic and you can’t go wrong with whatever route you choose! I’ve put together a map below that shows our specific driving route. My Norway Campervan Trip Map details all the points of interest (we didn’t do all of them).
The biggest advice I can give you on a trip like this is to have a general plan but be willing to throw it out the window depending on multiple variables. Having a set itinerary is a great idea, but sometimes reality gets in the way.
You might not feel like driving that day and would rather lounge around. Perhaps the weather is garbage and you want to explore an area with a better forecast.
It’s okay to pivot which is why I created the map for our trip. I wanted to know our options in different areas so changing plans wouldn’t be stressful! It honestly helped so much.
Things to Know Before Going
Norway is easy to get around, but you should know a few things before visiting!
Renting a Campervan
There are a few options for renting a campervan in Bergen Norway. We rented with Fjord Campers and it had everything we needed for two weeks on the road.
Other options include:
We chose Fjord Campers because it was a newer van with automatic transmission, a larger kitchen for cooking, and you can stand up to change in it. We’ve rented a van before and knew these items were important for us to feel comfortable.
Driving in Norway
Driving on the main roads in Norway is straightforward. I do encourage you to have phone data so you can utilize maps.
Maintaining an appropriate driving speed is important because Norway has speed cameras installed, and you’ll get fined for going too fast. We utilized maps so that we always knew what the speed limit was and rarely went more than 5 km/hr over that.
One major thing to note about driving on non-major roads is that they are narrow and often only have one lane. There are pull-off sections to allow for passing, but it’s important to stay vigilant when on these roads and drive the speed limit.
The one-lane roads are the reason we did not get an RV that was larger than a campervan, because it is difficult to maneuver these in more remote areas.
Also, Norway has a ton of free-roaming cattle and sheep. You may experience a traffic jam due to this, and you’ll just have to enjoy the experience! We laughed the few times it happened and waited the 10 or so minutes for the road to clear.
Ferries
The ferries in Norway are easy to use and are such a fun part of the overall experience. My husband had never been on a ferry before this trip, so it was hilarious to watch his reaction.
If you’re renting a campervan or car, chances are that it is already equipped with a pass for the ferry system. This is something you should confirm with your rental as it will make the process much smoother.
Most ferries lasted about 15-20 minutes and were a perfect break from the car. We grabbed a quick snack (usually a hot dog) and used the restroom before the ferry docked on the opposite side.
There’s almost always someone working the ferry line, and a lot of signage to show you where to go. The majority of ferries run most of the day, but check the schedule just in case you are driving at odd hours or can’t afford to wait!
Tunnels
You will encounter tunnels all throughout Norway. This is extremely normal, and they were built for your benefit, as we learned it used to take much longer to go around the mountains.
Most of the tunnels are relatively short, but if you follow the itinerary exactly, you will drive through the longest tunnel in Norway, which is 24.5 kilometers.
The speed limits are typically posted at the entrance and exit of the tunnel, so be on the lookout, as there are speed cameras as well in these areas.
Esim
Please do yourself a favor and get an eSIM when you arrive in Norway. Years ago, I discovered Airalo, and I’ve been using it on all my international trips ever since.
The Airalo app makes getting data abroad a breeze, and it is SO MUCH cheaper than your provider’s international plan or a physical SIM.
My plan was about 10GB for $30, and my husband had a lower cost for $15. We used my phone for navigation and to look up anything essential. The great part is that if you’re running low on data, you can top off easily in the app.
I’ve found that when I purchase a plan and add it to my SIMs, it takes a few minutes for it to register on my phone. I always do it at the airport so I have reliable wifi and can troubleshoot if necessary.
Gas
Filling gas in Norway is similar to filling gas in the United States. The price of gas is more expensive, but we found that our campervan was extraordinarily fuel-efficient, and we only needed to fill up a few times while we were there.
Most towns have a gas station (or multiple), but on the longer stretches of road in the rural areas, there aren’t many places to refuel. Check your tank before a longer section of driving and mark where you can snag gas if need be!
Food
Similar to other Nordic countries, the food in Norway isn’t necessarily cheap, but we found that it wasn’t much more expensive than the general food cost in the United States.
Since we were campervanning, we were able to save on food by cooking in for most of our meals. We did eat out a few times, but again, this was comparable to what we are used to paying at home, so it wasn’t a huge deal.
One thing you need to splurge on while in Norway is the pastries! Norway has a wide variety of pastries to sample, and trust me, we did. By the end, my husband was sick of eating baked goods, but I was still gobbling them up.
If you look at the Norway Map I created, you’ll find all the bakeries that I marked to try. Our favorites were Marianne Bakery & Cafe, Fredag & Fretland Bakeri, and Minibakeriet.
Free Camping vs. Regular Camping
Free camping is relatively common in Norway, but there are areas where it is not allowed, which are heavily frowned upon, or where all the convenient locations are occupied. We used Park 4 Night to find spots on some nights.
On the Norway Map, I’ve noted all the campsites I researched that seemed like viable options for us. We stayed at many of them, which I will denote below.
We found that we did about 50/50 free vs. paid camping, and it worked really well for us. The paid sites are almost all first-come, first-served, and the only area we had major competition was Olden.
Hiking Terrain
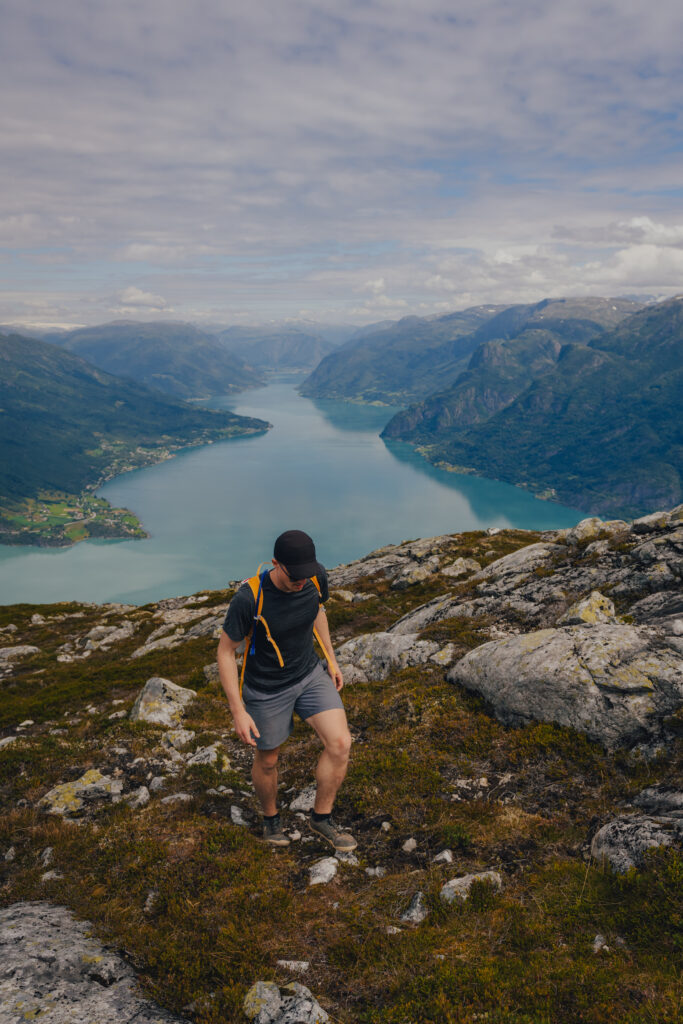
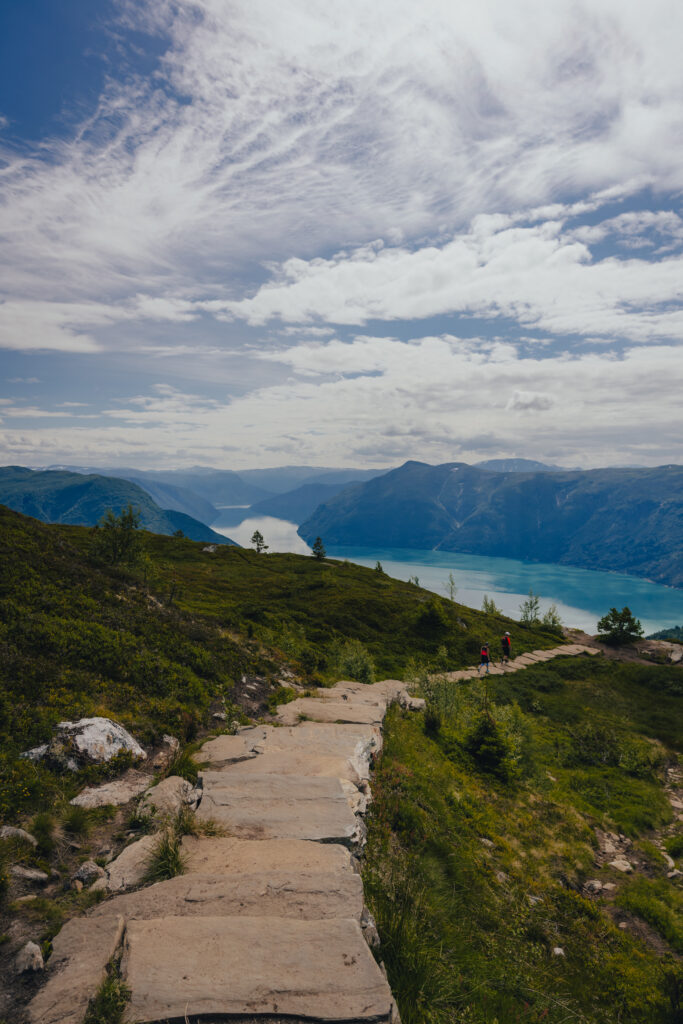
Hiking in Norway is no joke. I consider myself a pretty fit person who hikes a lot, and these hikes were brutal.
The Norwegians don’t believe in switchbacks and would rather scale a mountain straight up. Yes, it may be overall less mileage, but you will pay for it.
Before choosing a hike, familiarize yourself with the elevation map and ask yourself if you feel confident undertaking the grade for that hike.
Another thing to note about hiking in Norway is that the trail can get extremely muddy after a rain. There were a few times on our trip when we had to navigate massive mud pits because we hiked later in the day.
More people equals more turn up on the trail, so if you’re doing a popular trail, you may want to consider hiking earlier rather than later for this exact reason.
Weather
The weather in Norway is unpredictable and can change quickly due to the mountainous landscape. There were a few days we experienced multiple weather systems in a matter of hours.
The most important thing is that you are conscious of any major storms with lightning while you are hiking. You do not want to be high up with lightning.
We hiked numerous times in the rain with no problem. Often, it was just a sprinkle or light rain for a minute. The clouds move quickly, and if you’re on a longer hike, you’re likely to get sun at some point if you’re visiting in the summer.
Language
If you’re concerned about a language barrier, please don’t be! Almost every single person we met spoke English and was extremely kind.
A lot of these areas survive from tourism and need international visitors. That being said, please be a respectful and thoughtful tourist while visiting!
Exchange Rate
As of December 2024, 1 USD is approximately 11 Krone. You can use this exchange rate calculator to see the current rate.
We found in general that when we did the conversion, some prices were higher than we’re used to, and some were lower.
On average, most campgrounds were about $30 to $40 converted.
Food was approximately the same overall, with some items being more expensive and others being less due to Norway’s proximity to certain food items.
Gas was more expensive, but we didn’t fill up as much as we’re used to, so it wasn’t as expensive as we were expecting.
Lastly, pull out cash from an ATM. I repeat, pull out cash!!! Especially if you’ll be hiking.
Most hiking parking lots only accept payment via bank transfer or an app that only Norwegians have access to. The only other option is to pay in cash. Make your life easier and just pull out about $100 worth of Krone and spend it on food for the last few days if you find you have a lot left over.
Parking
In certain areas, you will need to pay for parking. The best way to do so is to download the EasyPark app.
Follow the instructions and connect your rental to the app. This way, you’ll automatically get charged when parking in a spot that uses Easypark, and you won’t have to worry about using a pay station or getting fined!
Just remember to disconnect your car/credit card from the app at the end of the trip so you won’t continue to get charged for the rental. The best way to do this is to know the license plate, so take a picture at the beginning of the trip, so you can complete this.
Ultimate 2-Week Road Trip Norway Itinerary
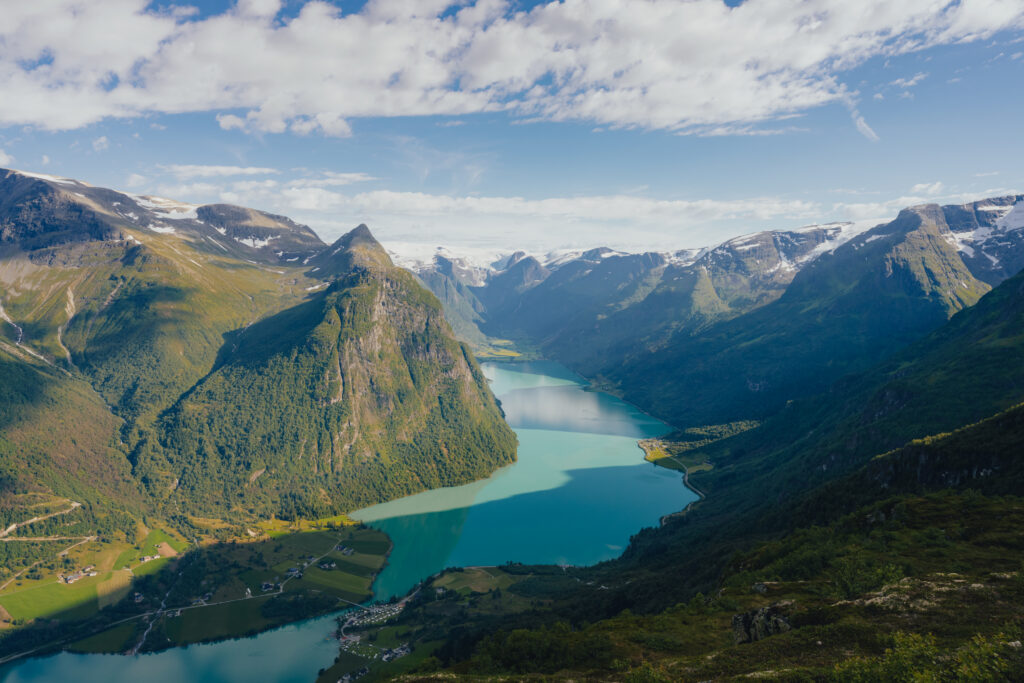
I know we went over a lot of things before diving into the meat and potatoes of each day, but truly, you will thank me later. We learned a lot of these things on the go, and I wish I had known in advance.
When I started planning our two-week Norway itinerary, I was enamored with Lofoten. I quickly realized that it’s not only difficult to get there as an American (so many plane rides), but it’s also more expensive and remote.
The more research I did on the Western Fjords, the more excited I got about the prospect of exploring this region of Norway. Not only is there a ton to do, but the views and hiking are incredible.
Day 1: Arrive in Bergen + Explore the City
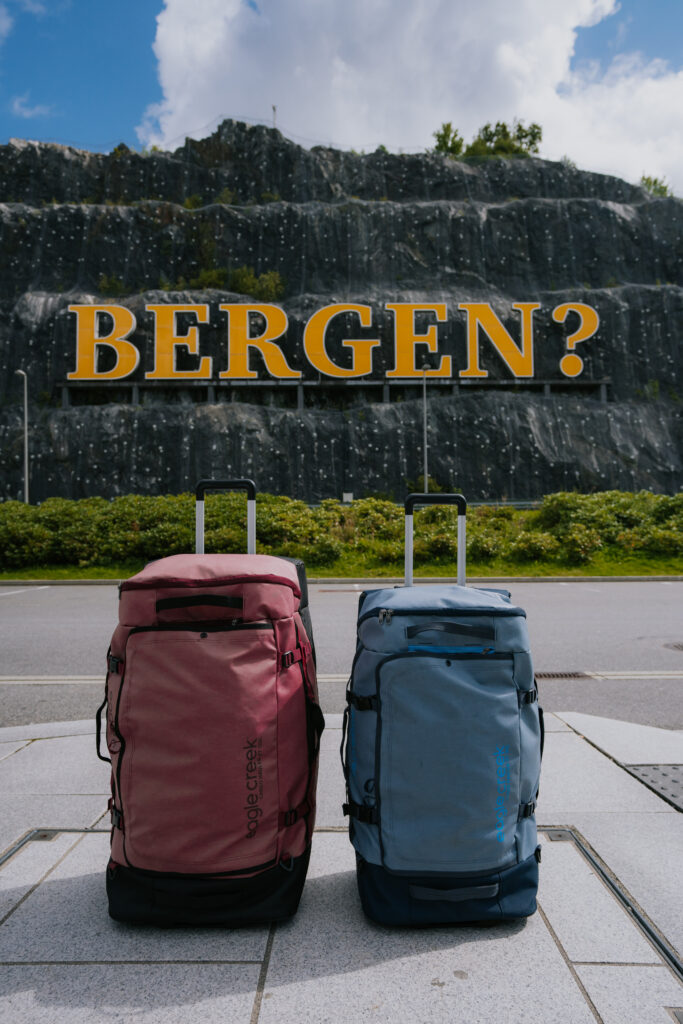
Arriving in Bergen was an ordeal for us because we had so many connections, and the first one got delayed due to a storm. We ended up arriving on Day 2 of this itinerary and heading straight to Vossavangen (after taking a long nap).
I had originally booked the Citybox Bergen so we could easily explore the city. Luckily, like most European cities, Bergen has an incredible train system that is easy to use and will take you into the city.
Although we didn’t get to explore Bergen as much as I would have liked, my Norway Campervan Trip Map has pins that I added for downtown Bergen. My favorite thing to do is to take a long walk in a city like this and see all the different architecture, parks, and shops.
Day 2: Bergen to Vossvangen
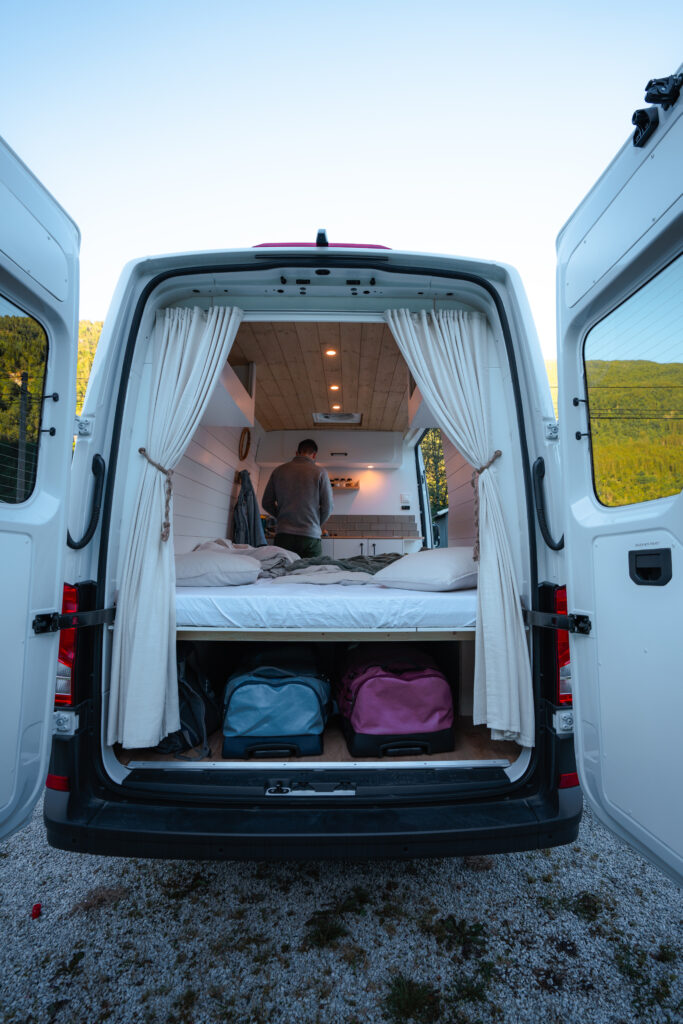

On Day 2, which was our Day 1, we picked up our campervan from Fjord Campervans. The pick-up process was pretty easy, as all we needed to do was take the train from the airport to the first stop and then walk about 5 minutes to the pickup lot.
The owner gave us a quick run-through of the van, and then we were on our way. Driving in Norway is straightforward, and we didn’t have any issues (especially utilizing Google Maps).
We stopped at a grocery store on our way out of Bergen to pick up food for the next couple of days. Think pasta, sandwiches, eggs, yogurt, and of course, chocolate! REMA or Kiwi are the most common grocery stores you’ll see, but there are smaller stores in the more remote towns.
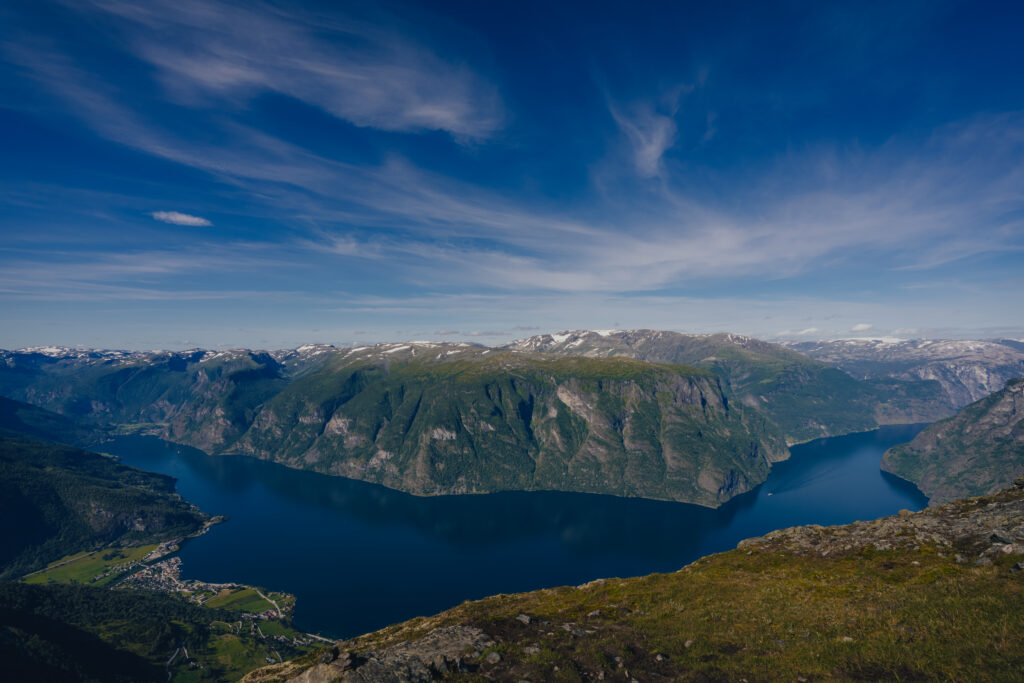
We then headed out on our drive, and boy, was it pretty. As you get further out of the city, the landscape becomes so dramatic, and you can see why this is a vacation destination for people all across the world.
On this day, we mainly drove and looked for a place to camp. We stayed at Tvinde Camping that night, which was beautiful and perfect for a quick overnight stop.
The campground sits right next to a waterfall called Tvindefossen, and we could enjoy it from the bed in our van! We were gassed from jet lag and a long day of logistics, so we read our books and fell asleep early.
Day 3: Vossvangen to Bakka
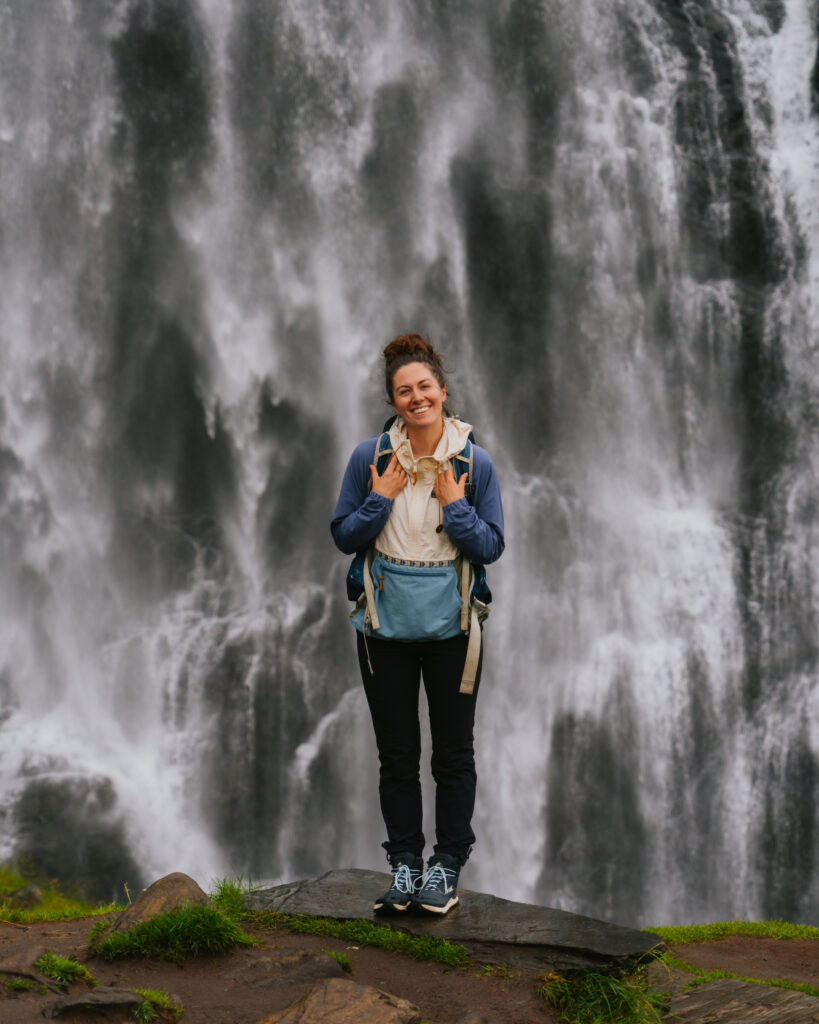
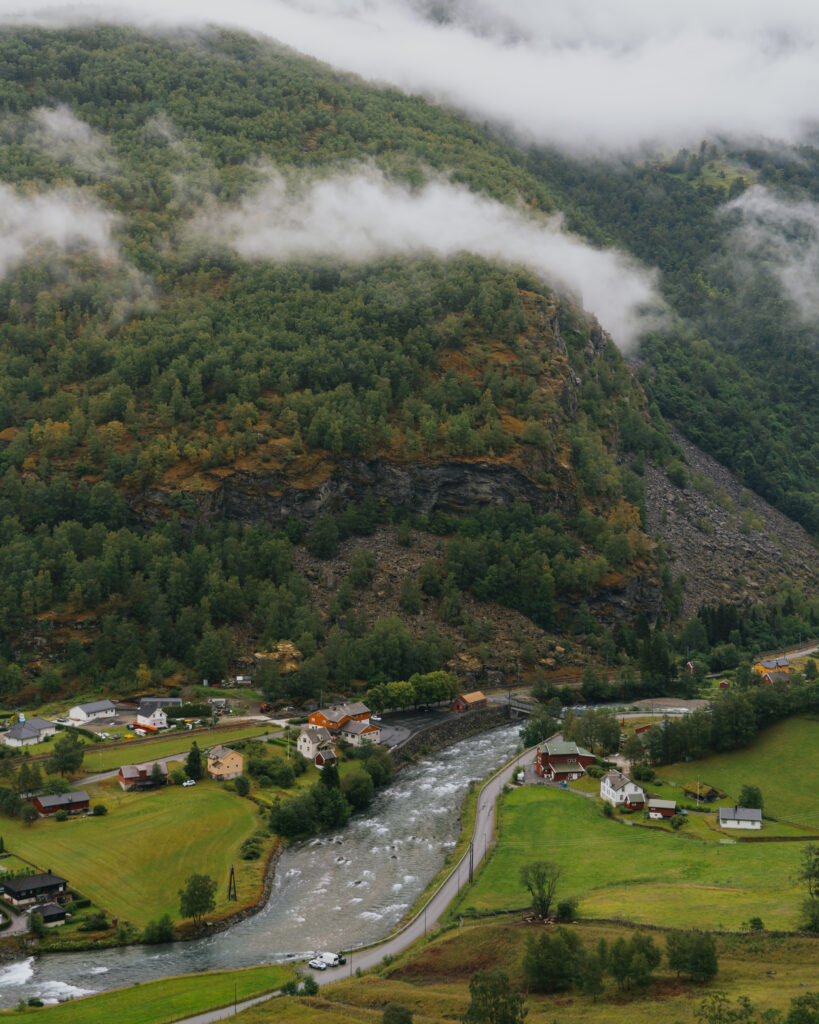
Vossvangen to Bakka was an easy drive and didn’t take us much time. Bakka was where we planned to camp, so the main drive is to Gudvangen.
We planned on stopping at Stalheimsfossen, but we needed to exit onto a road prior to the tunnel, and our Google Maps didn’t navigate that way. By the time we figured it out, we were pretty set on just continuing our drive so we could explore the area near Bakka.
In Gudvangen, we stopped at Viking Valley and the Gudvangen Kafe & Bakeri. We didn’t end up taking the tour at Viking Valley because we felt like it was overpriced.
On the other hand, we did get a baked good and tea at the bakeri because when in Norway. We read our books for a while and enjoyed slowing down, especially since it was raining outside.
Once the sky cleared a little, we decided to head toward Flåm for an afternoon hike before backtracking for our campsite! If you’re in the mood and the weather is good, I’d do the Fjord Cruise at Gudvangen.
We headed to Brekkefossen Trailhead because we wanted to get some exercise in. The hike wasn’t super long, but it was beautiful and the perfect amount of walking for us.
Afterward, we decided to head to our campground and set up shop for the night. The road to Bakka from Gudvangen is one lane, and this was our first experience with it, so we were a little nervous.
We drove very slowly and watched for cars coming around turns. In certain areas, the pull-offs will favor one side, so if you’re on that side, it’s your job to pull off and let the other car go ahead.
We only saw a few cars and had zero issues since everyone was paying attention and no one wanted to get into an accident. It was refreshing from what we’re used to in the United States.
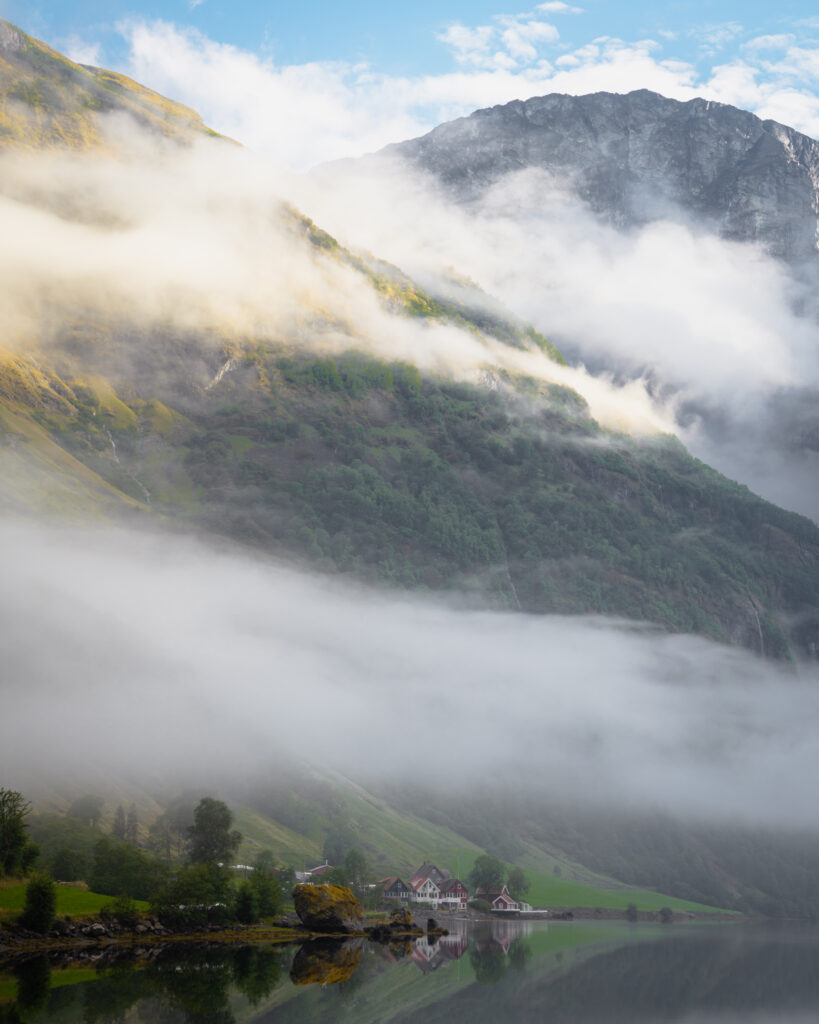
This was the only campground I booked in advance, and I’m glad I did. We had a great campsite and were able to cozy up since it rained a lot that night.
The campground is called Nærøyfjorden Camping and has a stunning view of the fjord. If you’re lucky, you may even take advantage of the sauna! We would’ve, but we didn’t realize it existed until we were leaving in the morning.
Day 4: Bakka to Aurslandvangen
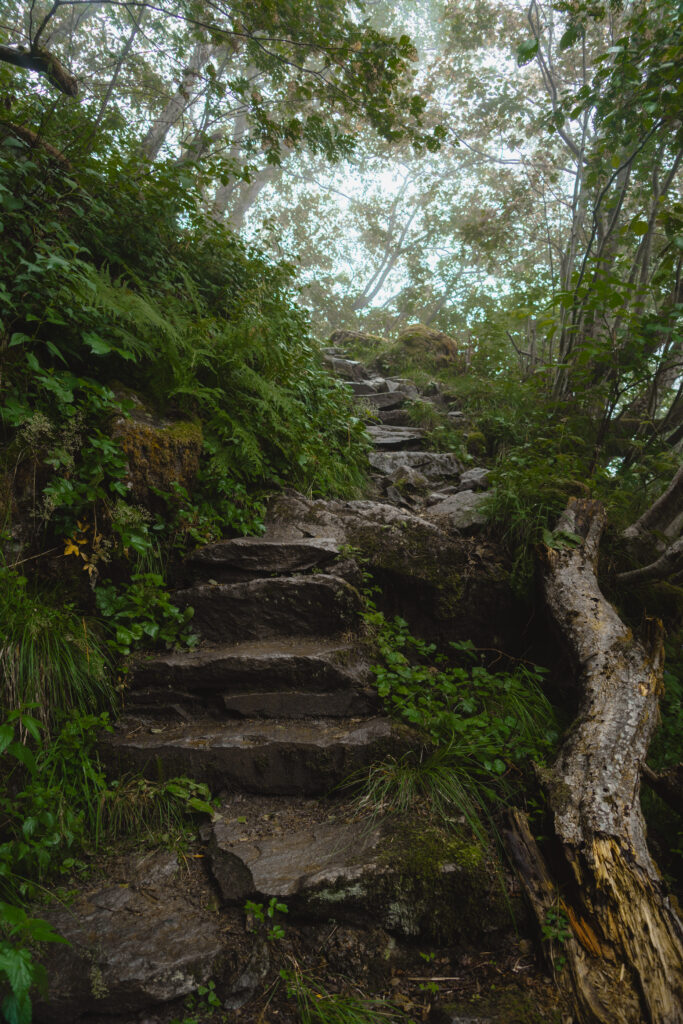
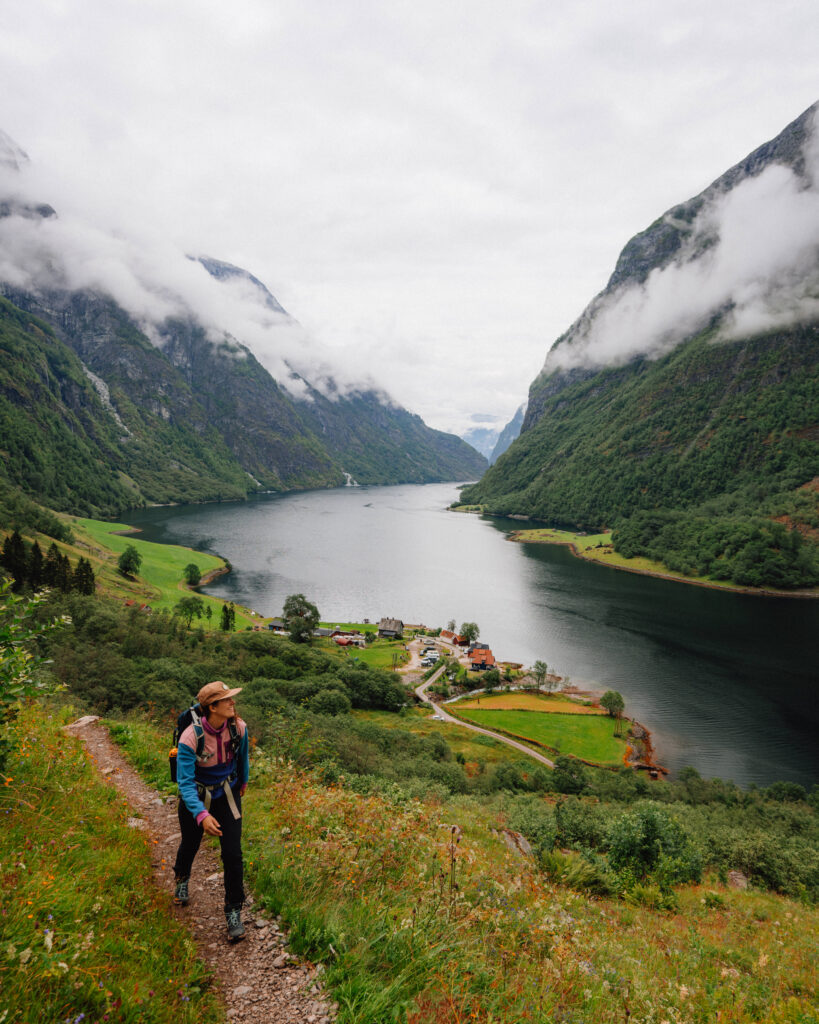
We started our morning in Bakka by heading to Breiskrednosi Trailhead just a few minutes from the campground. I’m happy we arrived early because the parking lot is small and it’s a popular hike.
The weather was cloudy, and we weren’t positive we’d get any good views, but we love to hike, so we headed up anyway. My philosophy is that I’ll get a good workout either way, and hopefully the clouds will clear.
This was our first taste of Norway’s intense hiking, and we were humbled. My husband and I are active, but we were feeling it by the end of the hike.
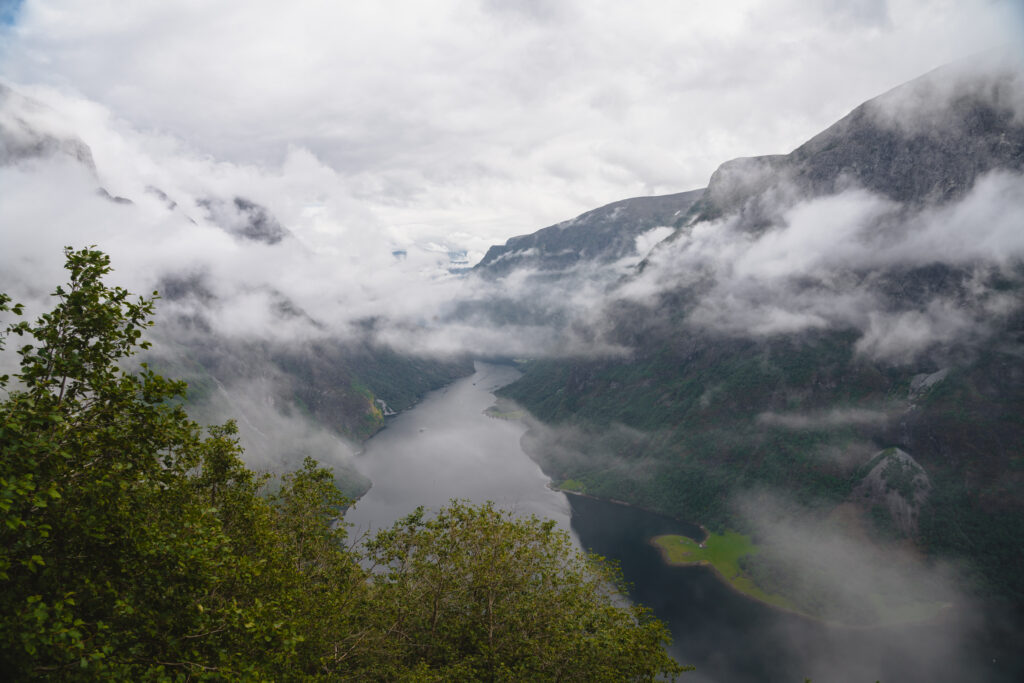
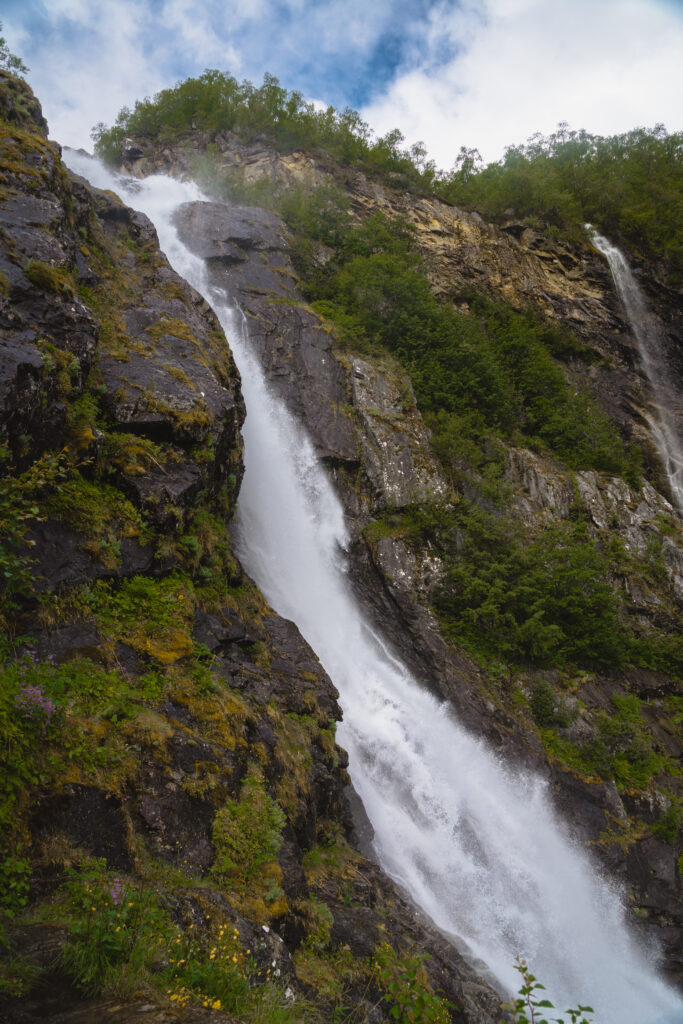
About halfway up, there’s a waterfall that you can stop at. It’s a little branch off the main trail, but hard to miss because the waterfall is so loud.
Unfortunately, the clouds didn’t clear for us, so we only went about 4 miles round-trip. We could see the peaks of a few mountains in the valley, but since the clouds didn’t show any sign of dissipating and we were on a schedule, we turned around.
The views of the fjord on the way down were gorgeous, though, and I’m so glad we did the hike!
Next on our list was Fjord Sauna AS in Flåm. We used an EasyPark lot on the edge of town and walked to the Sauna.
You can book this privately, but it’s cheaper to do it as a shared experience. We enjoyed having others to chat with and learning where everyone was from.
It was so fun to jump off the top of the Sauna after getting extra hot. Both my husband and I would do this again on another visit.
Flåm is a popular spot for one of the Norwegian Cruise Lines and gets exceptionally busy when the cruise is docked. If you want a slightly less busy location, Fjord Sauna also has an option in Aurland.
After our sauna experience, we started our drive north to Aurslandvangen. We realized on the way that the weather for Olden was looking really good, so we decided to pivot!
We pitstopped in Aurslandvangen for lunch at Marianne Bakery & Cafe. It was so good and just what we needed to fuel us for another couple of hours on the road.
Post lunch, we tackled the longest tunnel in Norway. This was a wild experience followed by our first ferry of the trip. Everything went smoothly, and we just followed what everyone else was doing.
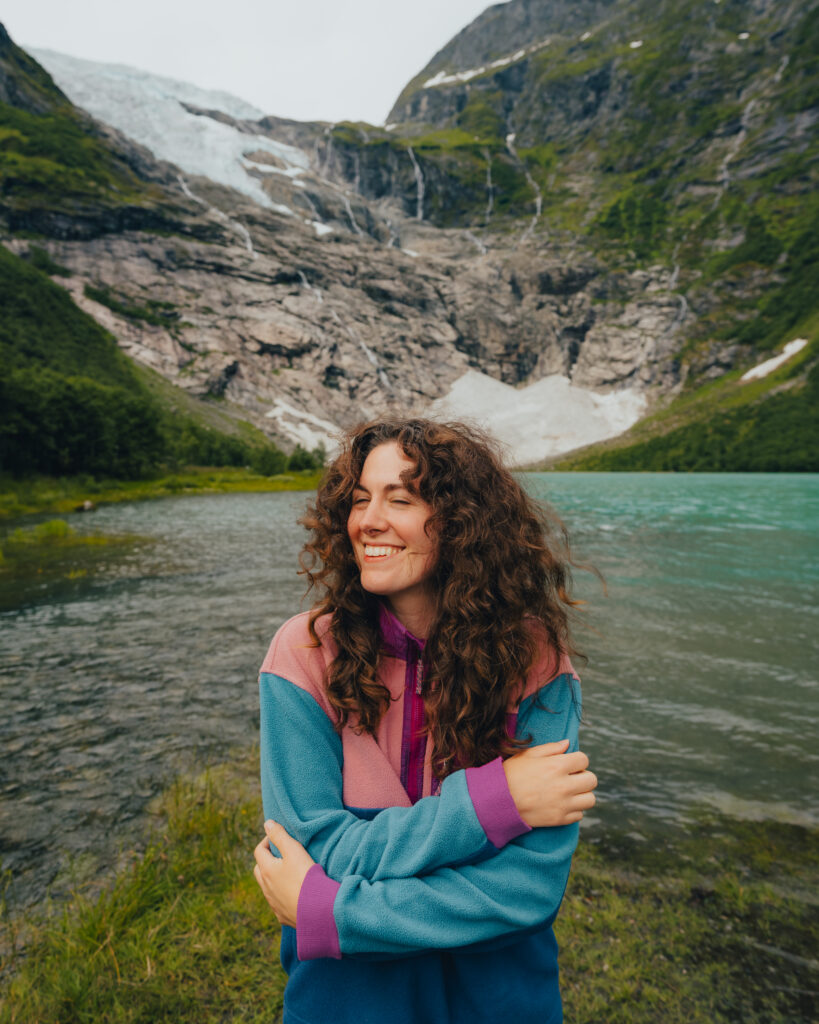
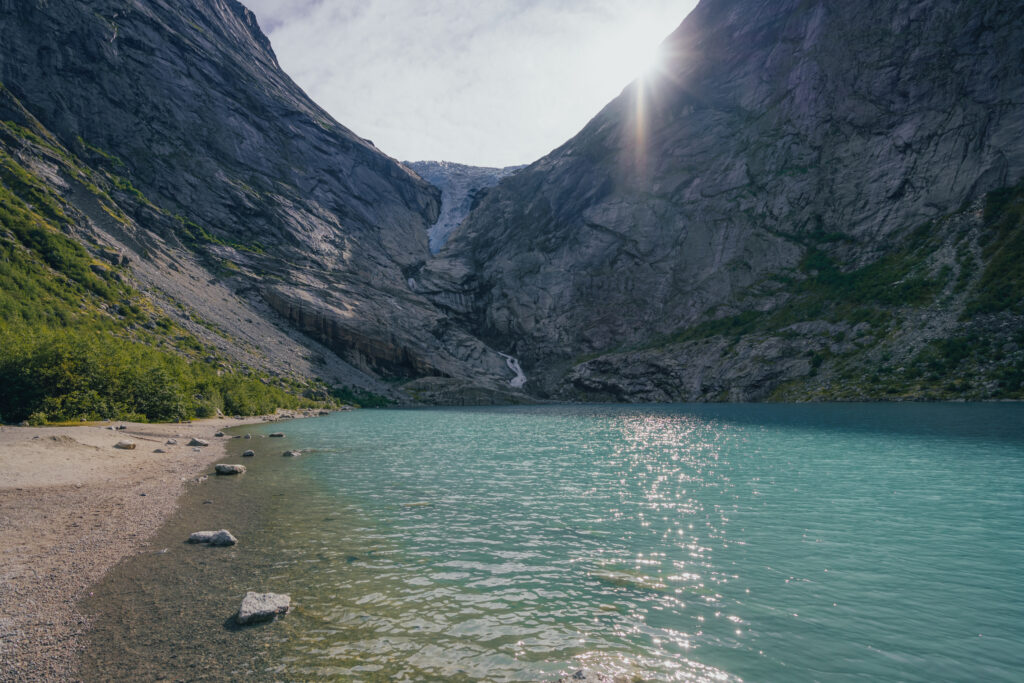
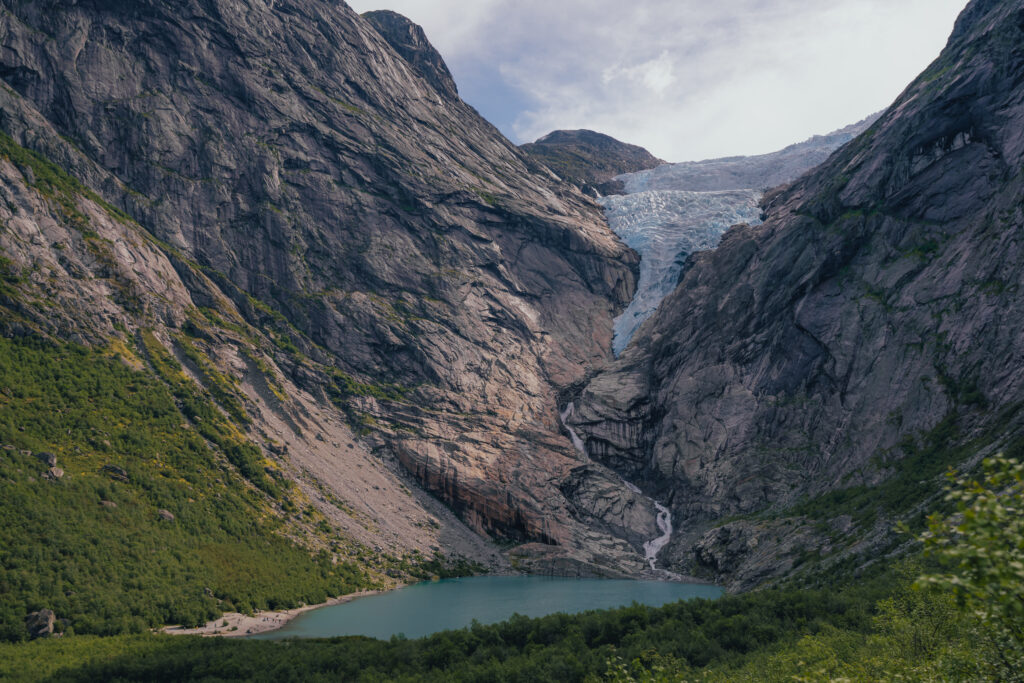
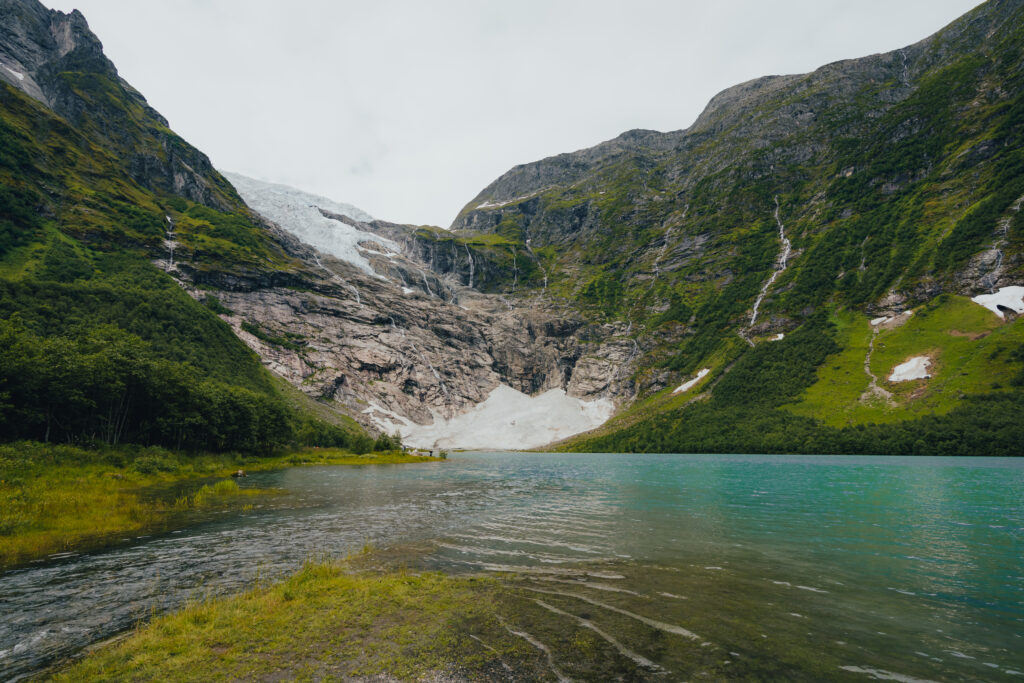
After the ferry, we continued until our next pit stop at Bøyabreen Glacier. This is a must-visit and such a perfect place for photos. Also, there’s a public bathroom to take care of business before the rest of the drive.
Once we got to Olden, we chose to stay at Løken camping. My husband had friends who were coincidentally in the same place, so we decided to spend a few days camping in the same spot!
Day 5: Aurslandvangen to Olden
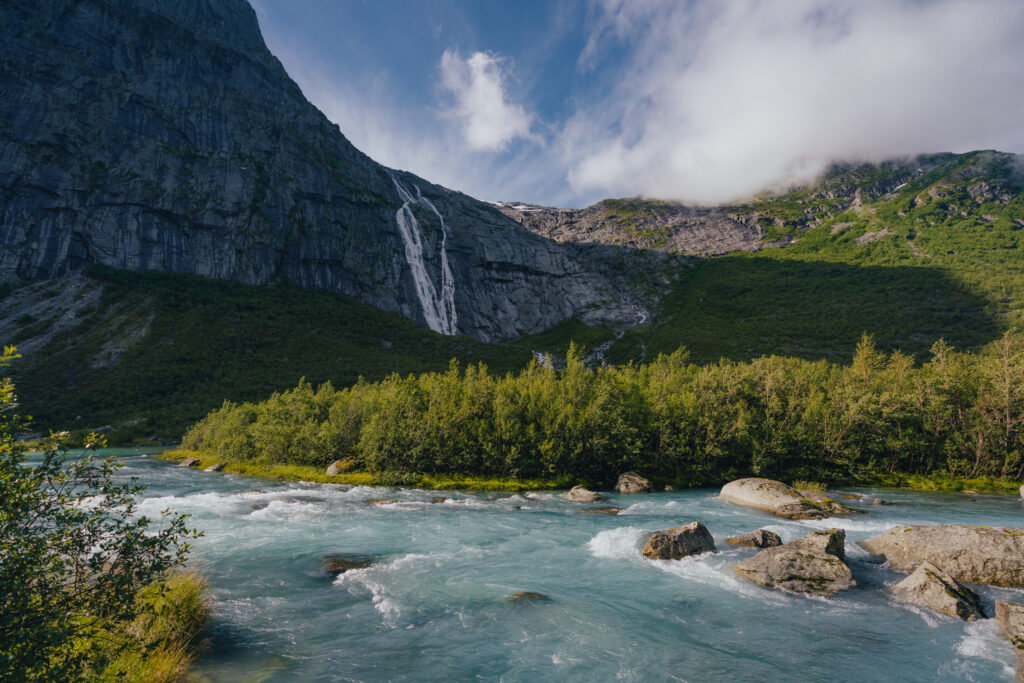
Løken camping was the perfect base camp for our time in Olden. There are numerous campgrounds available, but we found Loken to be the smallest and quietest.
Olden is a popular location, and thus, free camping is not allowed in this area. You will see people attempting to do so, but I do not recommend it. Do the right thing and support the local campground hosts during this season, since they are closed in the winter!
Since the weather was spectacular on this day, we decided to tackle Briksdalsbreen Glacier early in the morning before the crowds. We learned that the tour buses arrive around 9 a.m. since that’s right around the time we arrived.
Thankfully, we’re fast hikers and were able to book it to the glacier before taking the trail up Kattanakken. This is a hard hike, and we were zonked after about 2 miles straight uphill.
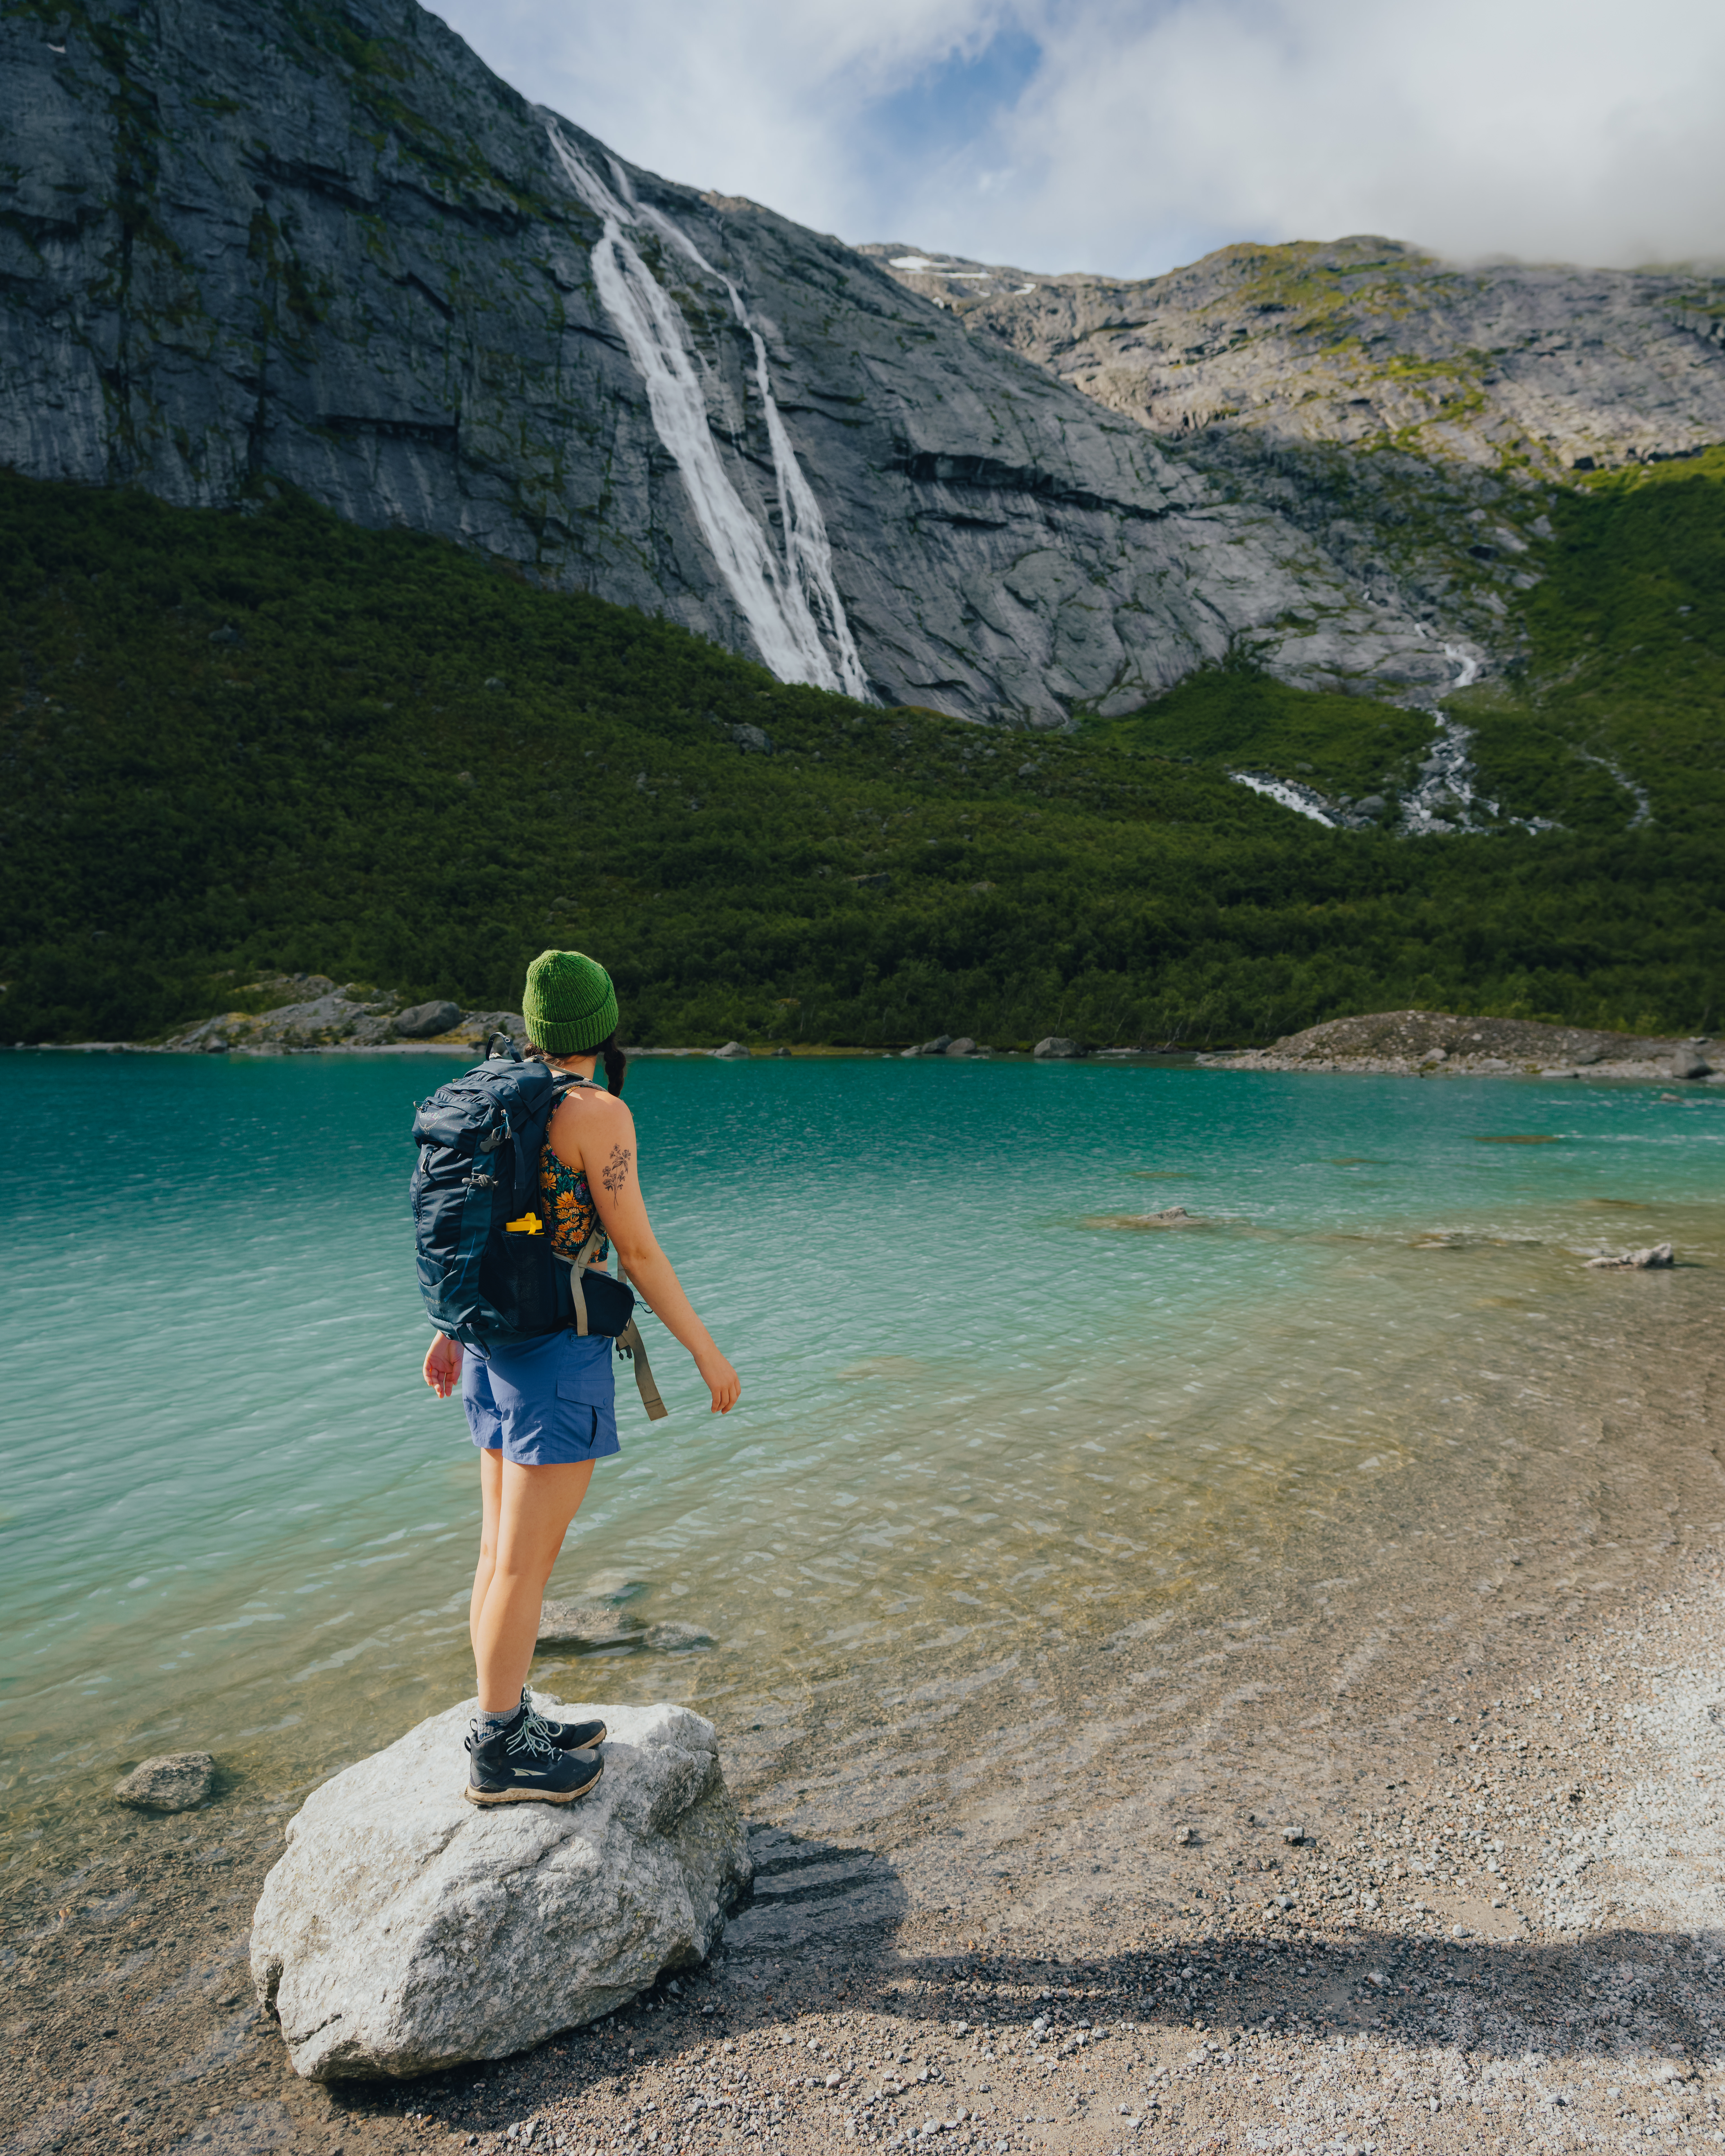
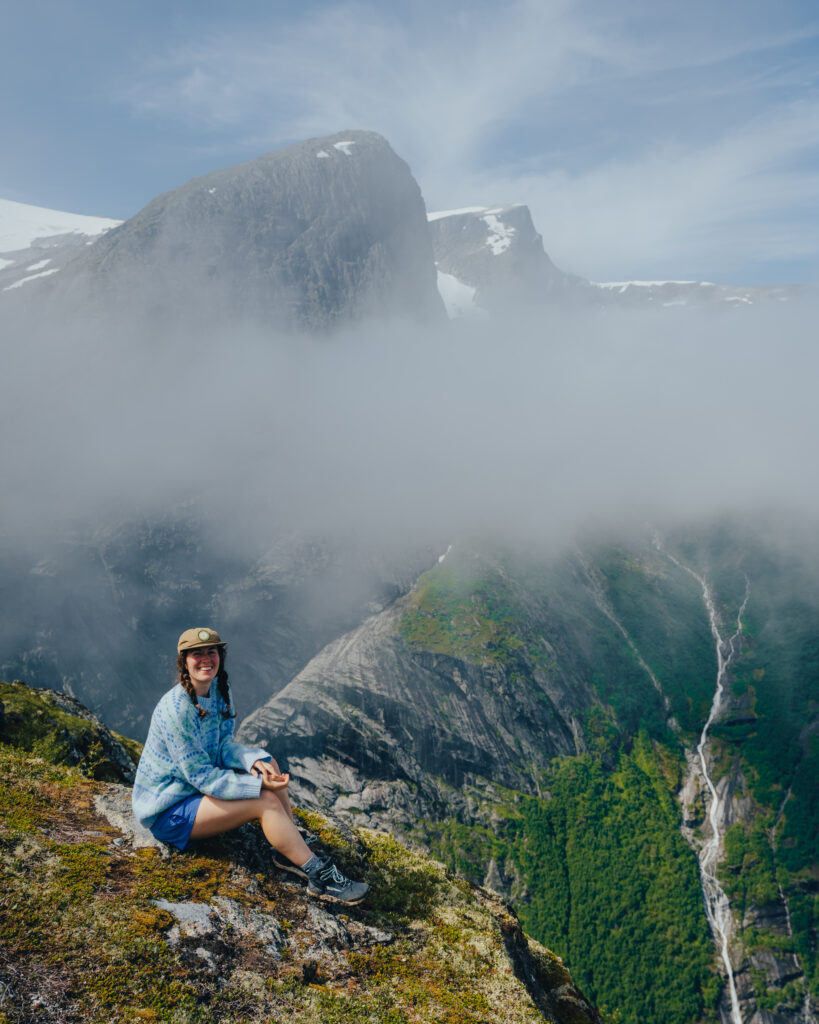
We enjoyed a rest and a view break before heading back down. If you’re feeling adventurous, do the whole thing and let me know how it is!
After our hike, we grabbed lunch at Briksdalsbreen Mountain Lodge, which was quite delicious. Then we drove back to our campground to have a relaxing afternoon and dip in the lake.
Løken camping is pretty basic, but there are hot showers that you can use. The camp host is exceptionally nice, and if you time it right, you can snag a spot by the lake with incredible views.
We told the host we were staying for a few days and wanted one of the prime spots. He informed us when someone was moving and put a chair there to hold the spot for us!
Day 6: Olden
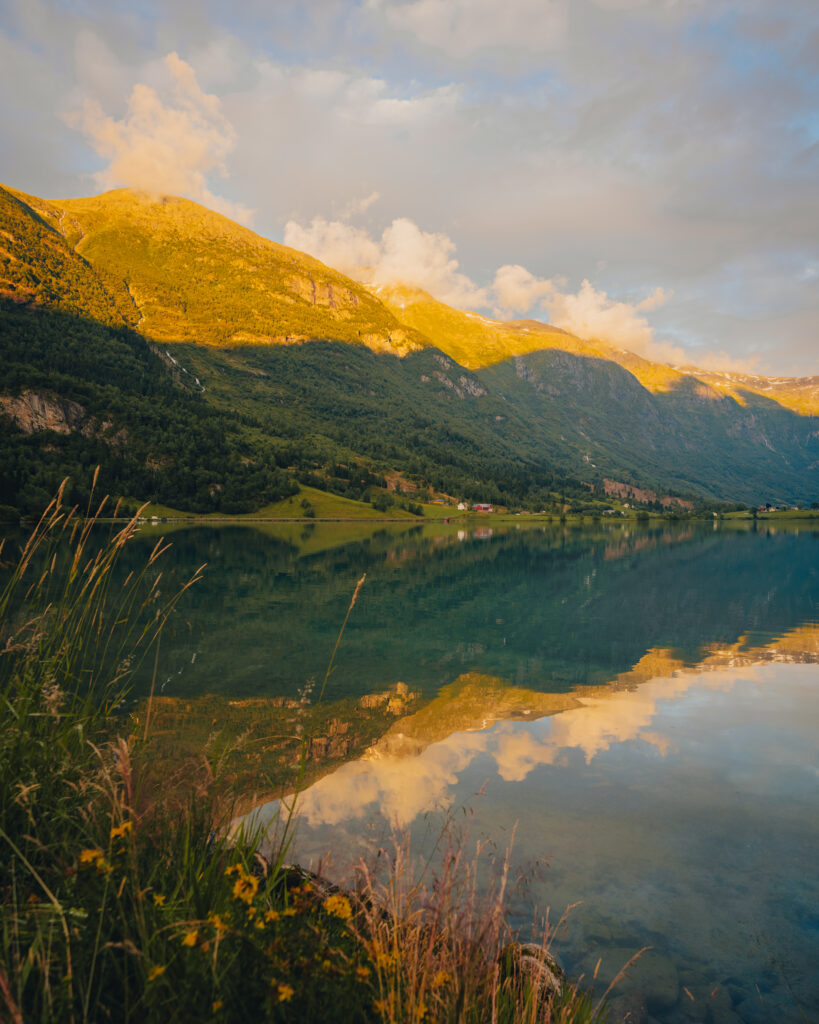
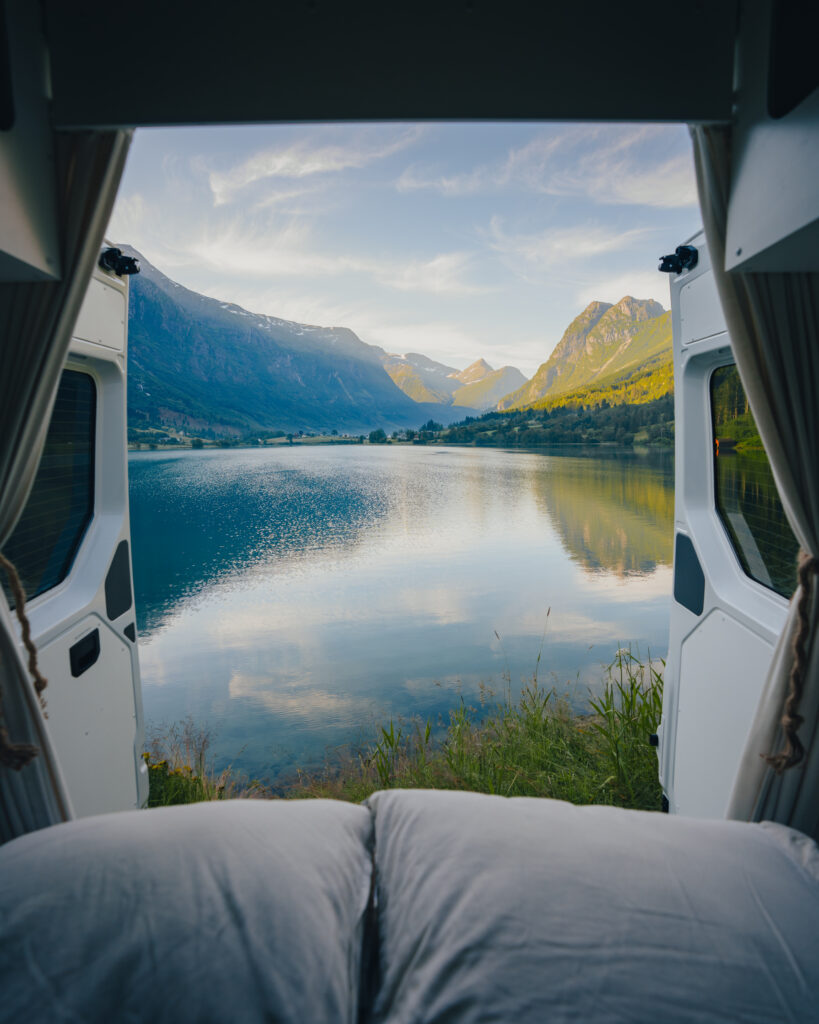
On our second day in Olden, we chose to have a lazy morning by the lake, followed by a quick drive into town to obtain groceries as we were running low from our first stock up!
After arriving back at camp and cooking lunch, we got ready to tackle the hike we were most excited about in the area: Klovane.
This hike is relatively short, clocking in at 3.5 miles, but don’t let that fool you. Please take a look at the elevation map, and you’ll understand just how much of a booty burner this is.
Overall, the hike took about 5 hours because we took so many breaks on the way up. We also needed to navigate numerous mud pits since this is a popular trail, and there had been a lot of foot traffic that day.
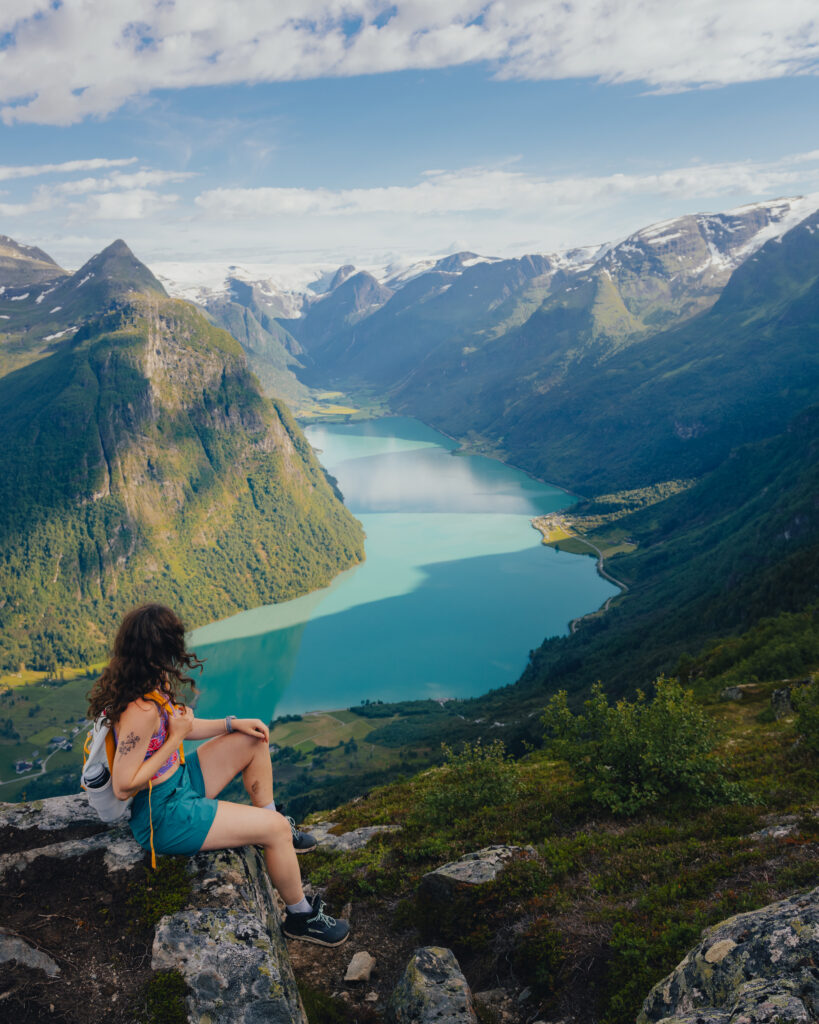
I don’t think this hike is difficult in terms of technical skills, as there is only one small part where you need to utilize a rope. That said, I don’t recommend undertaking this without good fitness and a lot of water.
Once we’d completed the hike, we slammed a big dinner at our campground and hung out with our friends while we enjoyed a beautiful golden hour on the lake.
In the summer, the sun doesn’t set until about 11 p.m. in Norway, and even then it’s really light out. You only get about 5 hours of darkness in this area, so you can really take advantage of the daylight hours if you want!
Day 7: Olden
For our last full day in Olden, I wanted to explore Lake Lovatnet. This is a stunning turquoise lake with great swimming.
A few things to note if you choose to go here (learn from our mistakes):
- Arrive early! We had been enjoying slow mornings and taking our time, which ended up causing us a lot of stress. I encourage you to get over there between 7 a.m. and 8 a.m. This area is insanely busy in the summer, and you’ll want to secure a parking spot as soon as possible.
- Driving on this road is stressful (all the more reason to arrive early)! It was the narrowest road we drove on and one of the busiest. There are a lot of tight corners, and since it’s a one-lane road, we experienced multiple pile-ups where someone had to back up. I don’t regret going to this spot, but I wish I had known what we were getting ourselves into.
- Plan to go for the whole day! We didn’t plan correctly, and the driving stressed us out, so we parked at a beach area to read before heading back. We wanted to go further down and explore, but the road situation deterred us, and we didn’t see as much as we wanted to.
If you want to split the day, do Lake Lovatnet early and then head over to Raksætra in the afternoon. We had this on our list but didn’t end up doing it.
Day 8: Olden to Øye/Urke
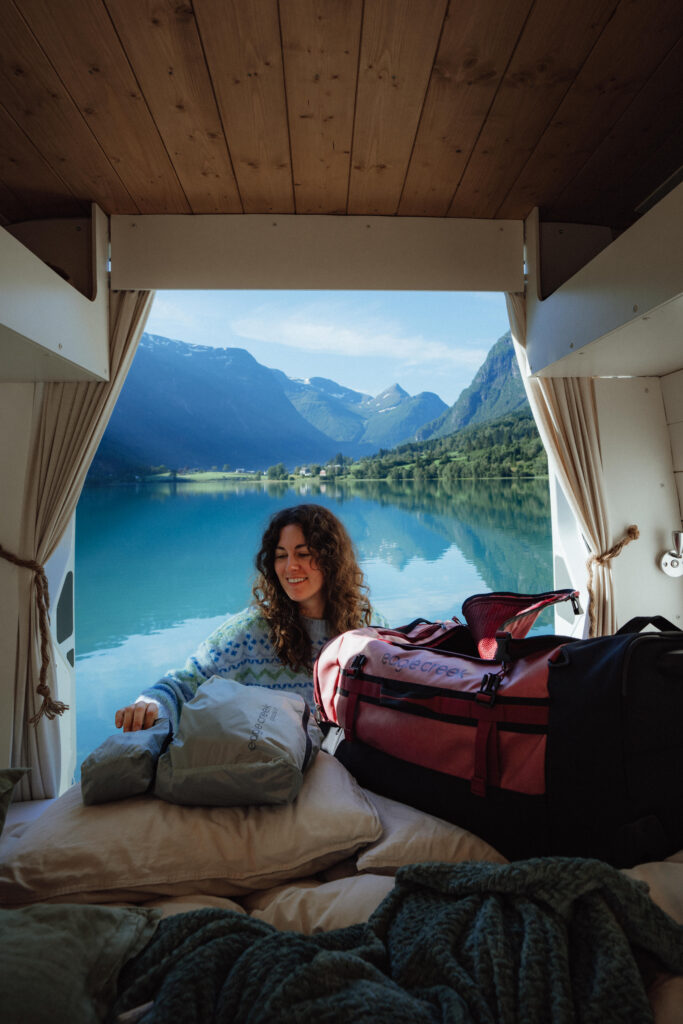
We were so sad to leave Olden because the weather had been perfect, and we loved everything we did. Alas, there’s so much to see and only so much time.
Our drive to Urke took approximately two hours because we decided to make a pit stop in Hellesylt. We visited a little cafe called Hellesyltvegen 51 because, as I said, pastries are life in Norway.
The weather was absolute trash, and you couldn’t see the mountains. Otherwise, we would have done the Skageflå hike. You’ve probably seen this on Instagram, as it’s rather famous on social media.
For Skageflå, you’ll need to take a ferry to Geiranger and then an additional ferry to the hike start! You can also do it the opposite way and hike from Geiranger to the overlook and then pick up a ferry on the way back.
Since we didn’t do the hike, we headed to Urke early to tackle Urkeega. The weather was on and off drizzle, but we wanted to exercise, so we decided to tackle it anyway!
This hike is stunning, and even though it was cloudy, we still got some insane views. We chose to do this clockwise to avoid an aggressive uphill, but then we got stuck with an aggressive, muddy downhill. It really just depends on which one you’d rather deal with.
I recommend having the map downloaded for this hike since there are a few points that can get a little confusing. There are cairns as well as rock markings to help you navigate, but it’s always nice to have something to reference just in case!
There’s also a mountain shelter/hut at the summit that’s great for a snack break, and can be used for camping if you are looking to spend the night!
We chose to camp at the Haugemyrvegen Parkering that night, so that’s where we parked for the hike. You can also park at the official Urkeega trailhead.
Haugemyrvegen Parkering can be paid for down in town, but since we were already there, we just paid the next day when we went into town!
Day 9: Øye/Urke
The next day, we drove into Urke and parked by the marina. We chose to take the day off from hiking because we were pretty sore from our hike to Urkeega.
If you’re feeling up to it, there are some other great hikes in the area, like Slogen or Saksa. You could also take the ferry across Sæbø and check out the sauna there. Just keep in mind they only take cash or IBAN payments!
We chose to hang out by the marina and read our books. There’s also a sauna right on the marina called Urke Fjordsauna if you’re looking for a little treat yourself moment.
In the afternoon, we checked into Urke Camping. This is basically the only established campground in Urke.
For dinner, we ate at Basecamp Hjørundfjord, which is just a short walk down the road from the campground. This little joint is incredibly delicious, and the owner is so friendly. It was one of our favorite meals in Norway!
Day 10: Øye to Reed
We hadn’t originally planned to venture in this direction, but due to the weather, we chose this route because it was less rainy than all the other options we had.
We drove for a while and made some roadside stops because the views were just too good! Along the way, we chose to do an easy hike to a small lake for some exercise. This wasn’t the most scenic hike so I won’t be including it here, but it goes to show how useful having Alltrails is!
After our hike, we stopped in Nordfjordeid to explore and grab a small lunch. One of my favorite bakeries, Minibakeriet, is where we picked up something to eat. Their BLT was to die for, and we got a cinnamon roll to split for dessert.
From there, we headed south to the ferry crossing and then stopped in Sandane to connect to the internet at Guild Coffee & Culture AS. This is one of the most aesthetically pleasing places I’ve ever been, and we thoroughly enjoyed the hot chocolate here!
For the night, we decided to sleep at Reed Camping, which was just what we needed. They have hot showers, and you can park anywhere that suits your fancy as long as it’s not right on top of someone else.
Day 11: Reed to Fjærland
In the morning, we drove toward Skei for a quick hike while the weather was good. The clouds were rolling in, and we wanted to get our steps in before the rain came.
We did the Fyglastoylen hike and parked at the grocery store near the roundabout since the trailhead starts in a residential area, and there isn’t any parking lot/street parking.
There’s a little overnight hut about halfway up that we took a break at because the views here are beautiful. If we were camping, this would be an amazing spot since anyone can use the overnight cabin.
We ended up cutting our hike short since it started to drizzle, but the berries on this trail are bonkers! The two of us ate our weight in blueberries and raspberries.
After our hike, we had sandwiches at Brunsj & Briller and then stocked up on groceries at the local grocery store before heading to Fjærland.
In Fjærland, we drove to a spot overlooking the water before our Sauna reservation at Fjærland Guiding & Sauna. This was easily our favorite sauna experience, and I definitely recommend booking it out in advance (a day or two before is perfect).
Once our sauna session was done, we used Park4night to find a free camping spot nearby. There are many in this area, so it wasn’t too difficult, and we found a decent spot not far from the hike we wanted to do in the morning.
Day 12: Fjærland to Sogndalsfjøra
Our first prerogative on this day was to charge some of our bigger electronics since the campervan could only handle so much.
We headed into Fjærland and posted up at Inkåleisn Kafé to read our books while our items were being charged. The cinnamon rolls here are INSANE, and I wish I could replicate them at home.
Once our items were charged, we drove over to the Flatbreen trailhead for our hike of the day.
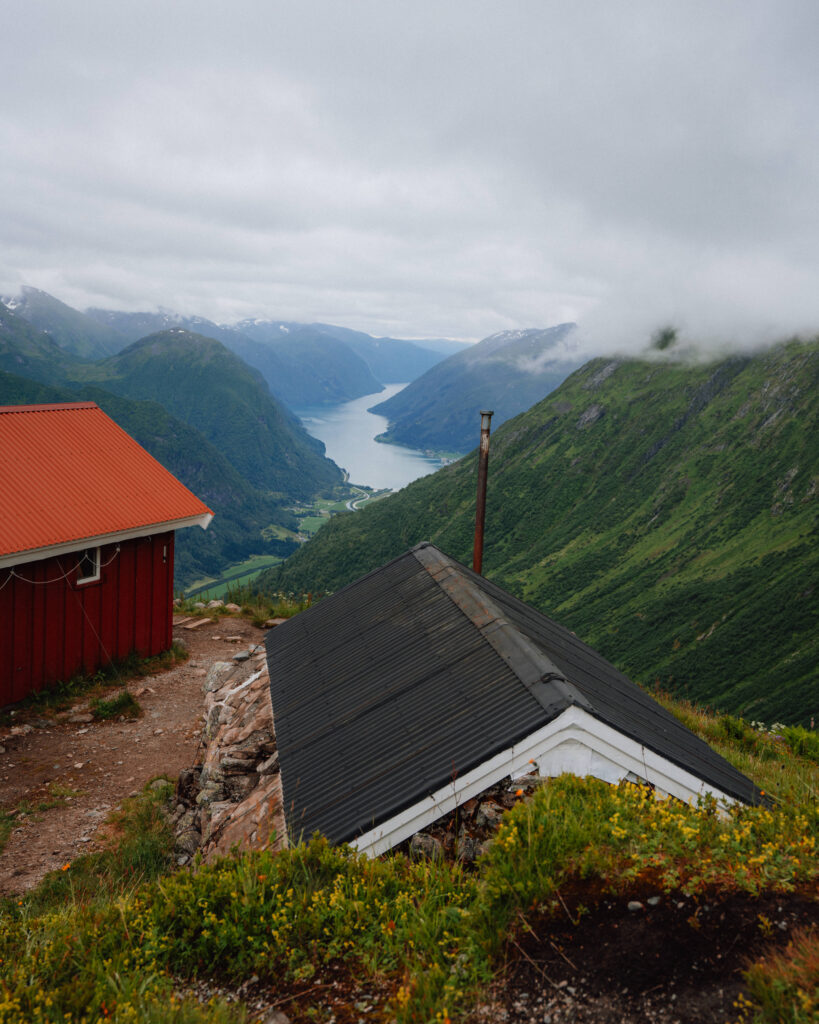
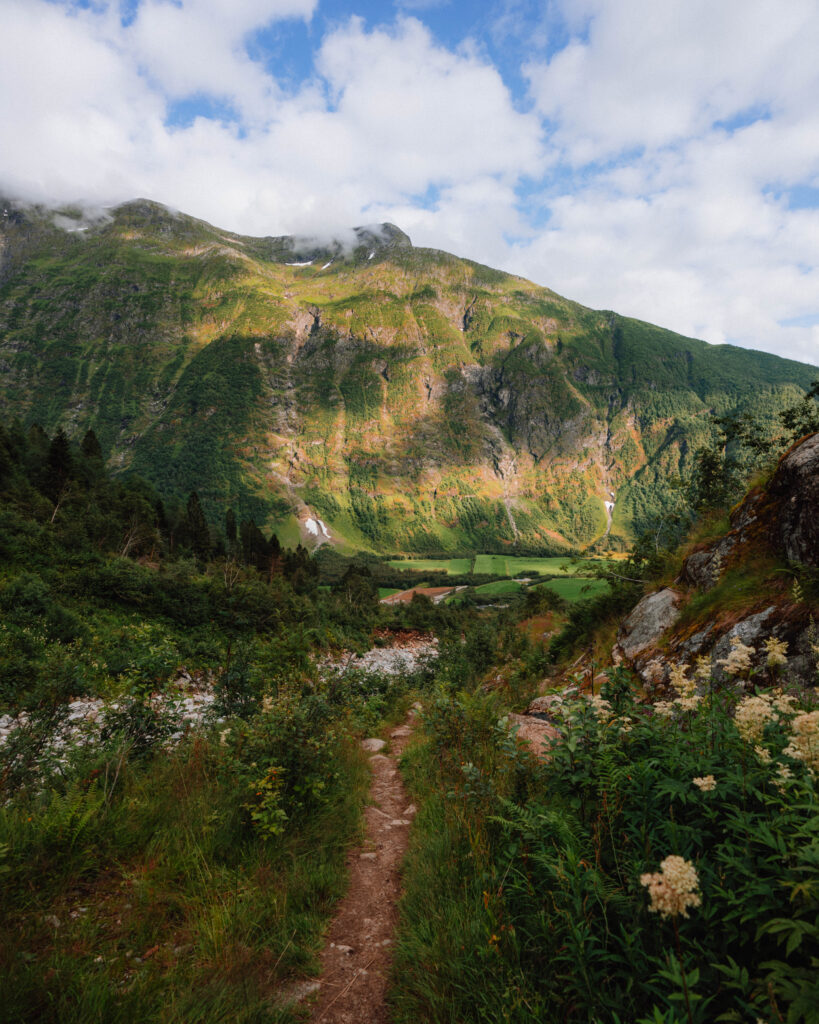
Compared to some of the other hikes we had already done, this was manageable. We chose to do the loop section clockwise, and I would do it that way again!
At the top, there’s a great hut for those doing an overnight. You also get amazing views of the glacier!
This trail has a ton of blueberries, which were perfect little pit stops for our hike.
After stripping our hiking boots off and eating an obligatory piece of chocolate, we started our journey to Sogndalsfjøra.
There are a ton of free parking spots here, but unfortunately, it’s a very popular location, and by the time we arrived in the late afternoon, all the free campsites had been scooped up.
Because of this, we ended up staying at Kjørnes Camping, which was also at about 80% capacity when we arrived.
This is a very well-maintained campground, and although the campsites are super close together, the facilities make up for it. I was able to take a nice, long, hot shower, and we sat outside and enjoyed the evening sun.
Day 13: Sogndalsfjøra to Aurlandsfjellet
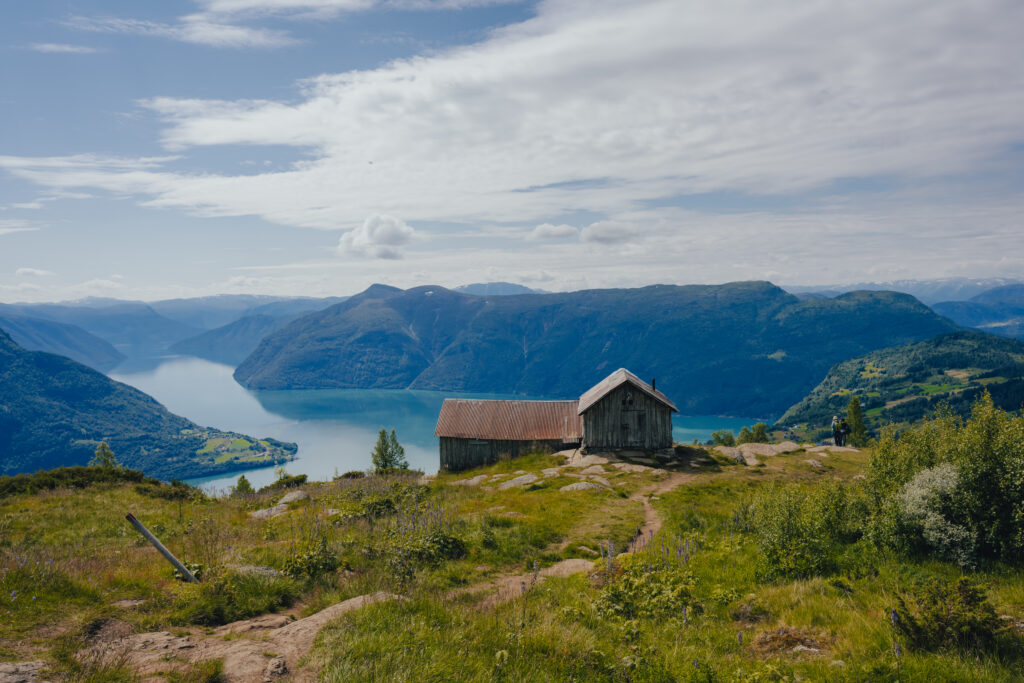
This was one of my favorite days on our Norway trip!
Sogndalsfjøra is a larger city compared to many of the other towns we visited, not the road trip.
In the morning, we headed into town for our last grocery stock-up and then walked over to a nearby bakery.
After a delicious pastry as pre-hike fuel, we drove to the trailhead and laced up for a beautiful day of hiking.
This was probably the busiest trail we did. There was overflow parking when we arrived around 10:30 in the morning, but I presume that filled up quickly after us, since it was full when we finished.
I thoroughly enjoyed this hike, and I can see why it’s so popular. The views are spectacular and you can explore from the top.
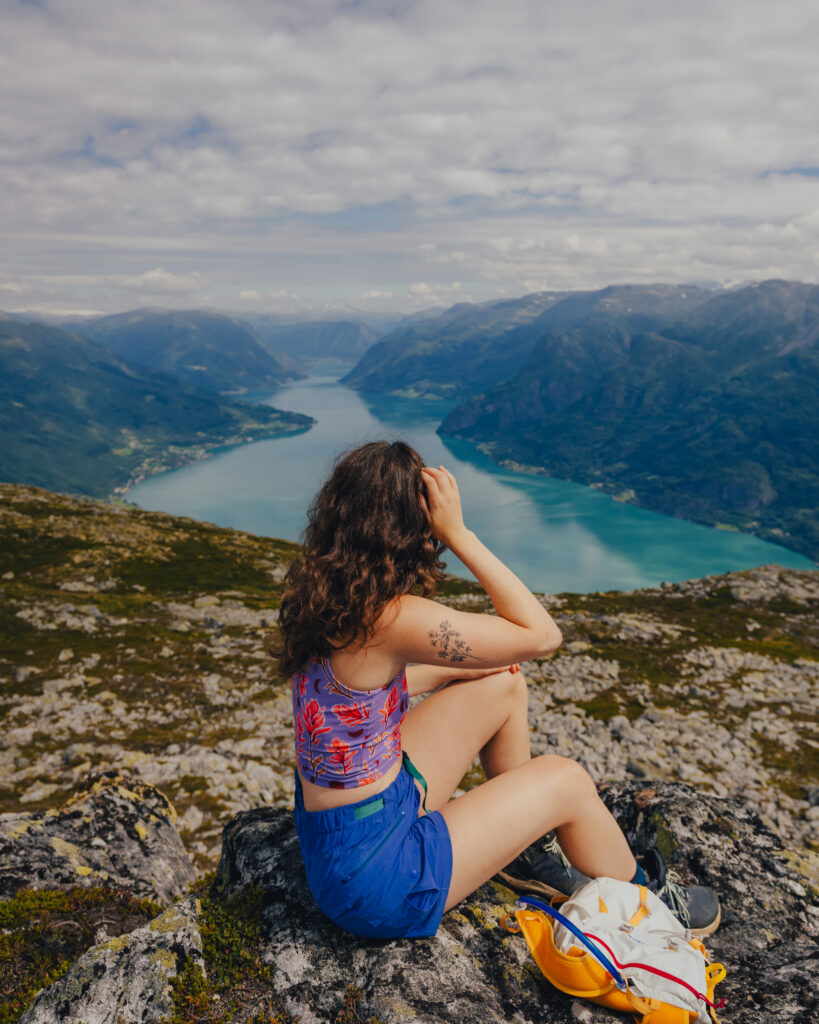
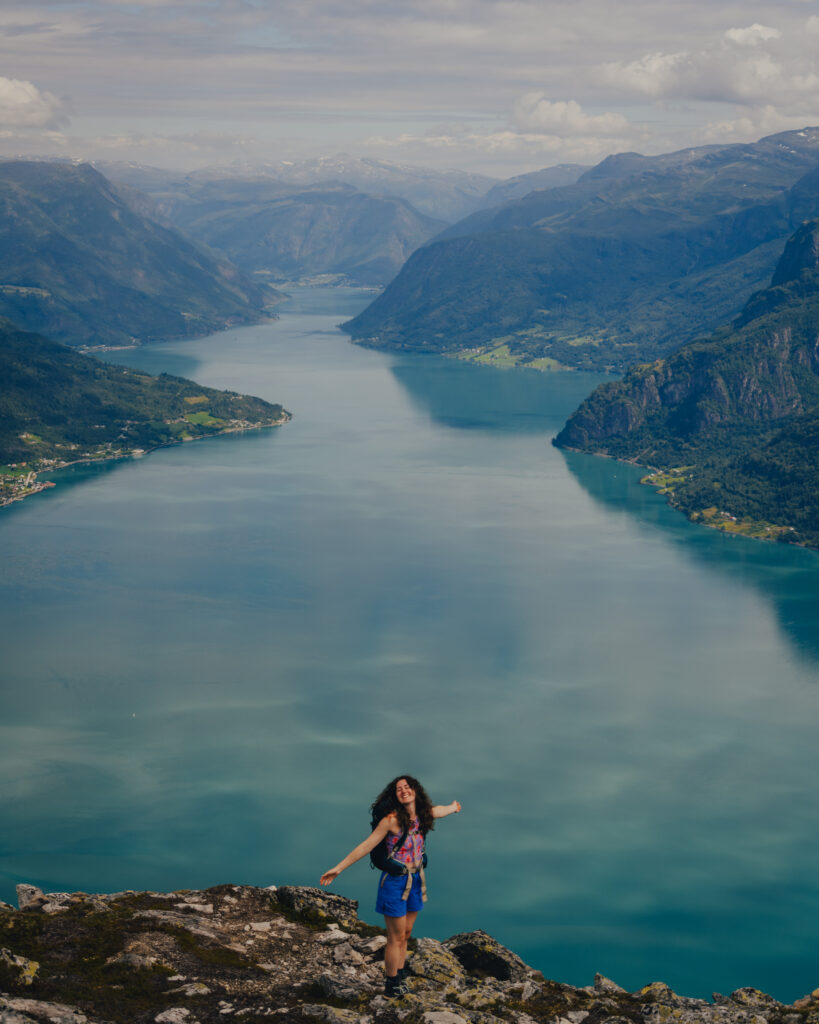
We enjoyed a snack of nuts and apples before heading down to the car for our drive.
Once headed south, we decided to take the scenic route up to Aurlandsfjellet. This isn’t shown on the map because the Google Maps app wouldn’t map it for me.
To go this route, put in Vardahaugselvi Waterfall first. It will take you to the appropriate road (Fv243).
The waterfall is a perfect stop off on this route, and we enjoyed the short walk there as a little break from the car.
This road is also one lane for parts of it, and I’d recommend having your more confident driver handle this section (if you’re not alone!!). I made my husband drive because I knew it was going to stress me out.
I’m not going to lie, this area is wild, and I felt like I was on another planet. There’s a ton of free camping up here, which we partook in.
We found a spot for the night, posted up, and made dinner before the rain came in!
Day 14: Aurlandsfjellet to Bergen
On our last full day in Norway, we woke up early to tackle Mt. Prest! The trailhead was just minutes from where we free camped, and we wanted to get an early start so we could get to Bergen at a reasonable time.
The parking lot isn’t terribly large for this hike, but it is popular, so I’d recommend arriving early, like we did.
This is one of the harder hikes we did in Norway, partially because of the need to scramble in certain areas. If you want to go all the way to the top, you’ll need to be comfortable utilizing your hands and hauling yourself up. It’s not what I would consider technical, but it is involved.
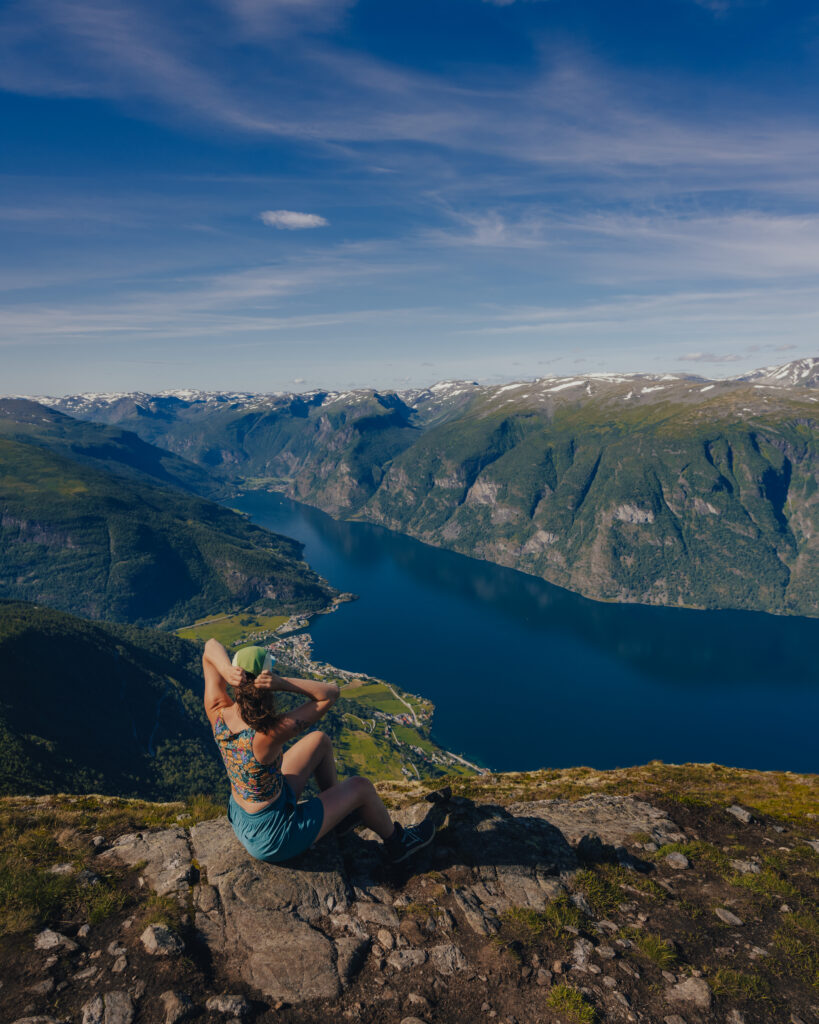
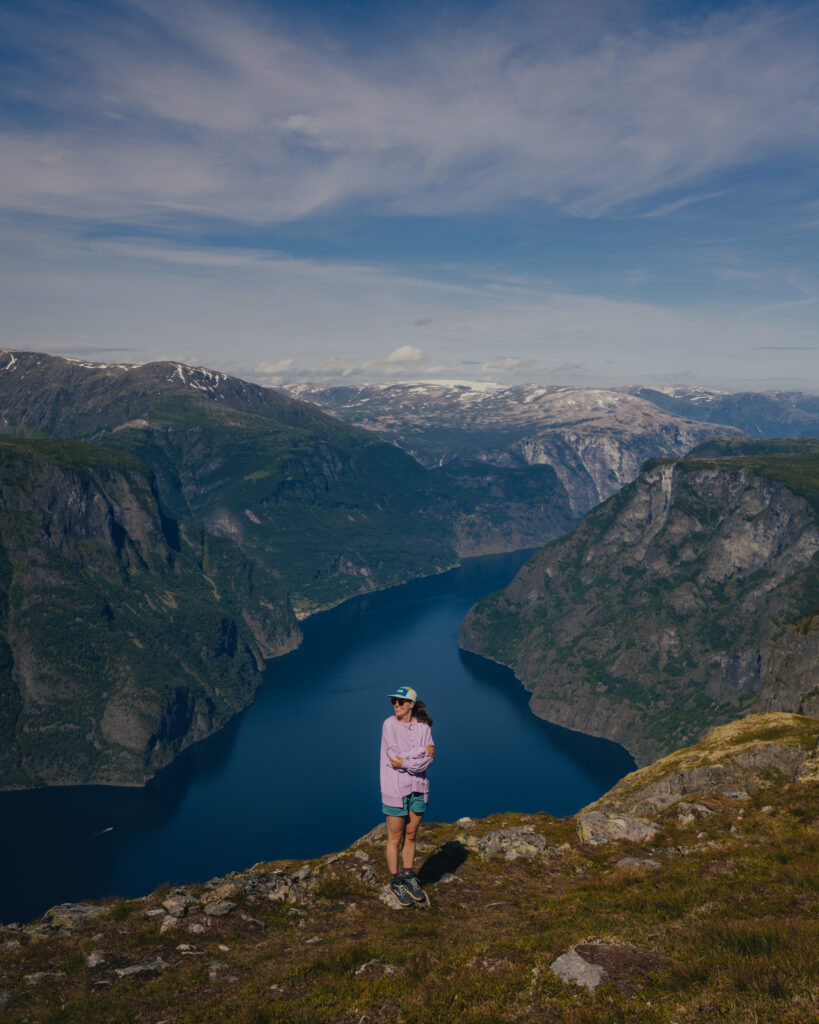
You can also hike about halfway up and still get magnificent views without the more intense bits. Either way, you’ll want shoes with good grip and sure footing as parts of this trail are looser gravel/rock.
When we completed the hike, the parking lot was full, and it took us a minute to navigate out of our spot. People had chosen to park in places that weren’t parking spots, essentially blocking many people in. Please don’t be this person.
On our way down to Aurlandsvagen, we passed the famous Stegastein viewpoint. It was insanely busy, and we didn’t want to deal with the tour buses, so we skipped it. For us, it was a Saturday, but if you’re here on a weekday,y it may be worth the quick stop if it’s not too busy.
The road down to Aurlandsvagen was probably the second most stressful of the trip because we were fighting so many cars driving in the opposite direction. We had to pull off for streams of cars continuously, and it took us a little longer than anticipated.
We had a few hours to kill before we needed to make our way to Bergen, so we parked up at the local beach, read our books, and took a little dip in the water. It was the perfect way to end a fantastic trip in this beautiful country.
If you need to spend the night in Bergen, there are numerous campgrounds available, but they fill up exceptionally quickly on the weekend.
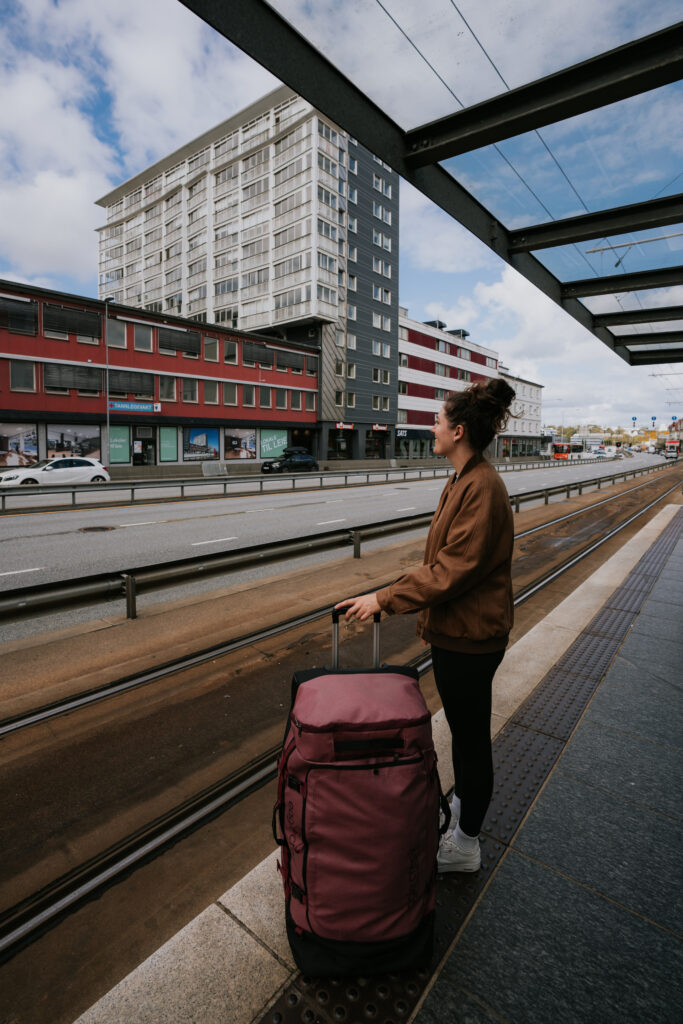
We learned this the hard way, as our flight was early in the morning, and once we arrived in Bergen, the major campgrounds were full.
There was a free parking spot on Park4night that served its purpose for one night. There weren’t any facilities, and since it’s in the city, there really isn’t a good place to relieve yourself. We ended up going to the nearby McDonald’s for breakfast to take care of business, and it worked out.
Dropping off our camper van was a breeze, and the owner didn’t even need to be present (she can lock and unlock the van remotely)! You can also drop off your campervan a day early and get a hotel, which is probably the better move in the city!
All in all, it was such a great trip, and we were able to experience so much in our time there. We can’t wait to go back for round two.
What To Pack
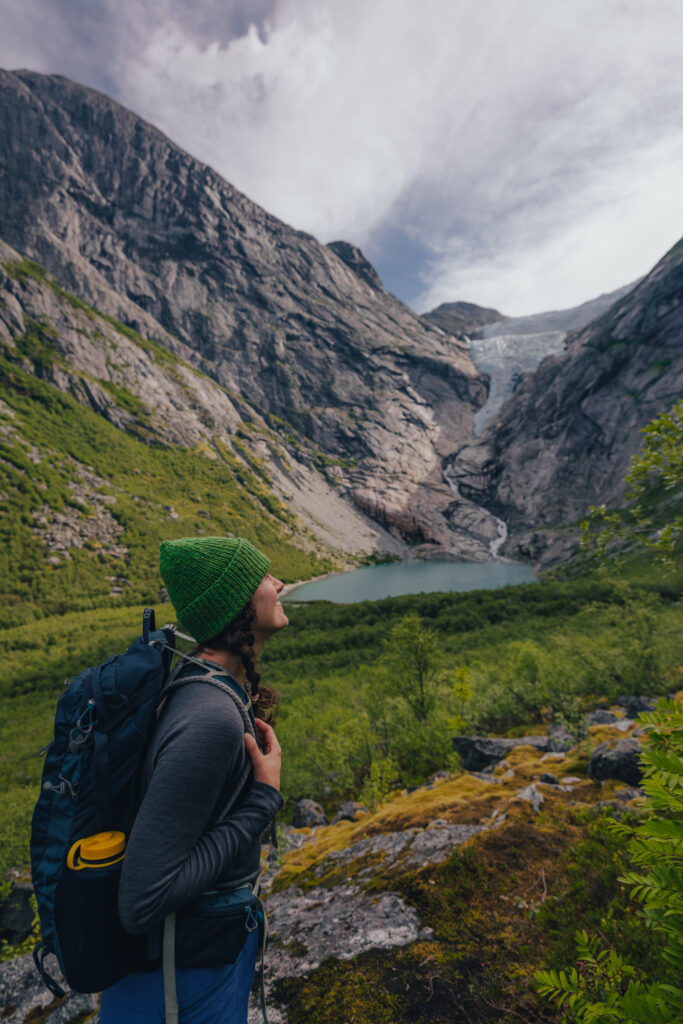
The weather in Norway can be unpredictable, so packing layers is essential. I encourage you to focus on items made from merino wool, especially if you are renting a campervan, as they don’t retain smell and can be worn numerous times without washing.
Items that you’ll want to ensure that you have are:
Clothing Essentials
- Down Jacket (you can also get great deals at Patagonia’s resale site Worn Wear)
- Rain Jacket
- Long Sleeve Merino
- Comfortable Pants for lounging
- Fleece Jacket
- Hat
- Gloves
- Water Shoes/Sandals for the Campground (I prefer Chacos or Tevas)
Hiking Essentials
- Day Pack
- Water Bladder/Treatment
- Boots/Shoes
- Kula Cloth
- Hiking Pants
- Hiking Shorts
- Merino Bra
- Long-Sleeved Top
- Short-Sleeved Top
- Hiking Socks (merino or my favorite toe socks for those who get blisters!)
- Sun Hat or Sun Cap
- Sunglasses
- Face Sunscreen (Korean sunscreen is well ahead of U.S. sunscreen, and I love this one! I recommend buying body sunscreen there so you don’t need to pack it)
Travel Essentials
- Packable Towel (for swimming and showering at campgrounds)
- Reusable Travel Bottles for Toiletries
- Toiletry Bag
- Portable Charger
- Converter
- Kindle
- Wipes (for days without a shower)
FAQ: Norway Itinerary
How many days is enough for Norway?
I wouldn’t spend less than a week in Norway unless you’re including it in a larger trip and you’re okay with only scratching the surface. If you’re choosing this route, stick to either Bergen or Oslo for your few days there, and don’t spread yourself too thin.
I think 10-20 days is a reasonable amount of time to explore parts of this country, with the understanding that you’re only going to be able to see little pieces of it since it’s rather large. This is why we chose to stick to the Western Fjords and leave places like Lofoten for another trip that is solely dedicated to that area.
What are the best months to visit Norway?
July through September is the high season for good reason. You’ll have the best chance of good weather (there’s always rain, sorry, it’s the mountains).
December through February gives you the best chance to do amazing winter activities and see the Northern Lights!
What is the prettiest part of Norway?
A lot of people would argue that Lofoten is the most beautiful part of Norway, but I honestly don’t think you can go wrong anywhere. We drove to a lot of different places while we were there and they were all beautiful. This country is stunning and you won’t be disappointed with anywhere you choose to go!
Is 10 days enough in Norway?
I think 10 days is enough time to visit Norway as long as you have the right expectations. You’re not going to be able to do Oslo, Bergen, and Lofoten in 10 days without going insane and missing out on numerous highlights.
If you’re spending 10 days, pick a small section of Norway to explore, like only Lofoten or only the Western Fjords. This way you’ll really get the most out of your trip and won’t feel too rushed.
Many people love to do cruises in Norway, and while this isn’t our personal preference, this is another great way to see a large part of the country in a short amount of time.
Wrap-Up: Norway Itinerary
Wherever you choose to go on a road trip in Norway, you’ll have an incredible time. The Norway Itinerary that I’ve created is customizable, and there are so many ways you can explore this beautiful country.
Access my Norway Road Trip Itinerary Map that I created for our trip, which has a ton of hikes, campgrounds, places to eat, and sights to stop at! This is a free map that I created for our trip that can be copied and updated as you please.
