
A Backpacker’s Guide to the Kalalau Trail
Cates Compass contains affiliate links and is a member of the Amazon Services LLC Associates Program. If you make a purchase using one of these Amazon links, I may receive compensation at no extra cost to you. Read my disclaimer for more information.
The Kalalau Trail is such an epic experience, but one that requires a lot of planning. Living in North Dakota presented approximately zero opportunities for me to backpack so I was stoked when my friend asked me to do the Kalalau Trail with him in Kauai.
At the time, I hadn’t been backpacking in 7 years and had forgotten how much effort goes into planning a trip like this. I had been on several hikes in the past few years, but nothing overnight. This trip presented a new challenge, and I am glad I was able to shake off the dust and get back into the saddle.
I’ve outlined everything we did (and didn’t do) that you should prep for below!
Quick Guide
Permits: Available 90 Days in Advance
Where to Stay Beforehand: Hanalei or Princeville (book early!!)
How to Get There: Shuttle or Overnight Parking
Must-Have Items: Sandals that can get wet, hiking poles, and a rain cover for your pack (essential as this trail is WET)
Eligibility
In order to hike the Kalalau Trail, you will need to obtain a permit 90 days in advance of the date you plan to hike. Permits tend to sell out quickly, so plan accordingly based on the time they’re released in the day.
There are special rules regarding backpacking here, so ensure you are familiar with them beforehand. Park rangers are on the trail and will enforce these rules.
To access the Kalalau Trail, you’ll need to enter via Hāʻena State Park. You do not need a reservation for Hāʻena State Park if you hold camping reservations for the Kalalau Trail.
Other than the legal permit to hike the trail, having backpacking experience is invaluable. If you don’t have experience, do the hike with someone else who has backpacked before.
This hike is highly demanding and is considered one of the more dangerous hikes in the world.
Packing
Prepping for a multiple-day backpacking trip can be difficult. There are numerous variables to consider, such as weather, food, number of people in your group, terrain, and time of year.
Nutrition
The Kalalau Trail receives a lot of rain yearly and is typically muddy. If a rainstorm occurs, the rivers along the trail can flood and become unsafe to cross.
Due to these circumstances, it’s important to prepare for the potential of rain and pack extra food. If you’re stuck on the trail longer than anticipated, you don’t want to be SOL. If there is too much rain and the water levels at the Hanakāpī‘Ai Stream are too high, they will close it for crossing (sometimes for hours).
I tackled the trail with two friends, so we had to pack in enough food for all of us plus an extra day or two just in case. We chose to bring freeze-dried food, homemade trail mix, protein bars, oatmeal, and honey stinger waffles. The gluten-free waffles are better because they don’t crumble as much.
I learned two important lessons.
- Freeze-dried meals get old fast, so make sure you have a variety of ones that you like. We bought a variety pack, but there were only a few different kinds. I tried the Backpacker’s Pantry meals from a fellow backpacker while we were on the trail. I can 100% confirm that they were tastier. Next hike, I’m packing in pad thai and mac & cheese instead of mountain chili.
- Pack in REAL fruit. By day 2 of our 3-day hike, I was desperately craving an apple or orange. Your fruit doesn’t have to be anything fancy, but you will want something that isn’t packaged.
In terms of water, we packed in a water filter, a SteriPen, and water tablets. Having all 3 may have been a little overkill, but I’d rather be safe than sorry.
I thought the SteriPen was the most efficient without adding any weird taste. I’ve used water tablets that make your water taste like you’re drinking straight metal. Sadly, you need to be smart with your Steripen, or the batteries will oxidize and it will be rendered useless.
I love the Katadyn water filter and have used it religiously since purchasing it for this trip. The only downside is that the bag can tear easily. We duct-taped it for a while and then eventually replaced it with a more durable one.
On top of the water purification measures, bring along some type of electrolyte mix or tablets to ensure that you are staying properly hydrated. I’ve tried all the different electrolytes for marathon training, and Skratch Labs is hands down the best one.
Gear
Having the right type of gear for your hike is essential. Since the terrain and weather can lead to an abnormally wet environment, we brought a footprint and an additional lightweight tarp with a rope.
Bringing the tarp was one of our brighter decisions. On our last night there, it down poured and we still woke up dry. Unfortunately, some of our fellow campers woke up in a swimming pool because they didn’t bring the proper rain gear.
To me, tents are based on preference, but I cannot stress enough the importance of a rainfly. Our group packed in a 3-person tent, which was a little snug.
For sleeping, I brought a “up to 20 degree” sleeping bag and an inflatable pad, as well as a compact pillow. The sleeping bag could have definitely been a sleeping blanket, but I am a comfort queen, so the pillow was a must.
One item that I regretted leaving behind was hiking poles. We ultimately used sticks as poles since the Kalalau Trail is steep and slippery in certain places.
In case you didn’t know, sticks are MUCH heavier than hiking poles. Honestly, it was stupid of us, but it’s a mistake we won’t make in the future.
Packing List
I could write for hours about all the gear we brought to hike the Kalalau Trail. Instead, I put together a comprehensive checklist that you can use for your next trip.
The list includes food, gear, clothing, and safety materials. Obviously, some of these items are based on personal preference, but hopefully, this gets you 80% of the way there.
Get my FREE Backpacking Checklist!
Here are a few pieces of gear that I genuinely never go on a backpacking trip without:
- Headlamp
- Multi-Tool
- Long Spoon (ideal for eating straight out of the freeze-dried bag)
- Kula Cloth
- GPS Communicator
- Jet Boil Stove
Getting There
The Kalalau Trail is on the far Northwestern side of the island and is approximately 1.5 hours from the Lihue Airport. If you get in as late as we did, I highly recommend giving yourself a day to adjust.
You may also need the extra time to pick up any additional supplies (i.e., cooking gas). We made the mistake of getting in late and turning around to get on the trail the next day. Note: You CANNOT fly with cooking gas (I think this is obvious, but feel the need to state it).
The best places to snag accommodation near the trail are Hanalei and Princeville. Both areas are expensive and fill up fast, so book in advance and use Airbnb.
From Hanalei/Princeville to the trailhead is about a 20-30-minute drive. Hikers can either drive and park in the lot or book a shuttle from Princeville (Makai Golf Club).
Driving in will cost $15 a day if you are there all day or overnight. We booked the shuttle since we didn’t have a rental car.
The shuttle was cheaper for us as it is a round-trip ticket. Hikers must book a reservation at $15 a person.
Be cognizant of the times the bus runs, as it fills up quickly, and getting on a shuttle at a different time is nearly impossible. We were those people who stood in the middle of the bus because we missed our scheduled time. Don’t be those people.
Overall Impression
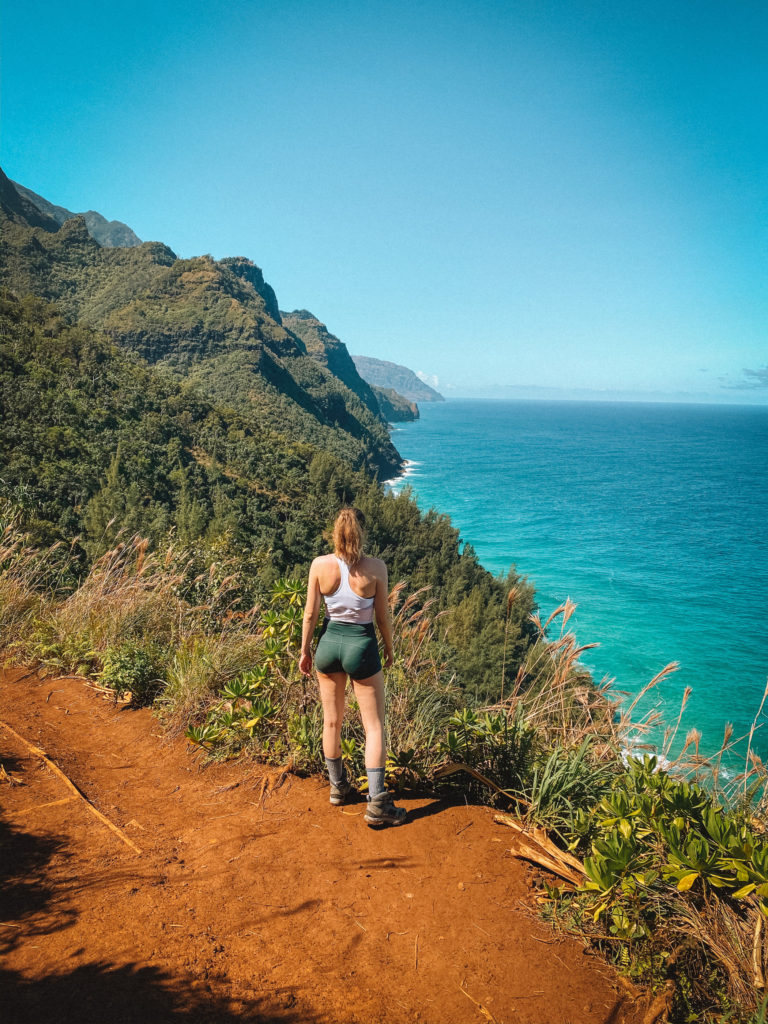
The trail was incredible and hands down one of the best experiences of my life.
The full trail is 22 miles out and back (11 each way). At the end of the trail is a gorgeous beach that I honestly can’t even put into words.
The trail has 2 campsites, Hanakoa (6 miles in) and Kalalau Beach (end). Our initial plan was to hike to the beach on the first day.
Unfortunately, since we got a late start on the first morning, we only hiked 6 miles on the first day. On the second day, we completed 10 miles and did the last 6 to wrap up the full hike.
The first 6 are without a doubt much more difficult than the last 5. Luckily, we were forced to do the long day in the middle, which meant we only had to pack a day pack.
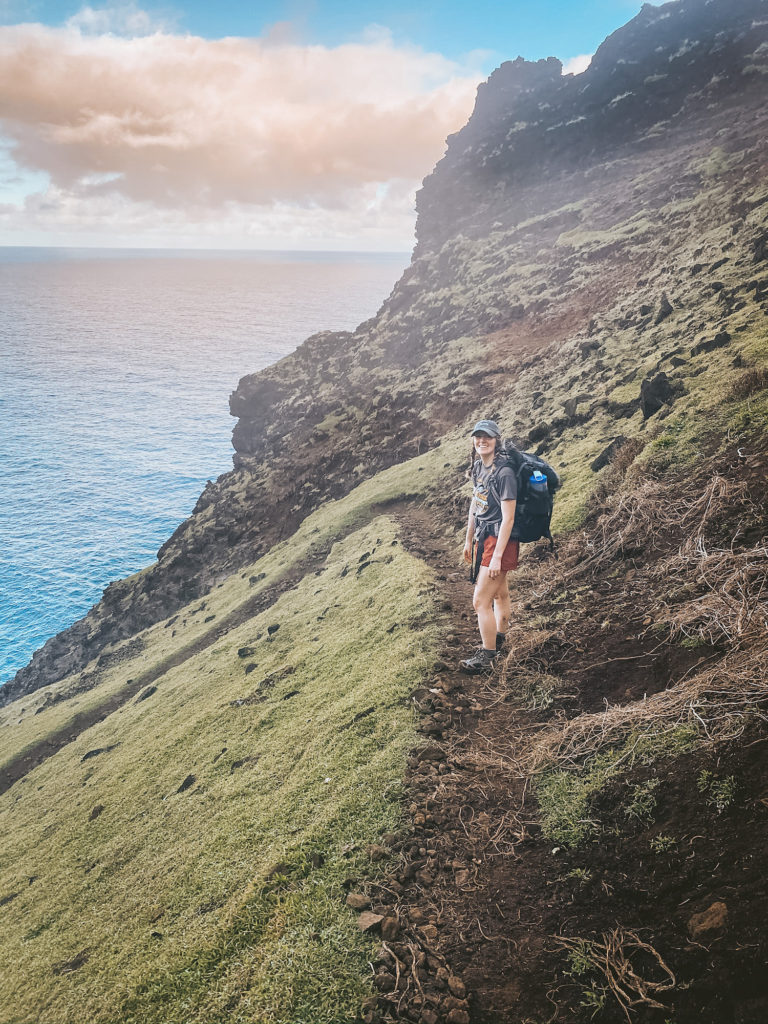
The back half of the hike goes much quicker, but this is also where the dreaded “Crawlers Ledge” is (approx. mile 7.5).
In perfect weather conditions, Crawlers Ledge was a breeze. That’s coming from someone who is terrified of heights. On the way back, we had 20 mph winds and a light drizzle, so Crawlers Ledge made me want to puke.
Two vastly different experiences within the span of 6 hours. All I can say is bring hiking poles.
Mile markers are carved into stones along the Kalalau Trail. These can sometimes be easy to miss, but if you know what to look for, you should notice them along the way.
Overall, I think we had to cross 3 major rivers/streams. One at mile 2 (the end of public access), one at mile 6 right, before the first campsite, and the last one about a half mile before the beach.
All of them are relatively simple to cross, but my motto with rivers is “When in doubt, take your boots off.” This does not apply if you are hiking in waterproof shoes, but you get my point.
The campsites are nice for being so remote. There are basic bathrooms and a shelter at both sites.
At Hanakoa, the bathroom and shelter are on opposite sides of the river. Most of the available spots for tents are across the river from the bathroom, so this was slightly poor planning on their part.
Waterproof gear is non-negotiable. Since it rained the night before, our tent took longer to take down, and the river was much harder to cross when we headed back.
Sadly, the only injury I sustained was a head gash from a stick my friend threw at me while he was trying to cross the river. He made two errors: 1) he assumed I had good hand-eye coordination, and 2) he threw a LARGE walking stick. Needless to say, I did not let him live this down for the remainder of the trip.

My point is, the hike back was WET. It rained consistently for an hour on the way back. The trail was practically a river, and we were soaked.
On top of it all, it was our last day, so we were exhausted. Thankfully, we hiked out early and crossed Hanakāpī‘Ai Stream before the ranger closed it down due to flash flooding.
Like I said, bring in extra food. If we had shown up an hour later, we would have been trapped on Hanakāpī‘Ai Beach for at least a few hours, if not another night.
Highlights
One of my favorite parts of the Kalalau Trail was how many great people we met along the way. On the way to the hike, we met 3 college girls who were on spring break from Cali.
During the hike, we made friends with a big group of people from Oregon and Salt Lake City. I shared food and a Kalalau Trail special (warm corona, lemon, and honey) with this gang. Yes, we made that up.
We also did half of our second day with a high school teacher from Montreal. The beautiful thing about the trail is that the park service only gives out about 80 permits a day. Once you’re on the trail, you are stuck on it with a small group of people.
I completely forgot how exhilarating completing a hike can feel. When we reached Kalalau Beach on the second day, I stripped down and ran into the ocean like a giddy little kid.
The overwhelming sense of accomplishment is incredible. Swimming is not recommended because the tide can be dangerous. We went in only to our mid-thighs and then sat at the edge, dumping water on ourselves.
What I’d Do Differently
- Again, bring hiking poles. This trail is no joke.
- Pack real fruit and some extra-tasty freeze-dried meals because you will not want mountain chili.
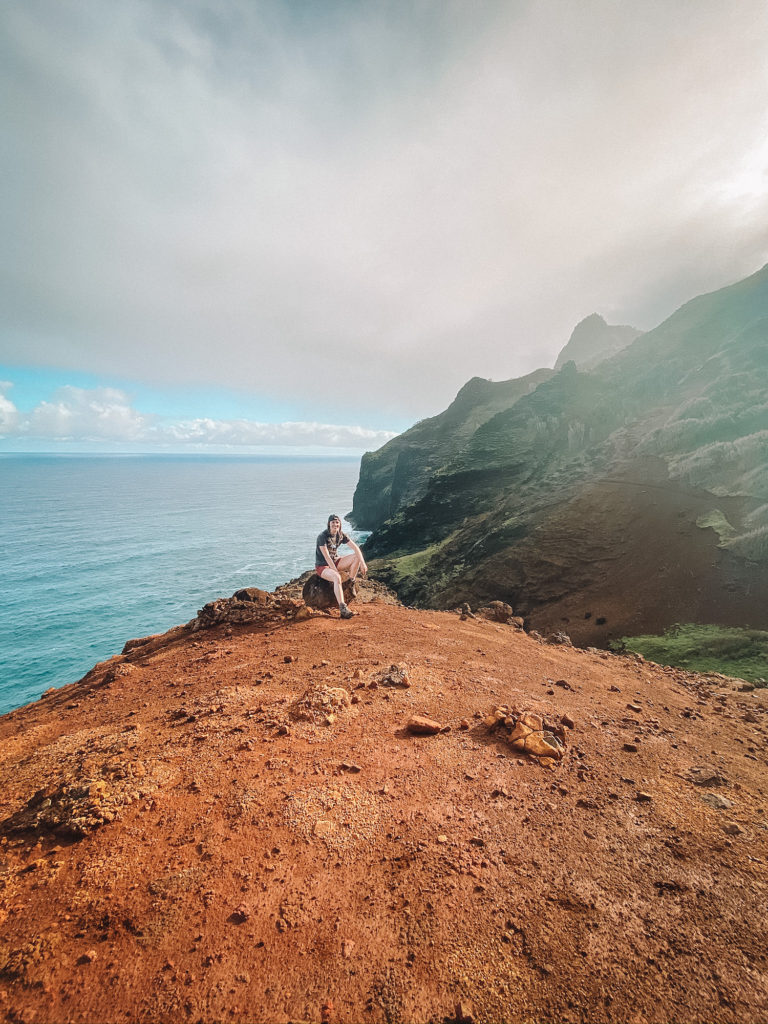
- Do not wear white. I repeat, do not wear white. Mud will get on you regardless of how hard you try to prevent it.
- Start early on the first day.
- Bring waterproof sandals that you can hike in in the event that it rains
Wrap-Up: A Backpacker’s Guide to the Kalalau Trail
Backpacking the Kalalau Trail is an epic experience that you will never forget. If you get the chance to do it, you should totally take it.
Give yourself ample time before you start, and make sure to pack for the wet weather. Oh, and don’t forget to have fun!
